38
10 FAULT FINDING
10.1 CARRY OUT INITIAL FAULT FINDING CHECKS
1.
Check that gas, water and electrical supplies are available at the boiler.
i.e. Inlet gas pressure = 20 mbar
Electrical supply = 230/240 V ~ 50 Hz
CH water system pressurised to between 0.75 and 1.25 bar
DHW flow rate is more than 2.5 litre/min
2.
Carry out electrical system checks, i.e. Earth Continuity, Resistance to Earth, Short Circuit and Polarity with a suitable meter.
Note: These checks must be repeated after any servicing or fault finding.
3.
Ensure all external controls are calling for heat and check all external and internal fuses.
Before any servicing or replacement of parts ensure the gas and electrical supplies are isolated.
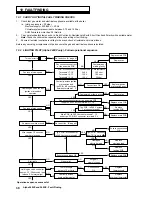
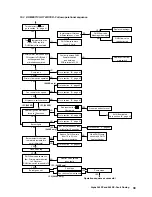
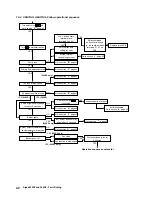
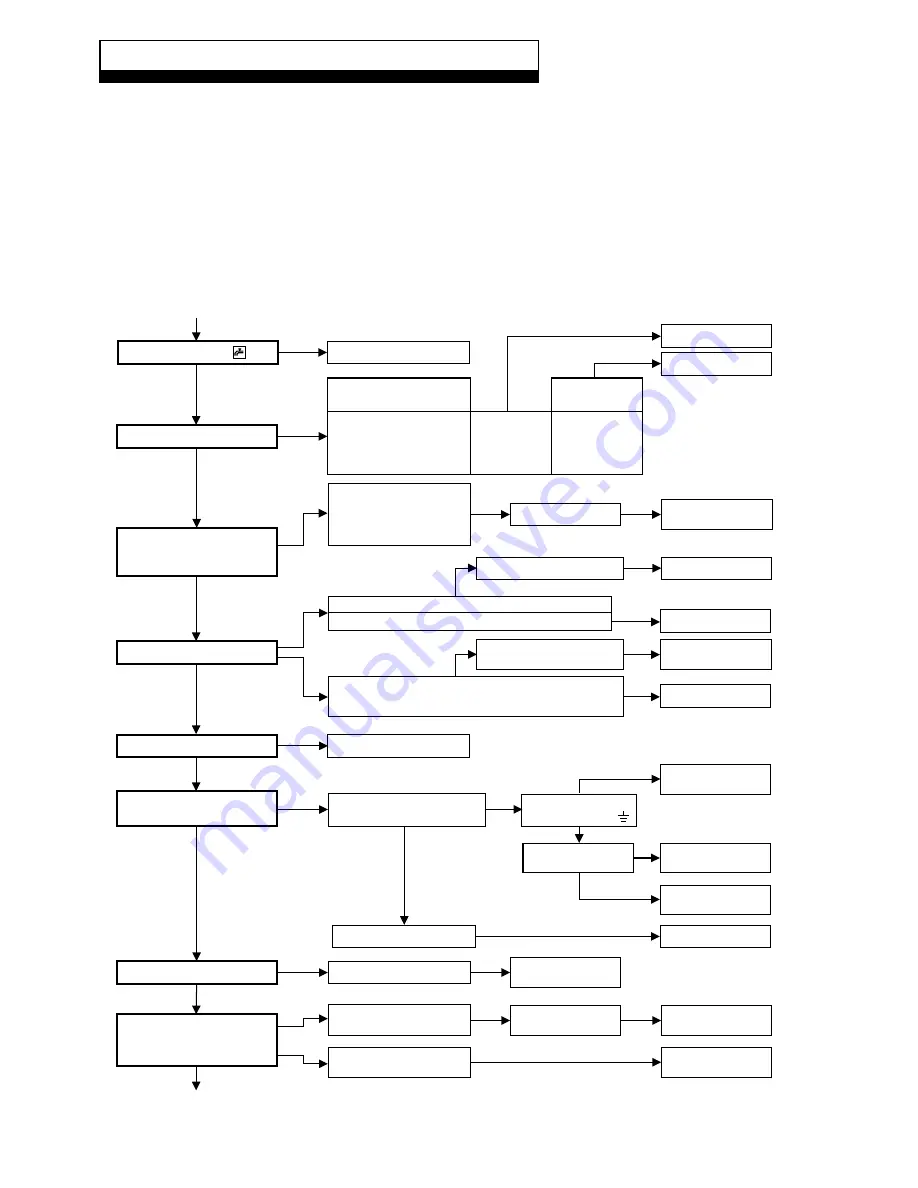
10.2 LIGHTING PILOT (Alpha 240XP only) - Follow operational sequence
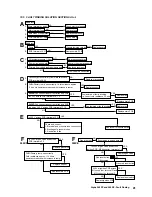
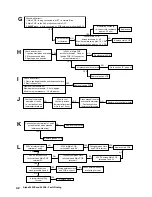
Alpha 240XP and 240XE - Fault Finding
Fan runs at slow speed
Fan runs at max. speed
Depress gas valve control.
Ignition microswitch
operates
Hold in gas valve control for
approx. 15 - 20 seconds, then
release. Pilot stays alight
Replace main PCB
Replace main PCB
Replace main PCB
Replace fan
Replace fan
Fan jammed or faulty wiring
Replace ignition
microswitch assy.
Replace
thermocouple
Replace
overheat thermostat
Turn selector to
Connections OK
Continuity across ignition
microswitch and
Ign.PCB - M1 connector,
between terminals 1, 2
Fan connections correct at fan and main PCB
Is approx. 440 V across terminals 17, 19
Main PCB - Is 240 V across terminals 7, 12
and at Ign. PCB - M2 connector, terminals 3, 4
Ign. PCB - M2 connector,
is 240 V across terminals 3, 6
Ensure connections OK
Ensure connections
OK
Thermocouple
output = 10 mV min
Continuity across
overheat thermostat
Connections
OK
Air pressure switch proved
After approx. 10 seconds
spark at electrode
Pilot lights
Replace
electrode lead
Replace
ignition PCB
Replace
ignition PCB
Ign. PCB - is 240 V across
Fa1 connector and N
Replace main PCB
Damaged
electrode lead
Gas at pilot
Purge air,
clear blockage
Operation sequence successful
YES
YES
YES
YES
YES
YES
YES
NO
Fan connections correct
at fan and main PCB
PCB - M3 connector
Terminals 17, 19
Terminals 16, 17
Terminals 16, 19
Volts across
240 V
120 V
120 V
Cold resistance
160 ohm
150 ohm
35 ohm
Fan jammed or
winding faulty
NO
NO
NO
NO
NO
NO
NO
NO
NO
NO
NO
NO
YES
YES
YES
YES
NO
NO
NO
NO
NO
NO
NO
NO
YES
YES
YES
YES
YES
YES
YES
Go to section ' ', page 41
A
Go to section ' ', page 41
E
Ign. PCB - continuity
from TRI to earth ( )
Summary of Contents for Alpha 240XE
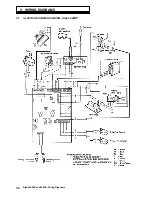
Page 35: ...35 Alpha 240XP and 240XE Wiring Diagrams 9 2 ILLUSTRATED WIRING DIAGRAM Alpha 240XE ...
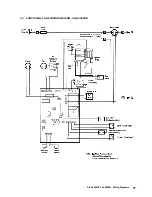
Page 36: ...36 Alpha 240XP and 240XE Wiring Diagrams 9 3 FUNCTIONAL FLOW WIRING DIAGRAM Alpha 240XP ...
Page 37: ...37 Alpha 240XP and 240XE Wiring Diagrams 9 4 FUNCTIONAL FLOW WIRING DIAGRAM Alpha 240XE ...

