44
-EN
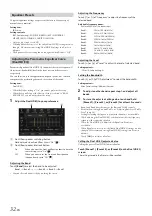
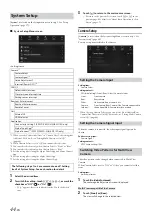
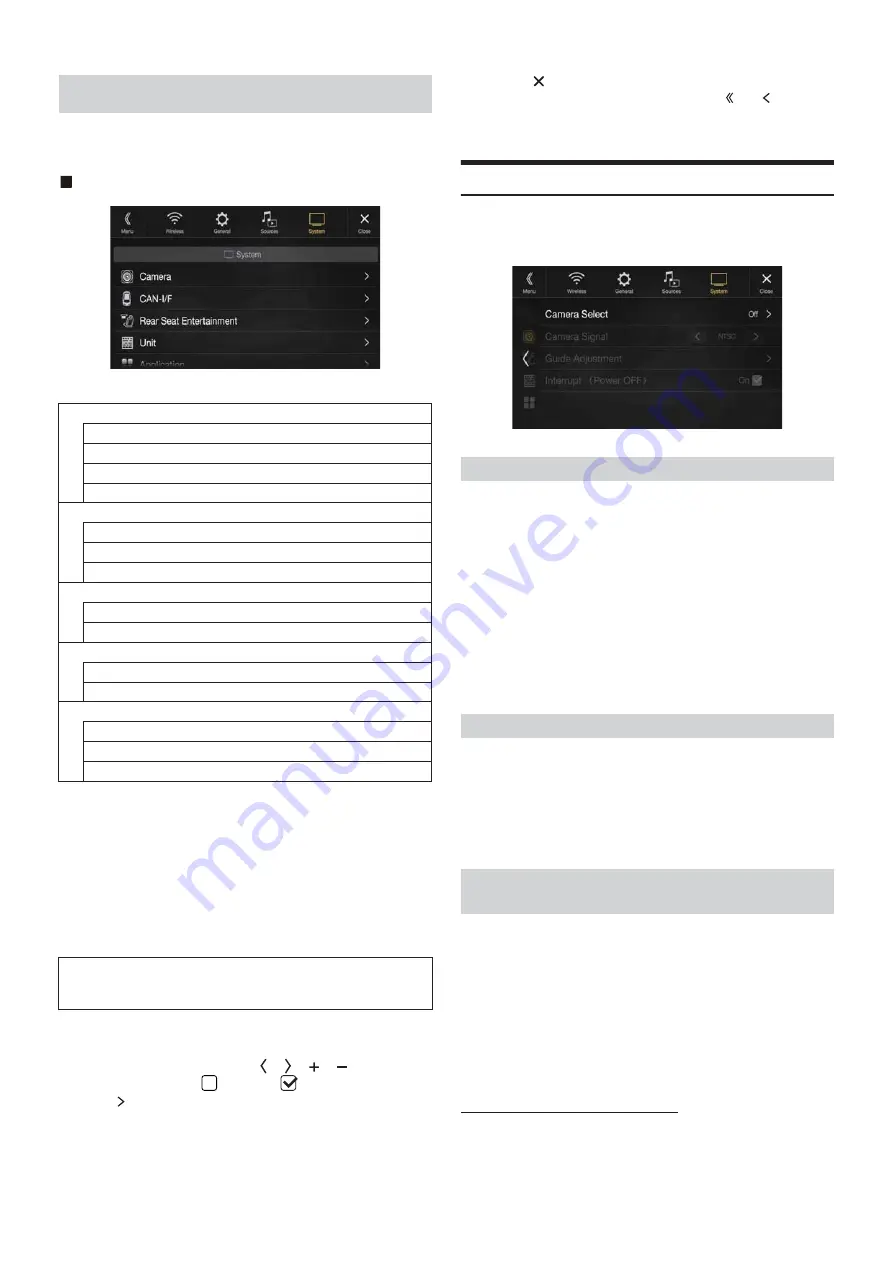
[System]
is selected on the Setup main screen in step 3. See “Setup
Operation” (page 27).
System Setup Menu screen
<Setting items>
*1
When you select “Camera Selector” in “Camera Select”, the setting item
is different. For details, see “Setting Multi Camera to On/Off ”
(page 46).
*2
When Camera Select is set to “Off,” you cannot select this item.
*3
You can select this item only when Camera Select is “Front” or “Rear.”
*4
You can select this item only when Camera Select is “Rear.”
*5
Set this setting after closing the Alpine TuneIt App and Alpine Connect
App.
*6
Set this setting after closing the Alpine TuneIt App.
*7
Set this setting after closing the Alpine Connect App.
1
Select the desired item.
2
To switch the setting, touch
[ ]
,
[ ]
,
[
]
,
[
]
, or mark the
checkboxes “Off” (
) or “On” (
).
• If “ ” appears, there is a further hierarchy. Touch the desired
item.
3
Touch
[
]
to return to the main source screen.
• To return to the previous List screen, touch
[ ]
or
[ ]
in the
previous page. For details, see “About Basic Operation for List
Screen” (page 17).
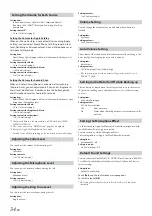
Camera Setup
[Camera]
is selected on the System Setup Menu screen in step 1. See
“System Setup” (page 44).
You can set up items related to the Camera.
Setting item:
Camera Select
Setting contents:
Off (Initial setting) / Front / Rear / Other / Camera Selector
*
When selecting Camera Selector, you can set the Front Camera/Rear
Camera/Side Camera to On/Off. For details, see “Setting Multi Camera
to On/Off ” (page 46).
When the camera is connected, the video input signal type can be
chosen.
Further setting item:
Camera Signal
Setting contents:
NTSC (Initial setting) / PAL
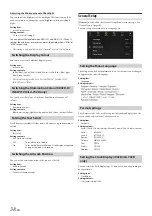
The video pattern can be changed when connected to Multi View
Camera.
When Camera Select is set to “Off ” or “Other,” you cannot select this
item.
Setting item:
Guide Adjustment
1
Touch
[Guide Adjustment]
.
The camera guide adjustment screen is displayed.
Multi View compatible Side Camera
2
Touch
[Front]
or
[Rear]
.
The view will change to the selected view.
System Setup
Camera*
1
Camera Select
Camera Signal*
2
Guide Adjustment*
3
Interrupt (Power OFF)*
4
CAN-I/F
Default Vehicle Screen
Climate screen interrupt time
Parking sensor interrupt
Rear Seat Entertainment
Rear Seat Entertainment
Remote Sensor
Unit
External AP
HDMI selector
Application
Connectivity Setting*
5
(X902D/X802D-U/INE-W710D only)
Alpine TuneIt App*
6
Alpine Connect*
7
(X902D/X802D-U/INE-W710D only)
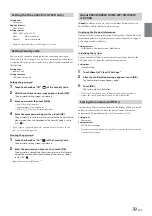
The following steps 1 to 3 are common to each “Setting
item” of System Setup. See each section for details.
Setting the Camera Input
Front:
Front camera
Rear:
Rear camera
Other:
Side camera, Room camera, etc.
Camera
Selector*:
Front Camera/Rear Camera/Side Camera connected to
the optional Multi Camera Interface module.
Setting the Camera Signal Input
Switching Video Patterns for Multi View
Camera
Summary of Contents for i902D
Page 97: ......


