18
-EN
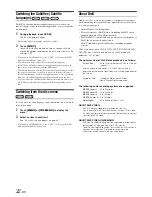
Turning Power On or Off
Some of this unit’s functions cannot be performed while the vehicle is in
motion. Be sure to stop your vehicle in a safe location and apply the
parking brake, before attempting these operations.
1
Press
SOURCE/
to turn on the unit.
•
The unit can be turned on by pressing any button.
2
Press and hold
SOURCE/
for at least 3 seconds to
turn off the unit.
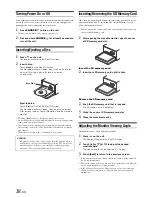
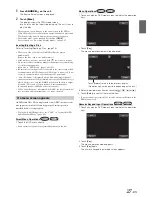
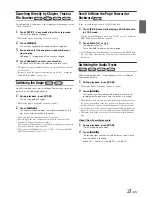
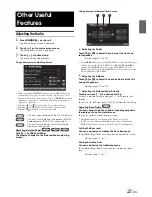
Inserting/Ejecting a Disc
1
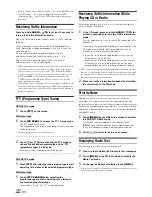
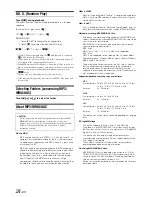
Press
on the unit.
The display changes to the Eject/Tilt screen.
2
Insert a disc:
Touch
[Open]
on the Eject/Tilt screen.
The movable monitor will open, then insert a disc into the
disc slot. Inserting a disc will close the monitor
automatically.
Eject the disc:
Touch
[Eject]
of Disc on the Eject/Tilt screen.
The movable monitor will open. Then the disc is ejected.
After remove the disc, touch
[Close]
to close the movable
monitor.
•
Touching
[Exit]
returns to the earlier main source screen.
•
Do not apply shock to the movable monitor when it is open as it may
result in malfunction of the unit.
•
The monitor may be dim during low temperature and immediately
after turning on the power. The brightness will return to normal as
time elapses.
•
The monitor will stop at the set tilt angle when closing.
Inserting/Removing the SD Memory Card
Video data recorded in the SD memory card can be played back by the
player built in this unit. To insert and take out the SD memory card,
follow the instructions below.
•
You can update the software and map of navigation system by using
an optional SD memory card.
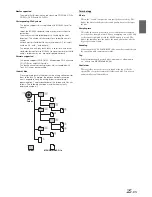
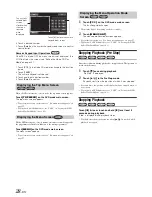
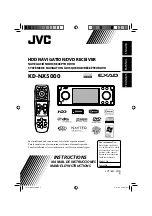
1
After opening the movable monitor, open the cover
of SD memory card slot.
Insert the SD memory card
2
Insert your SD memory card until it clicks.
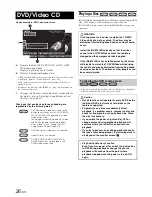
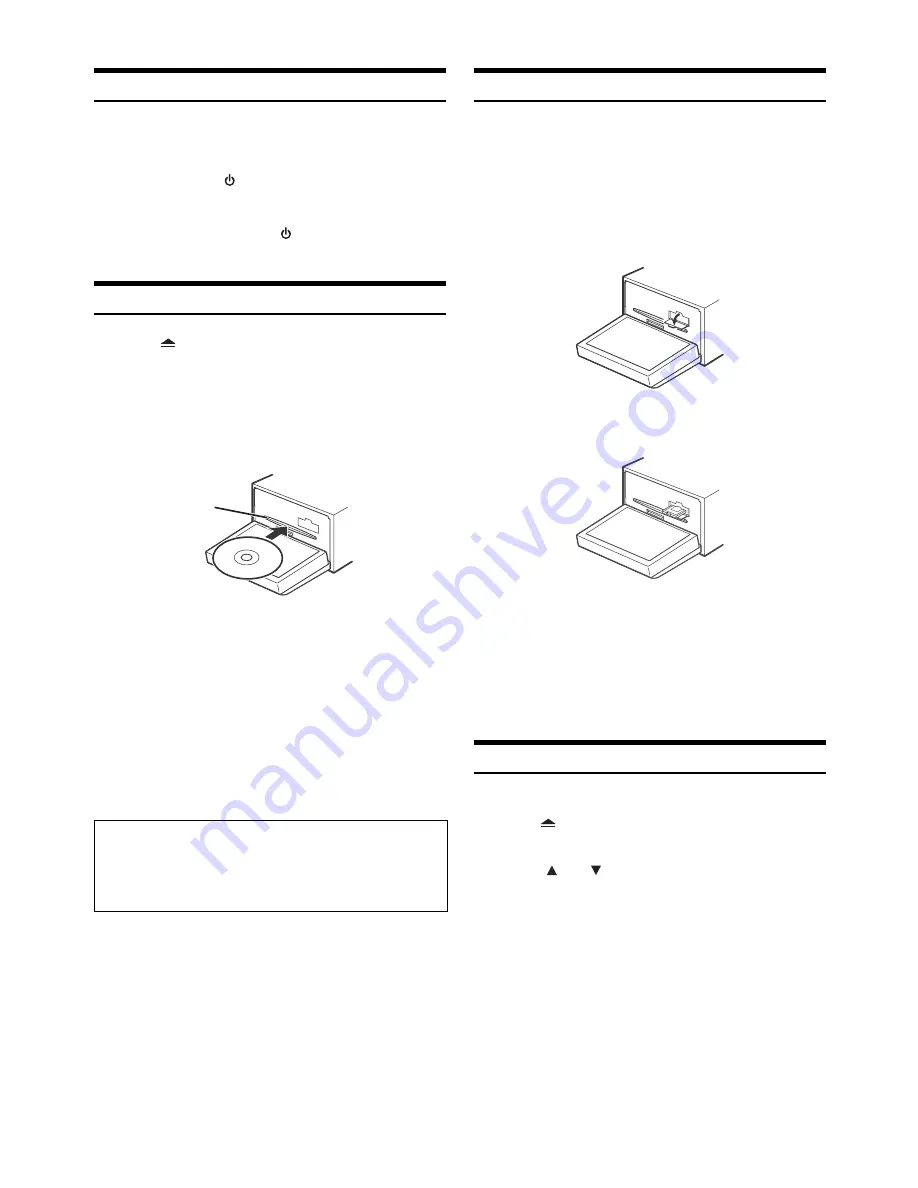
Remove the SD memory card
2
Push the SD memory card that is inserted.
The SD memory card is pulled out.
3
Close the cover of SD memory card slot.
4
Close the movable monitor.
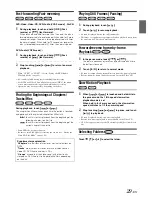
Adjusting the Monitor Viewing Angle
Adjust the monitor’s angle for better visibility.
1
Press
on the unit.
The display changes to the Eject/Tilt screen.
2
Touch
[
]
or
[
]
of Tilt to adjust the desired
monitor angle.
The monitor angle can be adjusted in 5 stages.
3
Touch
[Exit]
to return to the previous screen.
•
If the monitor touches an obstacle while the angle is being adjusted,
it will stop immediately.
•
The screen colour will vary when viewed at certain angles. Adjust the
screen angle for the best viewing position.
•
If the voltage of the vehicle’s battery power is low, the screen may
blink when the screen angle is changed. This is normal and not a
malfunction.
CAUTION
Keep hands (or any other object) away from the monitor while it
is opening or closing to avoid damage or injury. The back of the
movable monitor will get very warm under normal operating
conditions. This is not a malfunction. Do not touch.
Disc Slot

