46
Difference measurement and Pass/Fail
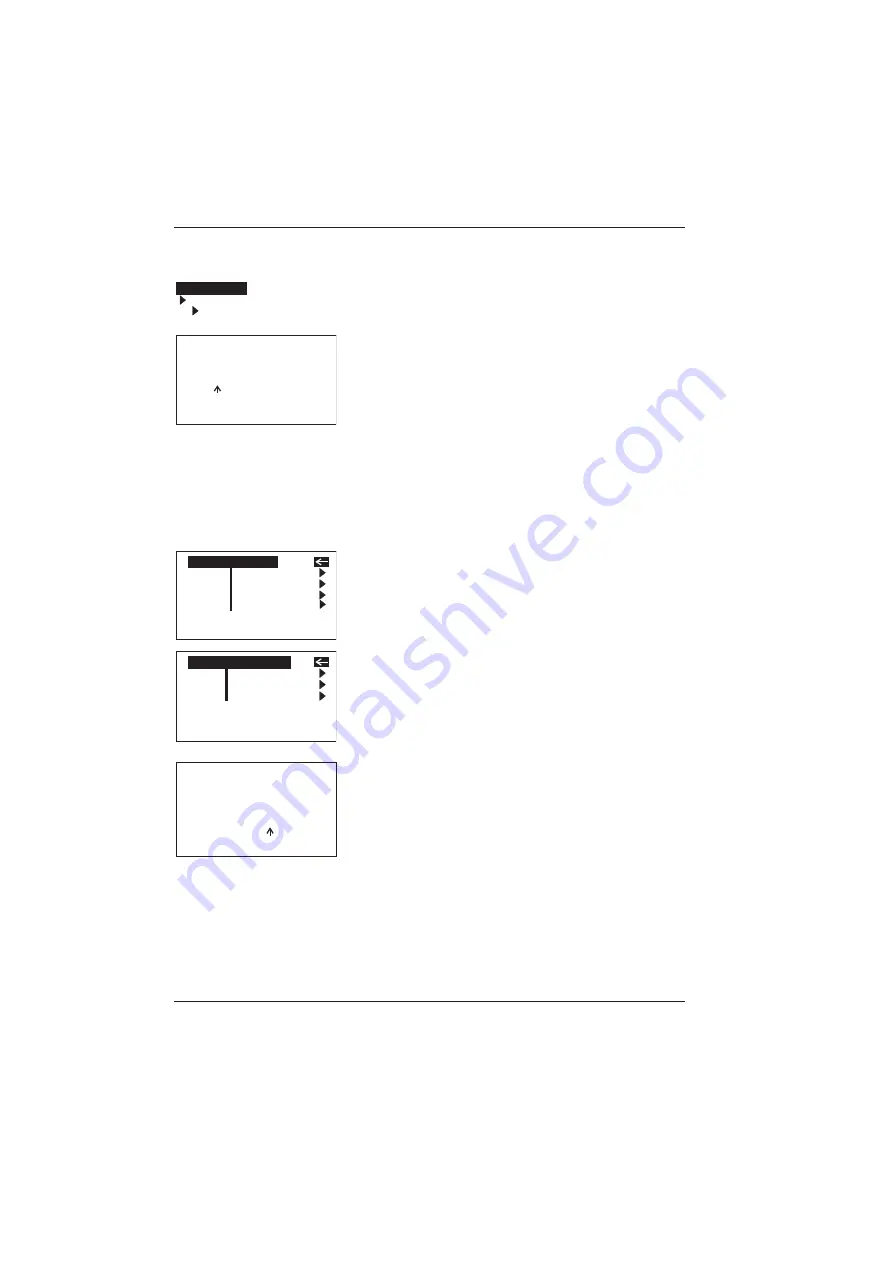
11.4 Create standard
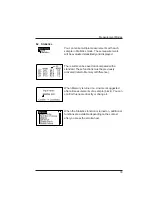
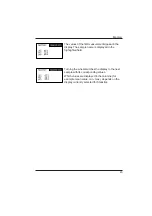
Standards can also be saved by entering the target
and limit values with the scroll wheel. Move the
mark to “Create standard” and activate the function.
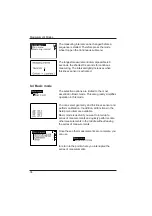
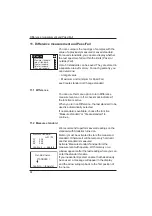
A display appears in which you must assign a name
for the new standard. If you inadvertently select a
name that has already been used, a message will
appear to this effect and the marker arrow will jump
back to the first position of the name. Confirm the
name with the operate button.
In the next step you can define the target and limit
values of your standard.
Define standard
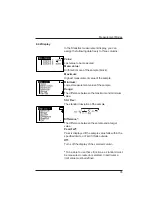
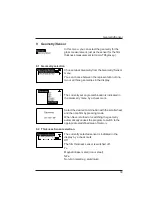
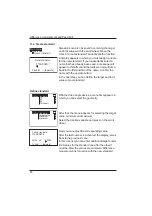
With the three angle device, a menu first appears in
which you can select the geometry.
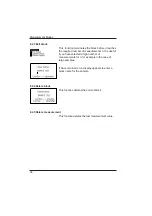
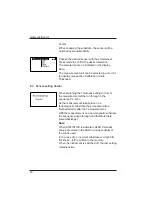
After that, the menu appears for selecting the target
value, minimum and maximum.
Select the desired variable and press on the scroll
wheel.
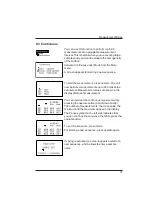
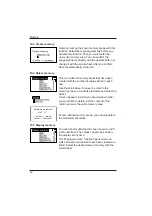
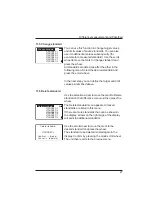
Now you can adjust the corresponding value.
After the last number is activated, the display jumps
back to the previous menu.
In this manner you can enter additional target and/or
limit values for the standard one after the other if
need be. After the entries are complete, Difference
measurement is turned on with the new standard.
Main menu
Difference
Create standard
Standard name:
STANDARD 1
Confirm --> [operate]
Define standard
20°
60°
85°
Thickness
Define standard
Target value
Minimum
Maximum
Define standard
STANDARD 5
Value 20° 0000.0
Cancel --> [operate]


