20
Calibrate
6. Calibrate
Three calibration standards are supplied with
the measuring instrument. These include a black
standard and a white standard for calibration of
the instrument, as well as a green test standard.
To perform the gloss calibration, the instrument is
further equipped with a high-gloss standard. All
standards are manufactured from highly stable
materials. When performing calibration, it is
especially important to ensure that:
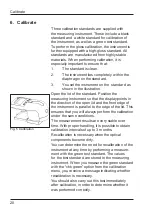
1.
The standard is clean.
2.
The instrument lies completely within the
diaphragm on the standard.
3.
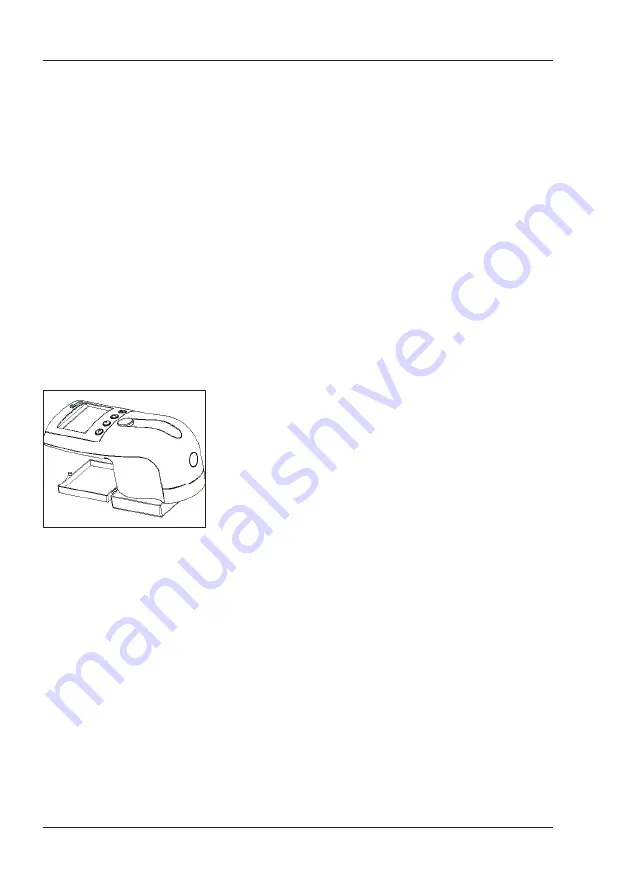
You set the instrument on the standard as
shown in the illustration.
Open the lid of the standard. Position the
measuring instrument so that the display points in
the direction of the open lid and the front edge of
the instrument is parallel to the edge of the lid. This
ensures that you will always perform the calibration
under the same conditions.
The measurement results are very stable over
time. With proper handling, it is possible to obtain
calibration intervals of up to 3 months.
Recalibration is necessary when the optical
components become dirty.
You can determine the need for recalibration of the
instrument at any time by performing a measure-
ment with the green test standard. The values
for the test standard are stored in the measuring
instrument. When you measure the green standard
with the “chk green” option from the calib ration
menu, you receive a message indicating whether
recalibration is necessary.
You should also carry out this test immediately
after calibration, in order to determine whether it
was performed correctly.
Fig. 5 Calibration
Summary of Contents for BYK spectro-guide 45/0 gloss
Page 58: ...57 Setting Custom1 Setting Custom2 Options...
Page 74: ...250 020 858 E 1105...


