Stratix II Memory Board 2 Rev A User Guide Rev 0.1
Altera Confidential
13
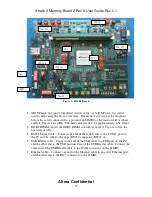
10/100-Mbit Ethernet cable
2.3.2.2
Test Setup
Perform the following steps to set up the Nios Stamp test.
1. Move the power switch to the OFF position.
2. Connect one end of the RS-232 cable to port A (J12) of the board, and the other end of
the cable to the COM1 port of the computer.
3. Connect one end of the 10/100-Mbit Ethernet cable to the RJ-45 connector (J21), and
the other end of the cable to a network with an available dynamic host configuration
protocol (DHCP) server.
4. Move the power switch to the ON position.
5. Open the BTS directory in the Production Test files provided with the board, and run
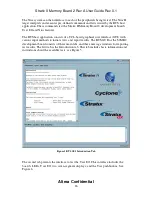
the BTS GUI batch file (bts_test.bat). This file downloads the required Nios code to the
FPGA, and launches the BTS GUI. Wait for the BTS GUI to open. If there is an error in
the setup, the BTS GUI will not start. Please make sure that only one bts_test.bat is
running at a time.
2.3.2.3
Run the Nios Stamp Test
Perform the following steps to execute the Nios Stamp test.
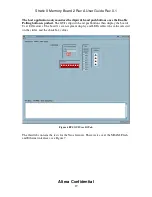
1. Choose Open Port > RS232 Com1 (BTS menu) to open the COM1 port.
2. Click the Nios Stamp tab.
3. Click the Start Tests button under SRAM. This runs the “Walking Ones on Address”
and “Walking Ones on Data” tests.
4. Verify that the tests complete without errors. The test results appear in the Nios Stamp
Msgs window, and should read as follows.
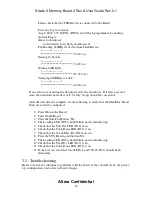
Starting Test
Walking Ones on Data
Walking Ones on Address
There were 0 error(s).
Test Complete
5. Click the Start Tests button under Flash. This runs the “Walking Ones on Address”, the
“Walking Ones on Data”, and the “Erase Flash” tests. This test may take 3 to 4 minutes
to complete.


