Page - 16 -
CLARKE TECHNOLOGY Operator's Manual - Ultra Speed Burnisher
HOW TO PREPARE THE MACHINE
FOR OPERATION
How To Install the Pads
WARNING: Always remove the electrical
plug from the electrical outlet
before installing or changing the
pad.
The pad driver assembly is on the bottom underside of
the machine. The pad holder holds the pad in position.
The machine has a screw-on pad holder. To install the
pad, follow this procedure:
1. Lock the handle in the verticle position.
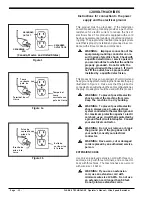
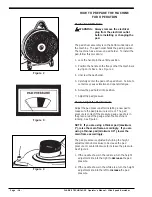
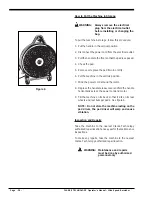
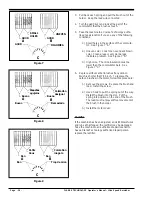
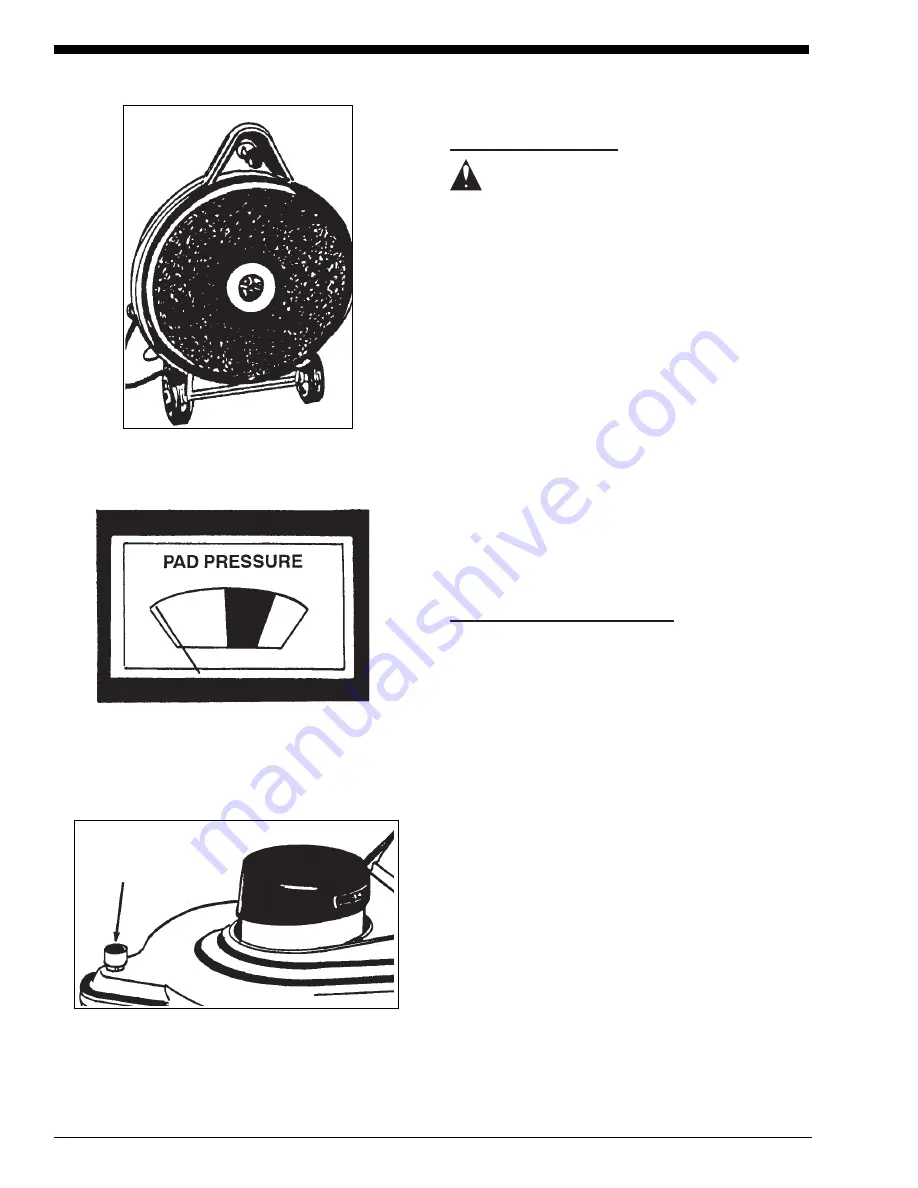
3. Position the handle on the floor, so that the machine is
laying on its back. See Figure 2.
4. Unscrew the pad holder.
5. Carefully center the pad on the pad driver. Failure to
center may cause vibration and operator fatigue.
6. Screw the pad holder into position.
7. Adjust the pad pressure.
How to Adjust the Pad Pressure
Adjust the pad pressure after installing a new pad to
make sure the pad pressure is correct. The pad
pressure is correct if the pressure gauge needle is in
the green area of the gauge when the machine is
running. See Figure 3.
NOTE: If you are using a thicker pad (maximum
1"), raise the main frame accordingly. If you are
using a thinner pad (minimum 1/4"), lower the
main frame accordingly.
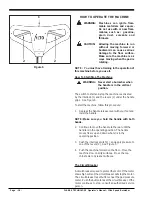
The pad pressure is adjusted by turning the height
adjustment knob clockwise to decrease the pad
pressure or counterclockwise to increase the pressure.
See Figure 4.
1. If the needle shows in the red area, turn the height
adjustment knob to the right to
decrease
the pad
pressure.
2. If the needle shows in the white area, turn the height
adjustment knob to the left to
increase
the pad
pressure.
Figure 2
Figure 3
Figure 4
Summary of Contents for 120V
Page 34: ...NOTES ...

