51
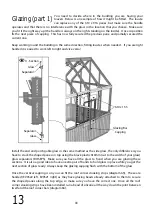
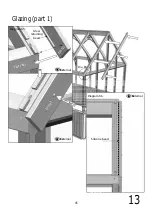
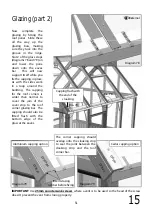
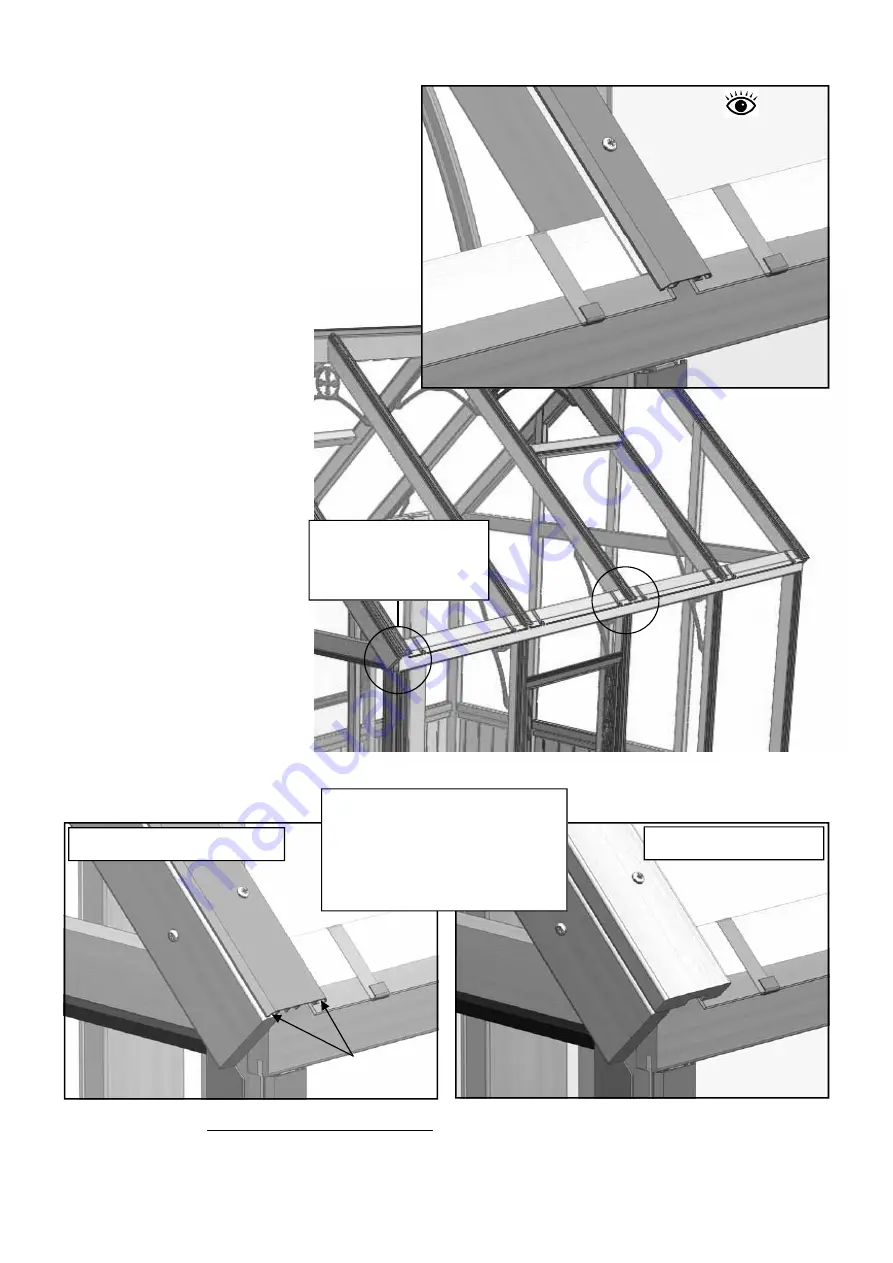
Now complete the
glazing by fitting the
roof panes. Slide these
all the way up the
glazing bars, making
sure they tuck into the
groove in the ridge.
Slot 2 of the glass stops
(diagrams 78 and 79) on
and lower the pane
down onto the eaves
bar. This will now
support itself while you
fix the capping in place.
As with the sides work
in a loop around the
building. The capping
for the roof corners is
wider than normal to
cover the join of the
cover strip to the roof
corner glazing bar. The
capping should also be
fitted flush with the
bottom edge of the
glass at the eaves.
Glazing (part 2)
15
IMPORTANT
: Use
25mm countersunk screws
where a vent is to be used so the head of the screw
doesn’t prevent the vent from closing properly.
EV
069
3M
EV
05
93
Insert Glazing
rubber before fixing
EV
05
21
Aluminium capping option
Cedar capping option
EV
05
21
Capping flush with
the end of the
cloaking
Ex
ternal
Diagram 78
Dia. 78
Dia. 79
Diagram 79
Diagram 79
EV
03
13
M
EV
03
13
M
The corner capping should
overlap onto the cloaking strip
to seal the joint between the
cloaking strip and the roof
corner bar.

