7
Base Assembly
3
Stan
dard
Sid
e
EV0
295
M
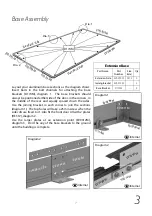
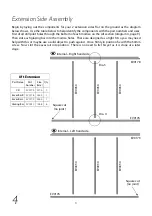
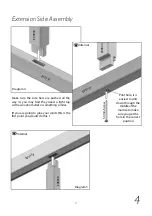
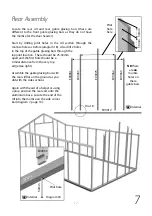
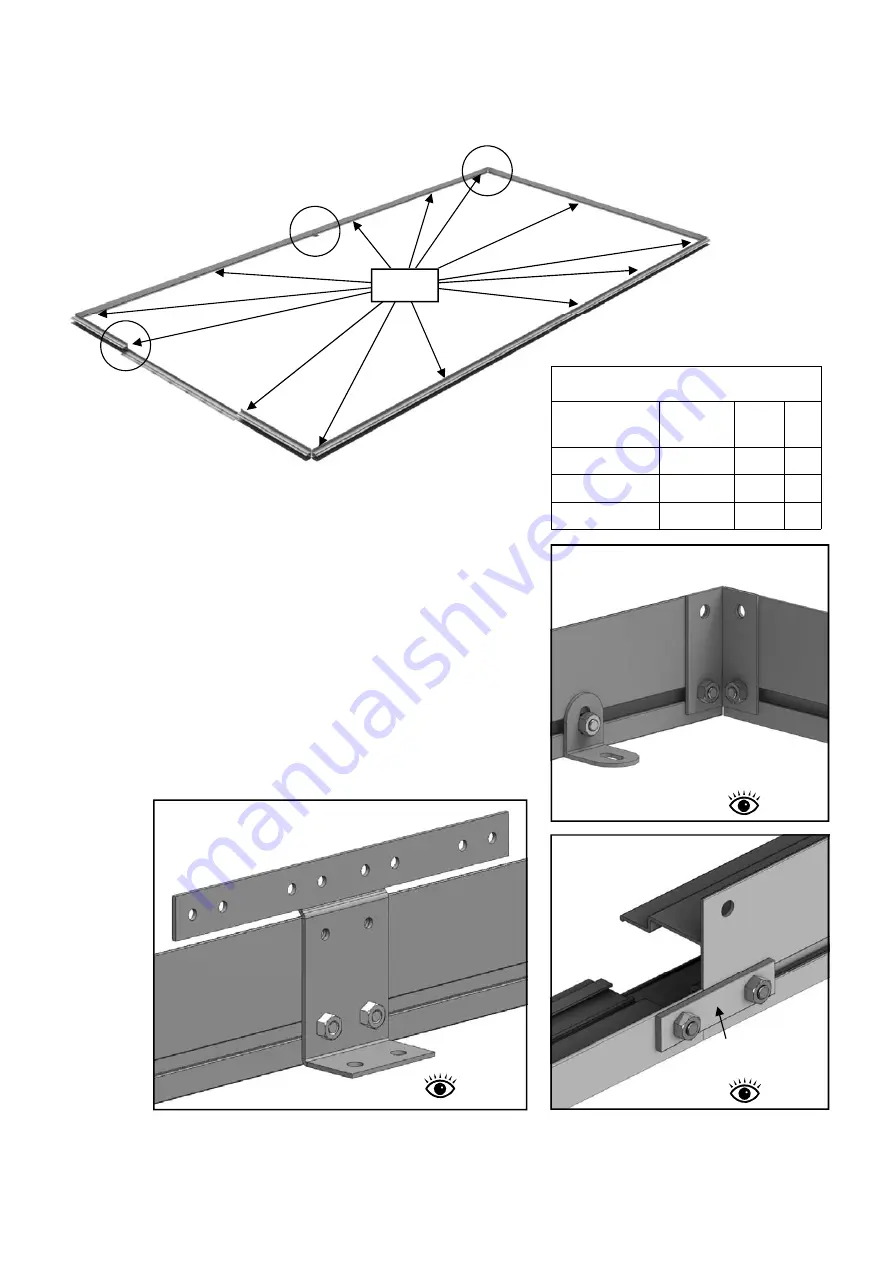
Lay out your aluminium base sections as the diagram shows.
Insert bolts in the bolt channels for attaching the base
brackets (D174M), diagram 1. The base brackets should
always be positioned either side of the door, in the corners, in
the middle of the rear and equally spaced down the sides.
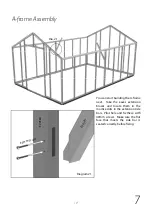
Use the joining bracket in each corner to join the sections
(diagram 1). The top holes will take a 25mm screw when the
side cills are fixed to it. Also fit the front door cill with 2 plates
(HE512), diagram 2.
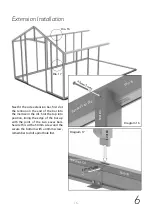
Use the larger plates at an extension point (EV0312M),
diagram 3. Don’t fix any of the base brackets to the ground
until the building is complete.
Extension Base
Part Name
Part
Number
Size
(mm)
Qty
Extension Side
EV0299M 2519 2
Joining Bracket
EV0312M - 2
Base Bracket
D174M - 4
EV0295
M
EV0
288
M
Dia. 2
Dia. 1
EV0311M
D174M
EV02
99M
EV0300
M
Internal
Diagram 1
EV
02
88
M
HE
512M
EV0
295M
Internal
Diagram 2
EV030
0M
Dia. 3
Sta
nd
ard
Sid
e
D174M
EV
02
99
M
Diagram 2
EV03
07M
EV03
12M
Stan
dard
Side
Internal


