1. Introduction
11
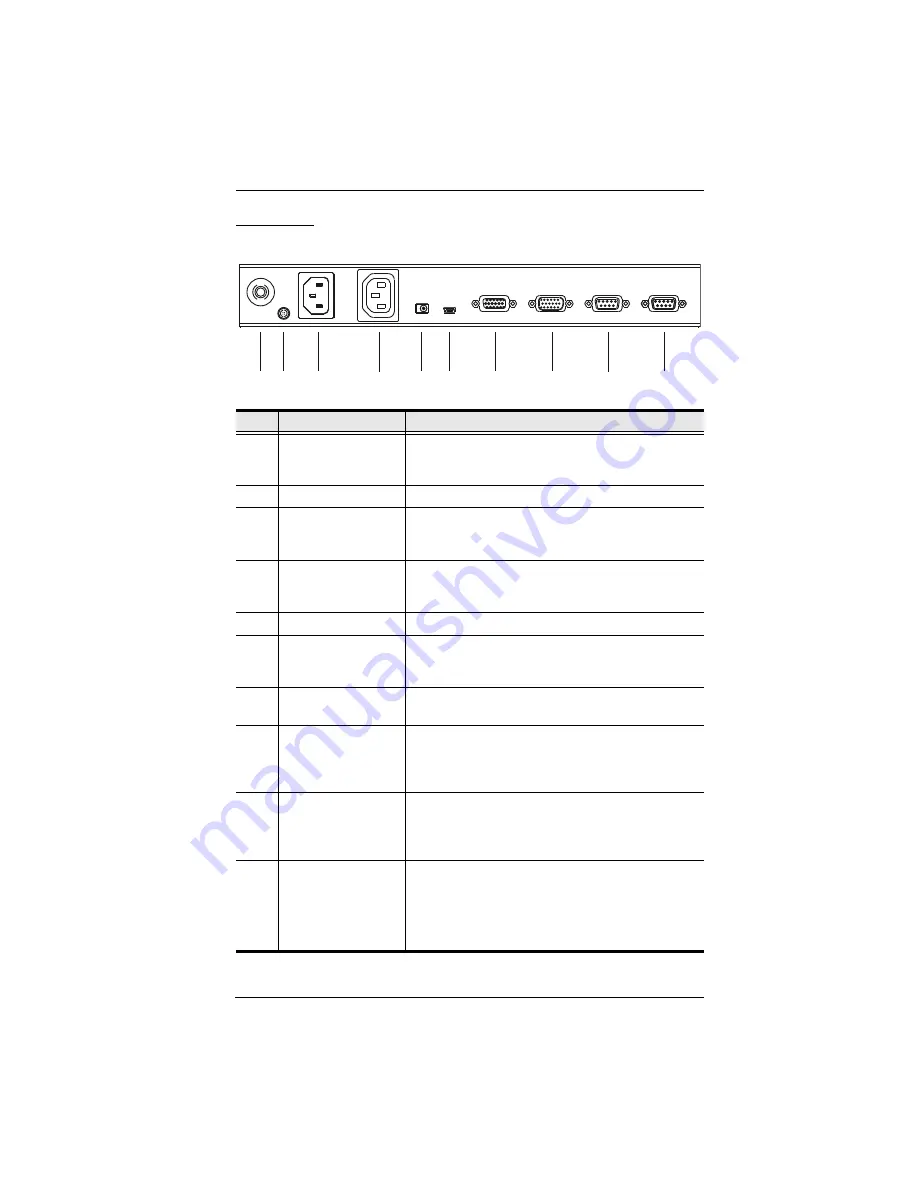
Rear View
No.
Component
Description
1
Circuit Breaker
As a safety measure, if there is an overcurrent
situation, the circuit breaker will trip. Press this button
to recover normal operation.
2
Grounding Terminal
The wire used to ground the unit connects here.
3
Power Inlet
The power cord that connects the KN1000 to an AC
power source for power management functionality
plugs in here.
4
Power Outlet
The power cord provided with the KN1000 package
that connects to the server for power management
plugs in here. See
Managing Power
, page 25.
5
Power Jack
The power adapter cable plugs in here.
6
Virtual Media Port
The cable that connects the KN1000 to a USB port on
your server or KVM switch plugs in here. See
Virtual
Media
, page 94, for virtual media details.
7
PC/KVM Port
The KVM cable provided with this package that links
the KN1000 to your server / KVM switch plugs in here.
8
Console Port
The cable for the local console (keyboard, monitor,
and mouse) plugs in here. The console can use either
a PS/2 or USB keyboard and mouse. Each connector
is color coded and marked with an appropriate icon.
9
PON Port
This port is made available for use with a Power over
the NET™ remote power management module. Refer
to the User Manual that came with the PON device for
operation details.
10
RS-232 Port
This serial port is provided for:
1. Serial console management (see
Console
Management
, page 59 for details); or
2. Out-of-band modem operation (see
OOBC
,
page 62 for details).
1
2
3
4
5
6
7
8
9
10
Summary of Contents for KN1000
Page 1: ...KVM Over the NET KN1000 User Manual www aten com ...
Page 14: ...KN1000 User Manual xiv This Page Intentionally Left Blank ...
Page 32: ...KN1000 User Manual 18 2 1 ...
Page 48: ...KN1000 User Manual 34 This Page Intentionally Left Blank ...
Page 90: ...KN1000 User Manual 76 ...
Page 120: ...KN1000 User Manual 106 This Page Intentionally Left Blank ...
Page 124: ...KN1000 User Manual 110 ...
Page 136: ...KN1000 User Manual 122 This Page Intentionally Left Blank ...


