16
Language:
English
Model
:
Netti 4U comfort|FA
Version:
November 2010
Language:
English
Model:
Netti 4U comfort|FA
Version:
November 2010
Language:
English
Model
:
Netti 4U comfort|FA
Version:
November 2010
Language:
English
Model:
Netti 4U comfort|FA
Version:
November 2010
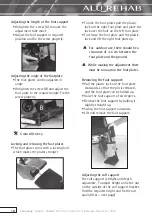
• The back rest hinge has 6 holes (Ill. 6.5.4)
and the chairs are delivered with two
locking heads. What hole that should be
used together with what locking head
are descipted in the following table in
accordance with ill. 6.5.4
Seat depth
Hole position
39.0 cm
a6 - B10
41,5 cm
a5 - B9
44,0 cm
a4 - B8
46,5 cm
a3 - B7
49,0 cm
a2 - C7
51.5 cm
a1 - D7
6.7 Seat depth adjustment
at the rear.
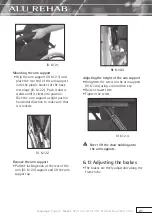
• If the seat depth should be adjusted at
the rear, release the locking bolt from
the plastic bracket (Ill. 6.5.2.).
• Find the required position for the locking
head in the plastic bracket, and remove
the plastic plug from this hole.
• Lock the back rest by pushing the
locking bolt through the plastic bracket
and the gas spring locking head.
• After changing the hole position in the
plastic bracket, the hole position in the
back rest hinge must be changed into
the parallel position.
Check that the hole in the back rest
hinge and the plastic bracket are
mounted in parallel position.
6 mm Allen-key
6.8 Seat depth adjustment
in front
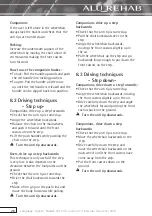
It is possible to adjust the seat depth with
up to 10 cm in front. Do the following
• Screw out the screws in the adjustment
piece.
• Place the adjustment piece in the wanted
position
• Replace and tighten the screws
6 mm Allen-key
If the user has spastic tendencies the
adjustment piece should not be pulled
out more than 5 cm
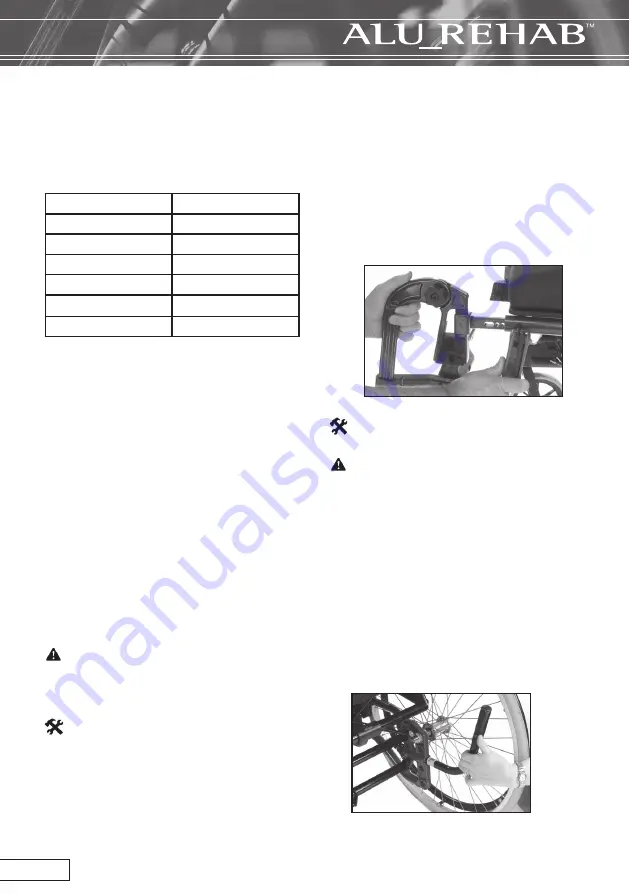
6.9 Anti tip
The anti tips should be mounted according
to the mounting description which is
enclosed with the chair upon arrival.
Use of the anti tip
• Pull the anti tip out
• Turn it up or down 180°.
• Lock it in position


