Caddx
®
NX
™
Programming
Compatible Panels
• All NX series panels
1. Set up an account with your interactive services provider.
2. Add a contact that uses the system MASTER CODE to the account before connecting the IGM.
This is required for the IGM to be able to properly configure the system settings.
3. Disarm the system (all partitions).
4. Power down the NX system.
5. Set the IGM’s panel selector switch to
NX
.
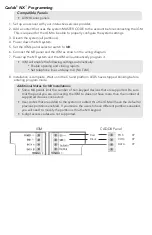
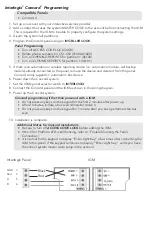
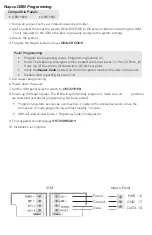
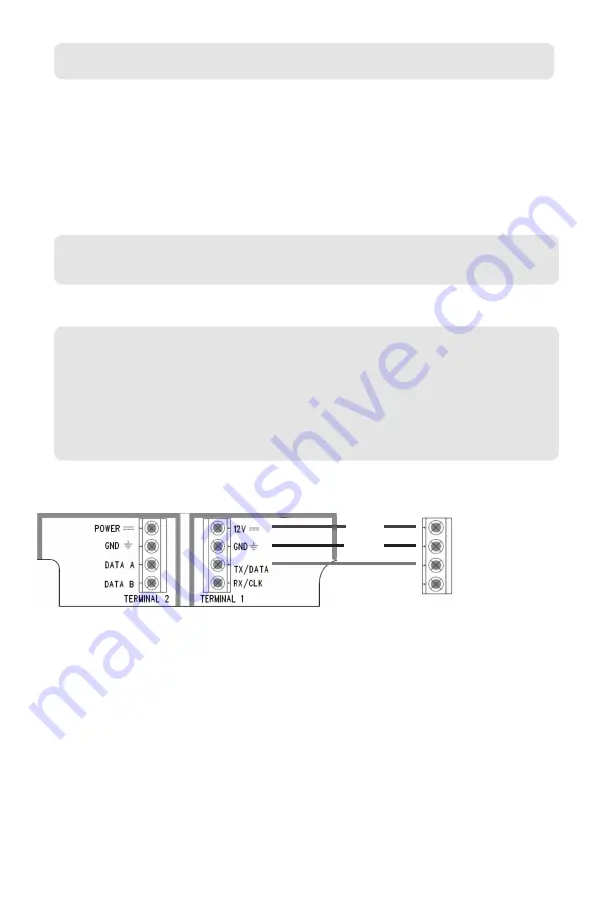
6. Connect the NX panel and the IGM as shown in the wiring diagram.
7. Power up the NX system and the IGM will automatically program it.
• IGM will enable the following settings automatically:
* Enable opening and closing reports
* Set telephone line cut delay to 0 (No TLM)
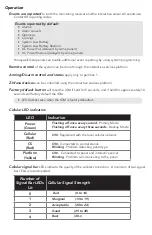
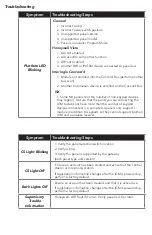
8. Installation is complete. Wait until the CS and platform LEDS have stopped blinking before
entering program mode.
Additional Notes for NX Installations
• Some NX panels limit the number of non-keypad devices that are supported. Be sure
that the panel you are connecting the IGM to does not have more than the number of
supported devices connected.
• User codes that are added to the system or edited thru the IGM will have the default or
previous partitions enabled. If you desire the users to have different partitions enabled,
you will need to modify the partitions thru the NX keypad.
• 6-digit access codes are not supported.
Red
POS
KP
Black
COM
KP
DATA
KP
CADDX Panel
IGM


