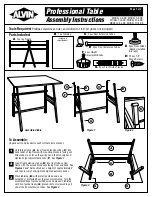
Professional Table
Assembly Instructions
TIP
5
6
7
©2015
Alvin & CompAny, inC. • P.O. Box 188, Windsor, CT 06095-0722
Phone: 860-243-8991 • Toll-Free: 800-444-2584 • Fax: 860-242-8037 • Toll-Free Fax: 800-777-2896
www.alvinco.com
LIT-A15138 11/15
Drop all extension tubes down to their lowest positions. Lift
the tabletop up until the front extension tubes disengage from
the front guide tracks, then move the left leg frame in until it
is flush against the rear frame assembly. Next, move the right
leg frame in flush against the left leg frame. Gently lower the
tabletop down flush against the folded legs. The table is now
ready for storage.
To Fold Table:
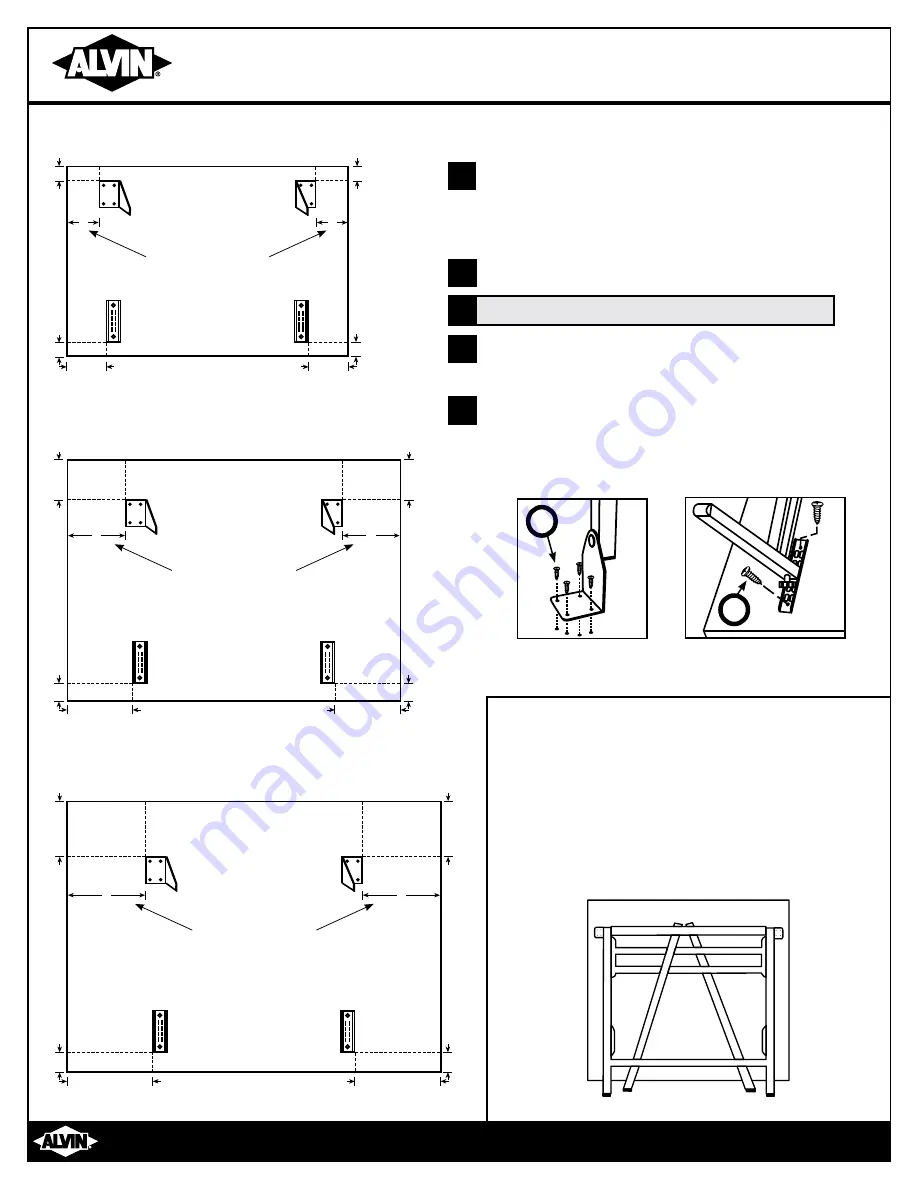
For 24" x 36" Tabletop
Center base frame until
A
dimensions are equal
Front
Back
1"
33/4"
11/2"
11/2"
1"
33/4"
A
A
For 36" x 48" Tabletop
Front
Back
101/2"
101/2"
2"
93/4"
2"
93/4"
A
A
Center base frame until
A
dimensions are equal
For 31" x 42" Tabletop
Front
Back
51/2"
51/2"
2"
63/4"
2"
A
A
Center base frame until
A
dimensions are equal
63/4"
Page 2 of 2
Position the frame and front guide tracks using the
dimensions to the left, according to the size of your
tabletop. Be sure to center the frame from left to right.
Mark front guide track and rear extension tube bracket hole
locations with a pencil or awl.
Using a 1/16" bit, drill pilot holes 1/4" deep only. Use care
not to drill through the table top.
Wrap masking tape 1/4" from drill bit end to determine drilling depth.
Attach rear extension tube brackets and front guide tracks
to tabletop using 1/2" wood screws (
H
). See
Figures 4 & 5
.
Tighten securely but use care not to strip.
Carefully return table to upright position. Adjust tabletop to
desired height and angle using height adjustment knobs.
You’re finished and your table is ready to use.
Figure 4
Figure 5
4
H
H
x4
x2


