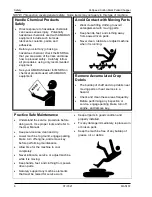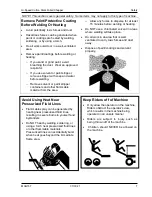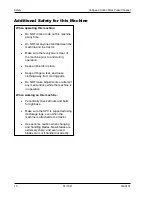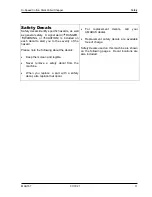
Preparation
Hi-Speed Cotton Stalk Puller/Chopper
18
7/1/21
MAN157
Install Blades
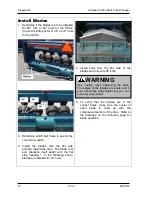
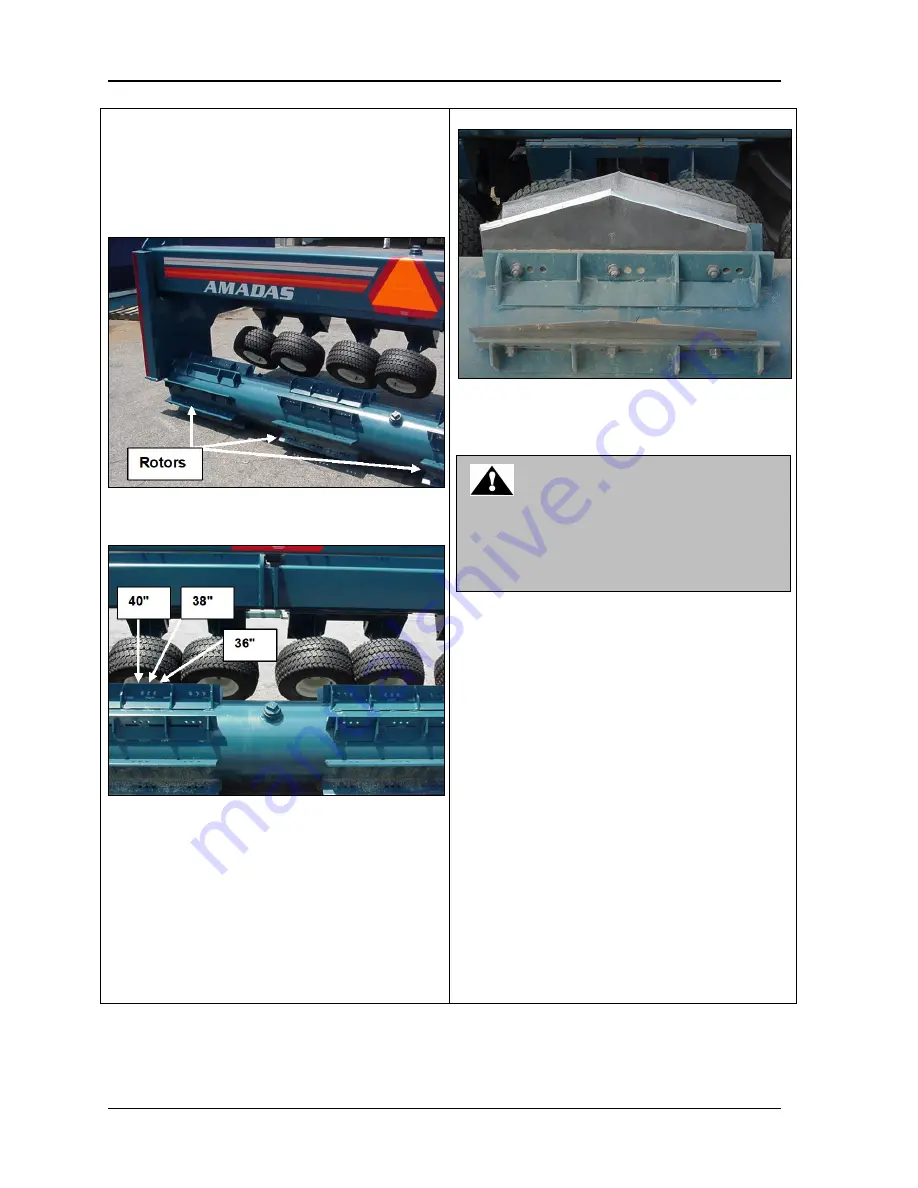
1. Determine if the blades are to be installed
for 36", 38", or 40" rows for the SPC-4
(top and middle photo) or 36” or 38” rows
for the SPC-6.
2. Determine which bolt holes to use for the
correct row width.
3. Install the blades with the flat side
pointing toward the tires. The blade cuts
and sharpens itself better with the flat
side "leading." In the following photo,
blades are installed for 40” rows.
4. Install bolts from the flat side of the
blades and torque to 90 ft-lbs.
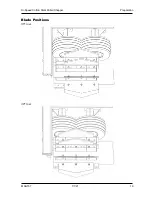
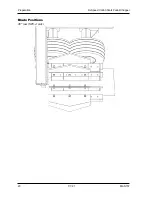
5. To verify that the blades are in the
correct holes, make sure the center of
each blade is lined up with the
compressed portion of the tires. Refer to
the drawings on the following page for
blade positions.
WARNING
Use caution when tightening the bolts.
The edges of the blades are sharp and if
your hand slips while tightening, you can
seriously cut yourself.
Summary of Contents for SPC-4
Page 9: ...Hi Speed Cotton Stalk Puller Chopper Introduction 07 06 21 vii MAN157 Dimensions SPC 4...
Page 10: ...Introduction Hi Speed Cotton Stalk Puller Chopper MAN157 viii 07 06 21 Dimensions SPC 6...
Page 11: ...Hi Speed Cotton Stalk Puller Chopper Introduction 07 06 21 ix MAN157 SPC 4 SPC 6...
Page 23: ...Safety Hi Speed Cotton Stalk Puller Chopper 12 07 01 21 MAN157 Decals...
Page 24: ...Hi Speed Cotton Stalk Puller Chopper Safety MAN157 07 01 21 13 Decal Locations...
Page 25: ...Safety Hi Speed Cotton Stalk Puller Chopper 14 07 01 21 MAN157 NOTES...
Page 35: ...Preparation Hi Speed Cotton Stalk Puller Chopper 24 7 1 21 MAN157 NOTES...
Page 43: ...Operation Hi Speed Cotton Stalk Puller Chopper MAN157 32 7 1 2021 NOTES...
Page 64: ...Hi Speed Cotton Stalk Puller Chopper Troubleshooting 7 1 2021 53 MAN157 6 Troubleshooting...
Page 67: ...Troubleshooting Hi Speed Cotton Stalk Puller Chopper 7 1 21 56 MAN157 NOTES...


