background image

Upon Moving to Final Location

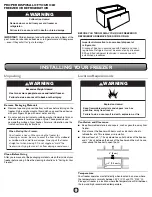
Level the freezer from side to side and front to back so that the lid 
will seal properly. Use shims to level the freezer if necessary.

NOTE: It should not be necessary to remove the lid during 
installation. If, for any reason, the hinges need adjustment, contact 
a designated service company.

Electrical Requirements

Before you move your freezer into its final location, it is important to 
make sure you have the proper electrical connection.

Recommended grounding method

A 115 Volt, 60 Hz., AC only, 15- or 20-amp fused, grounded electrical 
supply is required. It is recommended that a separate circuit serving 
only your freezer be provided. Use an outlet that cannot be turned off 
by a switch. Do not use an extension cord.

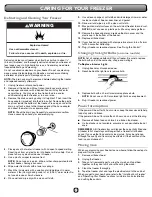
NOTE: Before performing any type of installation, cleaning, or 
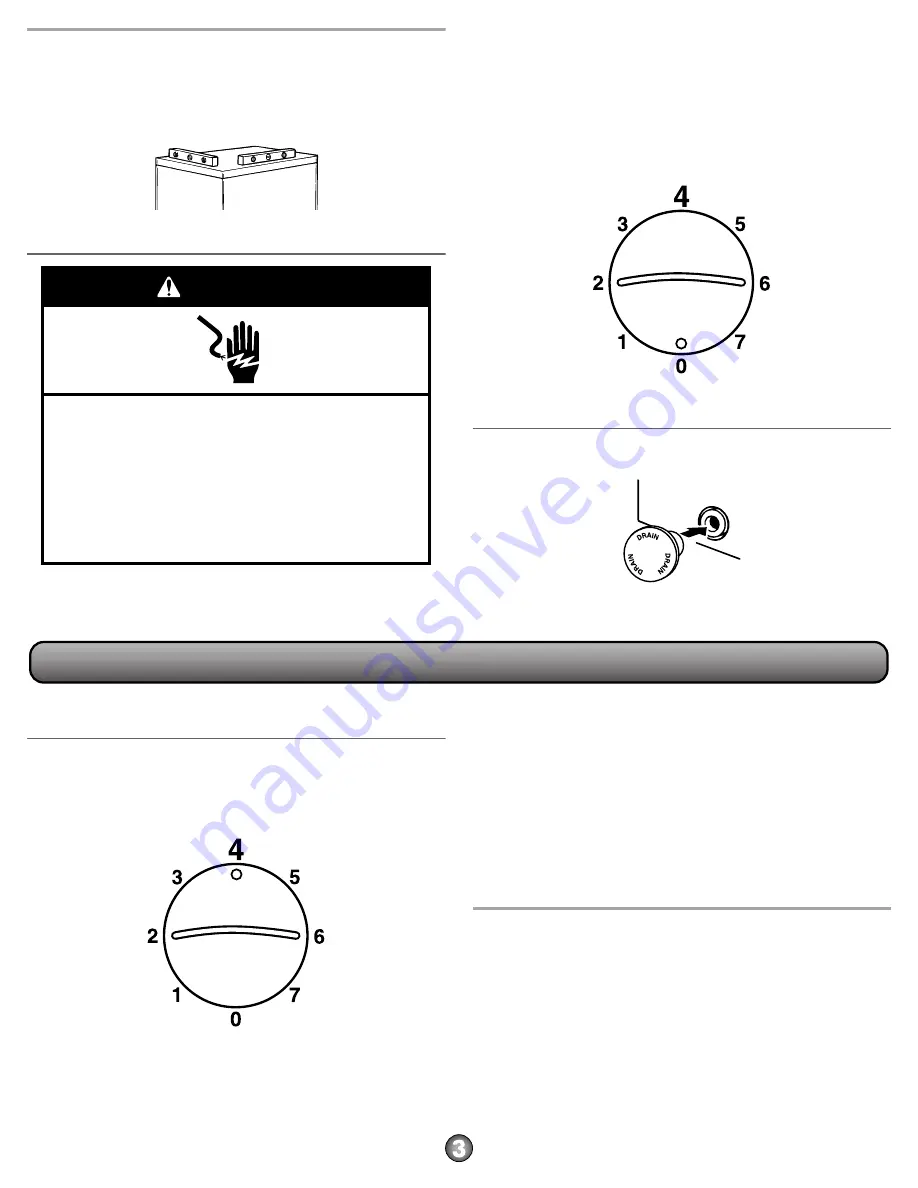
removing a light bulb, turn the temperature control to 0 (

align circle on 

knob with desired number)

, as shown, to turn off cooling, and then 

disconnect the freezer from the electrical source.

Defrost Drain Cover

1. Remove defrost drain cover from the literature package.

2. Push drain cover into drain hole as illustrated.

Using the Control

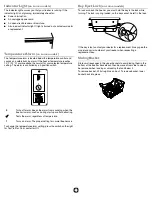
Turn the freezer temperature control to 4 (align circle on knob with 
desired number), as shown below. This setting is designed to maintain 
the temperature at or near 0°F (-17.8°C) under normal operating 
conditions.

Allow the freezer to cool 6 to 8 hours before filling with frozen food.  

NOTES: 

When the freezer is first started, the compressor will run constantly 
until the cabinet is cooled. It may take 6 to 8 hours (or longer), 
depending on room temperature and the number of times the 
freezer lid is opened.

After the cabinet is cooled, the compressor will turn on and off as 
needed to keep the freezer at the proper temperature. 

The outside of your freezer may feel warm. This is normal. The 
freezer’s design and main function is to remove heat from the 
contents and air inside the freezer. The heat is transferred to the 
room air, making the outside of the freezer feel warm.

Adjusting the Control

Turn control to a higher number for colder temperatures. “7” is the 
coldest setting.

Turn control to a lower number for less cold temperatures. “0” is off 
or defrost mode.

Electrical Shock Hazard

Plug into a grounded 3 prong outlet.

Do not remove ground prong.

Do not use an adapter.

Do not use an extension cord.

Failure to follow these instructions can result in death, 
fire, or electrical shock.

WARNING

OPERATING YOUR FREEZER

Summary of Contents for AZC31T15DW

Page 1: ...urt you and others All safety messages will follow the safety alert symbol and either the word DANGER or WARNING These words mean follow instructions DANGER WARNING IMPORTANT SAFETY INSTRUCTIONS To re...

Page 2: ...of the freezer and 2 5 cm between the back of the freezer and the wall Leave room above the freezer to open the lid Temperature Your freezer operates most efficiently when located in an area where the...

Page 3: ...ng the Control Turn the freezer temperature control to 4 align circle on knob with desired number as shown below This setting is designed to maintain the temperature at or near 0 F 17 8 C under normal...

Page 4: ...Test left for On or center for Off Key Eject Lock on some models To lock or unlock the freezer you must hold the key in the lock while turning The lock is spring loaded so the key cannot be left in t...

Page 5: ...an soft cloth 11 Wax painted metal surfaces on the outside of freezer to avoid rust NOTE Do not use wax on plastic parts Wax may damage them 12 Remove the hose adapter and replace the drain cover and...

Page 6: ...me phone number in your correspondence Freezer Operation PROBLEM SOLVER Electrical Shock Hazard Plug into a grounded 3 prong outlet Do not remove ground prong Do not use an adapter Do not use an exten...

Page 7: ...food organized and close door as soon as possible Adding a large amount of food warms the freezer causing the freezer to run longer to cool back down Check that the temperature control is set correctl...

Page 8: ...er filters preservation solutions etc 5 Conversion of products from natural gas or L P gas 6 Damage from accident misuse abuse fire floods acts of God or use with products not approved by Amana 7 Repa...

Page 9: ...appareil m nager Assurez vous de toujours lire tous les messages de s curit et de vous y conformer AVERTISSEMENT DANGER IMPORTANTES INSTRUCTIONS DE S CURIT Pour r duire les risques d incendie de choc...

Page 10: ...e mur Laisser un espace au dessus du cong lateur pour ouvrir le couvercle Temp rature Le cong lateur fonctionne plus efficacement lorsqu il est situ dans un endroit o la temp rature est normalement en...

Page 11: ...mme illustr Utilisation de la commande Tourner la commande de temp rature du cong lateur sur 4 aligner le cercle du bouton avec le num ro souhait tel qu illustr ci dessous Ce r glage est destin mainte...

Page 12: ...he ou du centre pour Off arr t Serrure jection de cl sur certains mod les Pour verrouiller ou d verrouiller le cong lateur vous devez garder la cl dans la serrure en la tournant La serrure est activ e...

Page 13: ...pas utiliser un pic glace un couteau ou autre outil pointu pour d givrer le cong lateur Des dommages peuvent survenir 6 Essuyer l eau des parois avec une serviette ou une ponge 7 Laver les parois int...

Page 14: ...mandes Essayer d abord les solutions sugg r es ici Pour obtenir de l aide ou des conseils qui permettront peut tre d viter une intervention de d pannage consulter la page de garantie de ce manuel et s...

Page 15: ...etis Si le cong lateur a r cemment t branch ou allum la suite d un d givrage ou d un d placement ou si une longue panne de courant s est produite teindre l alarme de temp rature pour les 24 prochaines...

Page 16: ...environnements caustiques ou corrosifs incluant des concentrations lev es de sel un haut degr d humidit ou une exposition des produits chimiques exemples non exhaustifs 10 Perte d aliments ou de m dic...

Reviews: