OPERATION
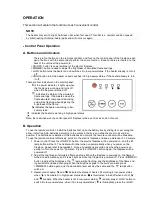
This section will explain the function of each convenient control.
NOTE
The heater may emit a slight, harmless odor when first used. This odor is a normal condition caused
by initial heating of internal heater parts and will not occur again.
•
Control Panel Operation
A. Buttons and indicators
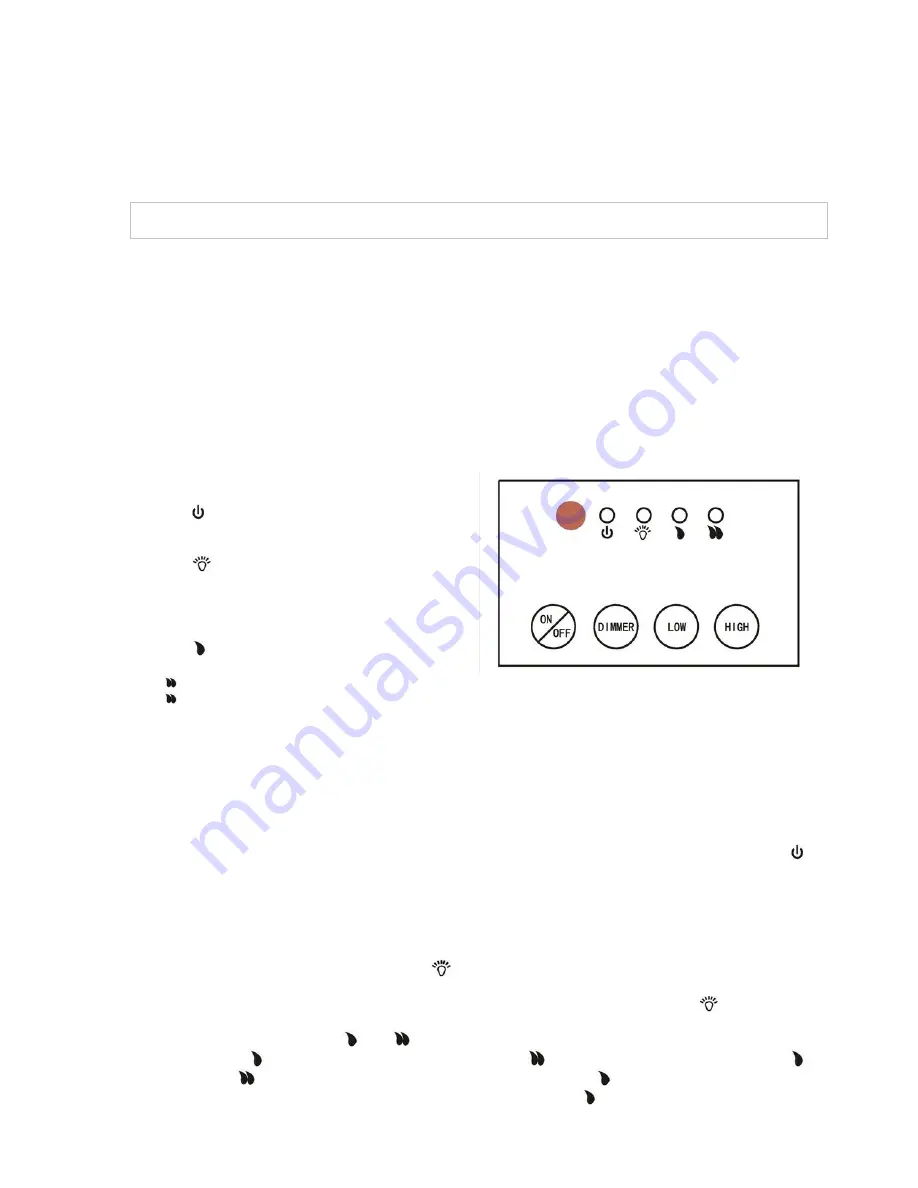
There are four buttons on the remote controller, and four on the control panel of the fireplace, each
pair of buttons with the same label perform the same function, these controls are located on the
back of the unit near the power cord.
<ON/OFF> button is power switcher of the electric fireplace;
<DIMMER> button is used to adjust the brightness of simulated flame and logs;
<LOW> button turns the heater on and switches it to low-power status. If the heater already is, turn it
off;
<HIGH> button turns the heater on and switches it to high-power status. If the heater already is, turn
it off;
There are four indicators on the control panel:
is the power indicator, it lights up when
the fireplace is working, and turns off
when the fireplace is turned off;
indicates the status of the simulated
flame and logs. It illuminates when the
flame simulator component is working,
and will be flashing when adjusting the
brightness of the flame;
indicates the heater is working in low-
power status;
indicates the heater is working in high-power status.
Note, the red window on the control panel of fireplace is the eye of receiver, do not cover.
B. Operation
To use the remote controller, install the batteries first: open the battery box by sliding its cover along the
arrow, install two AAA batteries according to the marks in the box, and slide the cover to its original
position. If no batteries are installed or the batteries do not work, the remote controller will be unusable.
To use the remote controller effectively, point it to the electric fireplace and keep a distance of 1-5 meters.
1. Power control. Press the <ON/OFF> button, the electric fireplace will be powered on, and the
lamp button will be lit. The heater will not be turned on automatically when you power on the
fireplace, please refer to paragraph 3. Note, all operations are valid only when the power is on,
except to "turn the power on" operation. Press the <ON/OFF> button again, the fireplace will be
powered off.
2. Adjust the brightness of simulated flame and logs. When the fireplace is powered on, the flame is
turned on automatically, and it is as bright as when the fireplace is powered off. Press <DIMMER>
button to adjust the brightness, the
lamp will be flashing, and the brightness of the flame and
logs will start and keep changing. When the brightness goes to the point you want, press
<DIMMER> button again, and the illumination level will stay the same and the
lamp button
will be lit.
3. Heater control. Lamp
and
indicates the status of heater. It's working in low-power status
when
is illuminated, in high-power status when
is illuminated, turned off when both of
and
are dark. When the heater is not in low-power status (
is dark), press <LOW> button to
switch it to low-power status; when it's in low-power status (
is illuminated), press the <LOW>

