background image

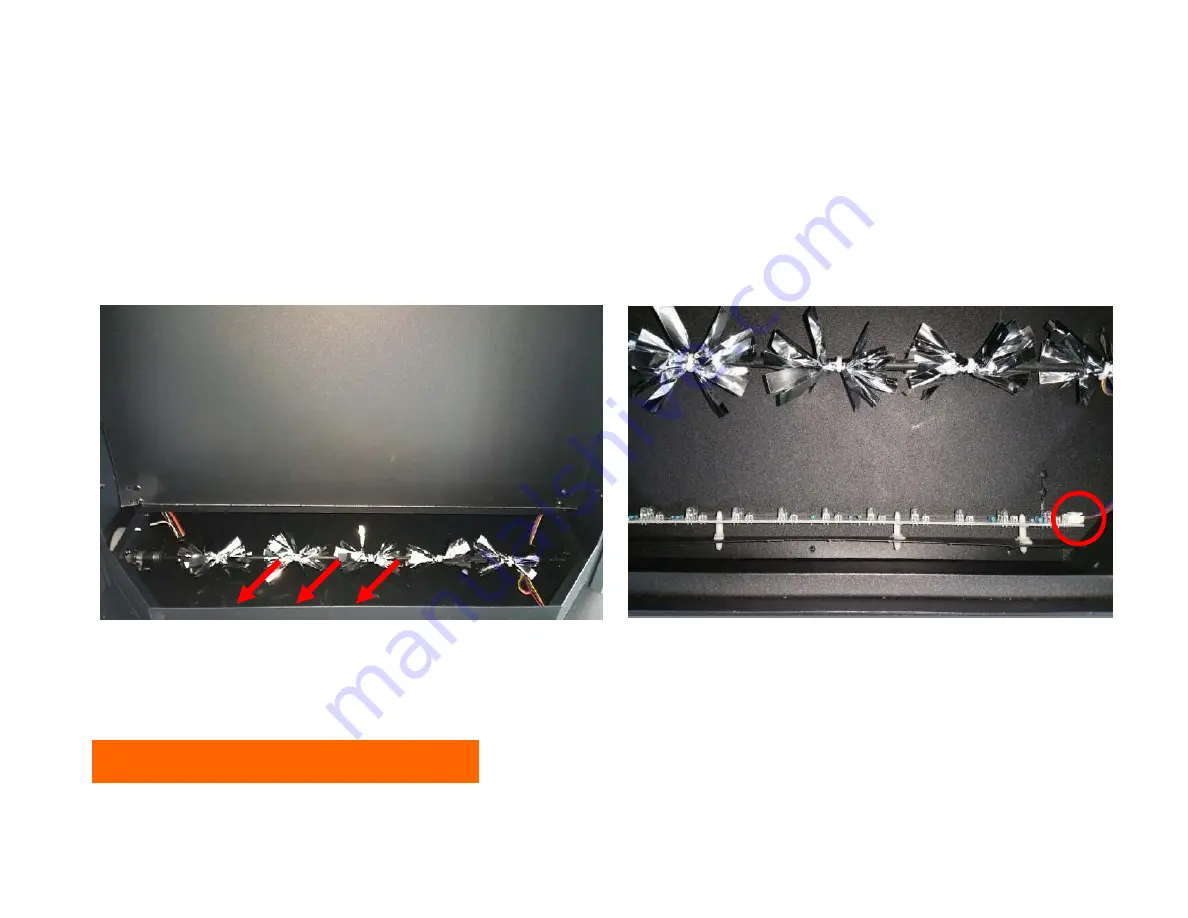
Step 3

Now, you can replace ember bed LED light

Ember bed LED light locates here

Unplug the red circled socket and 
replace The old LED light with a new 
one

Change flame light, see step 4

Summary of Contents for 50-TRU-VIEW-XL

Page 1: ...Fi Fi l Fix your Fireplace...

Page 2: ...Contents Contents How to replace LED light How to replace LED light How to replace flicker motor H t l th h ti l t How to replace the heating element How to replace the PCB board...

Page 3: ...Replace LED light Item No FS 26 922 Step 1 p Hold tightly and push upwards then you can remove the front glass panel...

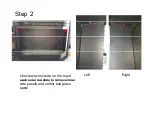
Page 4: ...Step 2 Unscrew two screws on the top of each side red dots to remove inner Left Right each side red dots to remove inner side panels and ember bed glass panel...

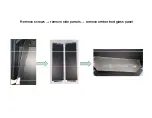
Page 5: ...Remove screws remove side panels remove ember bed glass panel Remove screws remove side panels remove ember bed glass panel...

Page 6: ...Step 3 Now you can replace ember bed LED light Ember bed LED light locates here Unplug the red circled socket and replace The old LED light with a new one Change flame light see step 4...

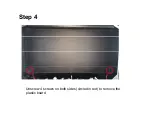
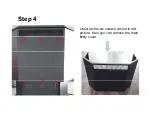
Page 7: ...Step 4 Unscrew 4 screws on both sides circled in red to remove the plastic board...

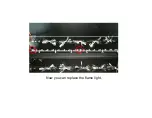
Page 8: ...Now you can replace the flame light...

Page 9: ...Replace flicker motor Replace flicker motor Please follow Step1 and Step2 in replace Please follow Step1 and Step2 in replace LED light then you arrived here...

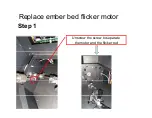
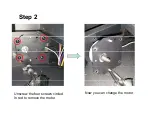
Page 10: ...Replace ember bed flicker motor Step 1 Unscrew the screw to separate the motor and the flicker rod...

Page 11: ...Step 2 Unscrew the four screws circled Now you can change the motor In red to remove the motor...

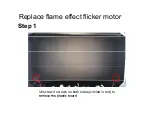
Page 12: ...Replace flame effect flicker motor Step 1 Unscrew 4 screws on both sides circled in red to remove the plastic board remove the plastic board...

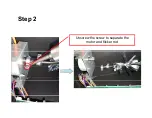
Page 13: ...Step 2 p U th t t th Unscrew the screw to separate the motor and flicker rod...

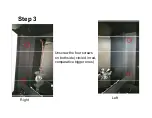
Page 14: ...Step 3 p Unscrew the four screws on both side circled in red comparative bigger ones Right Left...

Page 15: ...Step 4 p Unscrew the six screws circled in left picture then you can remove the main b d body cover...

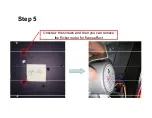
Page 16: ...Step 5 p Unscrew the screws and then you can remove th fli k t f fl ff t the flicker motor for flame effect...

Page 17: ...tep2 in replace LED light and step3 and step4 in Replace flame effect flicker motor Replace flame effect flicker motor Step 1 Remove the upper cover Unscrew the four screws circled in pictures on righ...

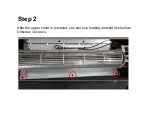
Page 18: ...Step 2 p After the upper cover is removed you can see heating element like bellow Unscrew 3 screws...

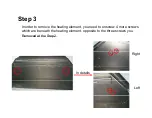
Page 19: ...In order to remove the heating element you need to unscrew 4 more screws which are beneath the heating element opposite to the three screws you Removed at the Srep2 Removed at the Srep2 Right In deta...

Page 20: ...Step 4 p Unplug the heating element and then you can remove it Unplug the heating element and then you can remove it...

Page 21: ...Replace the PCB board Replace the PCB board Step 1...

Reviews: