20
OPERATION
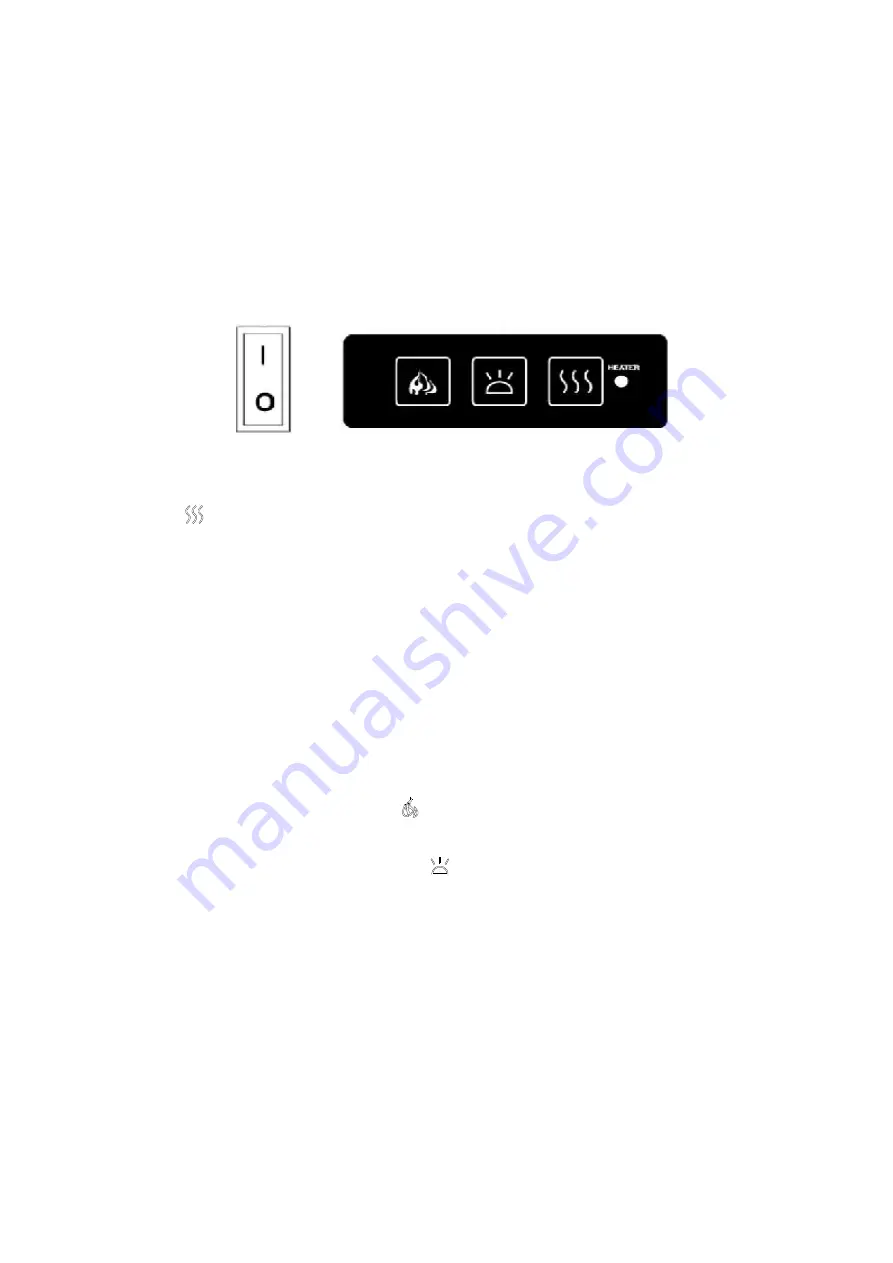
The fireplace can be operated either by the switches located on the left bottom of the fireplace unit
or by supplied remote control.
Plug the fireplace into a 15 Amp wall socket.
MANUAL OPERATION
1.
The main power ON/OFF switch in position O, the fireplace is OFF.
2.
When main power ON/OFF switch is at position I, the fireplace is ready to use.
3.
Press the
button repeatedly to set the heater to desired heat setting. The heater indicator
LED will glow which shows the current heater settings.
a)
RED 1500W HEAT OUTPUT
b)
BLUE 750W HEAT OUTPUT
c)
PURPLE AUTO MODE
AUTO MODE
Under this mode the heater will automatically turn ON at high heat setting 1500W heat output when
the room temperature drops below 22
℃
(72
℉
). When the room temperature is between
22-25
℃
(72-77
℉
) the heater output will switch to low heat setting 750W. When the room
temperature goes above 25
℃
(77
℉
) the heater will be turned off and the cycle will continue. The
LED indicator will be PURPLE in colour under this mode.
4.
Flame effect: Press the button marked to adjust the flame brightness. The flame brightness
will cycle through
–
Low-Medium-High -OFF.
5.
Mood light effect: Press the button marked
to change the mood light colour.
NOTE:
If operated at the Low heat setting, the fireplace will not provide as much heat output as in
the High heat setting, however the low setting will not require as much electrical power to operate.
To avoid overloading a circuit, do not plug the fireplace into a circuit that already has other
appliances working. When the fireplace is not in use switch off and unplug.
SAFETY CUT-OFF
l
This appliance is fitted with a safety cut-off which will operate if the fireplace overheats (eg. Due
to blocked air vents). For safety reasons, the fireplace will NOT automatically reset.
l
To reset the appliance, disconnect the appliance from the main supply for at least 10 minutes.
Reconnect the supply to the main and switch on the appliance.
Summary of Contents for BI-40-DEEP
Page 15: ...4 Bend up the framing plates 5 Put the unit into the opening 15 ...
Page 24: ...24 EXPLODED VIEW ...
Page 27: ...27 ...


