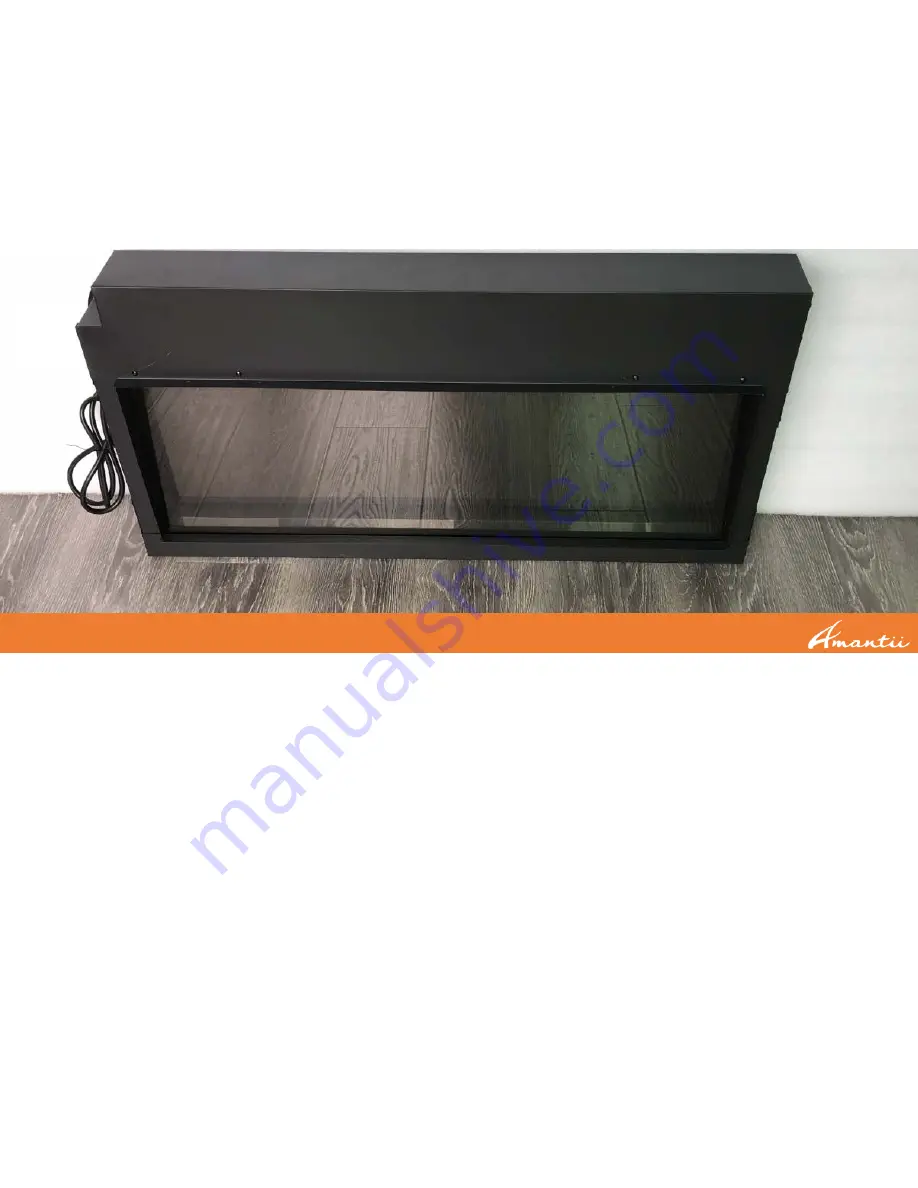
background image

Carefully remove the fireplace from the box.

Prior to installing the fireplace, test to make sure it operates properly by

plugging the power supply cord into a 120 Volt grounded outlet.

Test all aspects of its operation (manual switches, remote and heater) to make sure all components 

are operating correctly.

As with most electronic devices, your new electric fireplace has been designed to operate at 

temperatures between 5 

(41

) and 35 

(95

). During the cold winter months, allow the 

fireplace to reach room temperature before turning it on.

STEP 1:

{

NOTE

: There may be 

trace of odor during the 

first few minutes of 

initial use. This is 

harmless,  normal and 

will not occur again.

}

Summary of Contents for BI-40-XTRASLIM Series

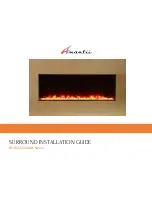
Page 1: ...SURROUND INSTALLATION GUIDE BI 40 XTRASLIM Series...

Page 2: ...r before performing any cleaning maintenance or relocation of the fireplace 16 To prevent a possible fire do not burn wood or other materials in this fireplace 17 To prevent electric shock or fire alw...

Page 3: ...es remote and heater to make sure all components are operating correctly As with most electronic devices your new electric fireplace has been designed to operate at temperatures between 5 41 and 35 95...

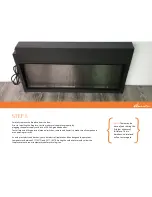
Page 4: ...Carefully remove the screws and framing plates from the sides of your fireplace Store with manual and warranty these framing plates will not be used with the surround STEP 2...

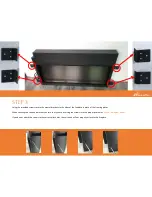
Page 5: ...e in place of the framing plates When securing the surround brackets ensure that you are inserting the screws into the proper pilot holes Shown in diagram below If you do not attach the screws in the...

Page 6: ...ireplace should look like the pictures shown with the surround plates attached Please ensure your plates are flush with the trim and securely screwed into the pilot holes If they are not as shown remo...

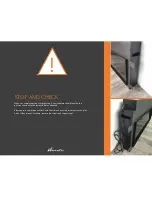
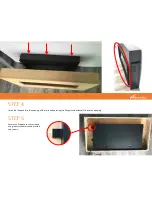
Page 7: ...rt the fireplace into the opening of the surround ensuring the flange circled above fits into the opening STEP 4 Secure the fireplace to the surround using the attached surround brackets and screws ST...

Page 8: ...rs found in a birch tree forest As with all genuine products variations to the natural wood grain will mean there will be slight variations that may differ from the catalog images or samples A touch u...

Page 9: ...r more pilot holes depending on the size of the unit purchased 8mm diameter 40mm depth using a suitable size drill bit and insert the wall plugs into the pilot holes 4 Remove the hanger from the firep...

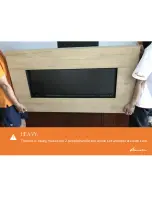
Page 10: ...The unit is heavy make sure 2 people handle the whole set and operate with care HEAVY...

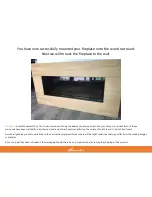
Page 11: ...6 Secure the fireplace to the hanger mounted on the wall As it appears in your manual 7 To prevent fireplace from moving use the provided safety bracket to fasten the fireplace to the wall...

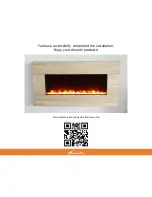
Page 12: ...For complete instruction guide and more info You have successfully completed the installation Enjoy your Amantii products...

Reviews: