background image

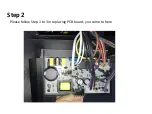
Step 2

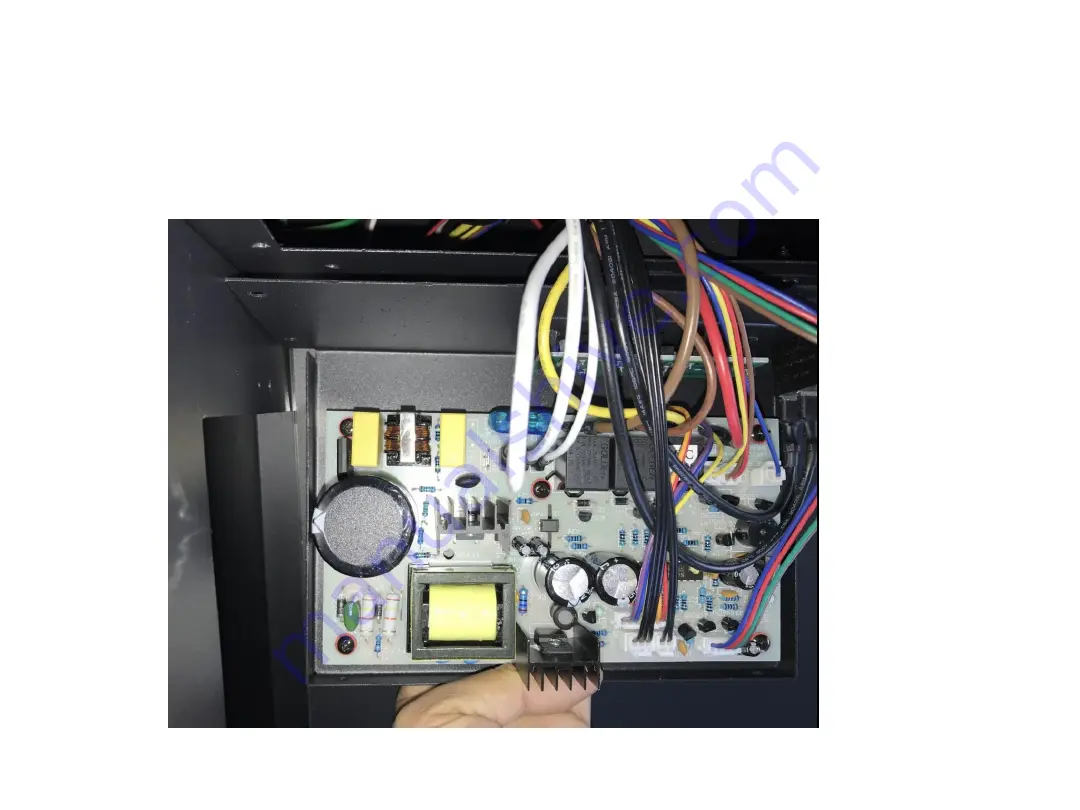
Please follow Step 1 to 3 in replacing PCB board, you come to here

Summary of Contents for BI-DEEP-XT

Page 1: ...Fix your Fireplace BI DEEP XT...

Page 2: ...Content How to replace LED light How to replace flicker motor How to replace heating element How to replace the PCB board How to replace the signal receiver How to replace the top light...

Page 3: ...Replace LED light Remove the trim Step 1 Replace ember bed LED light...

Page 4: ...Step 2 Unscrew the screw in the middle and then to get out the front panel Unscrew the screw...

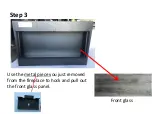
Page 5: ...Use the metal piece you just removed from the fireplace to hock and pull out the front glass panel Front glass Step 3...

Page 6: ...Step 4 Unscrew one screw on both sides Zoomed view...

Page 7: ...Step 5 Use the metal piece just took off from STEP4 to hook and pull out the side inner black glass panels...

Page 8: ...Unscrew 2 screws on each side to take off the side inner bars After the side inner metal panels are removed the ember bed glass panel can be removed as well Step 6...

Page 9: ...Step 7 After the ember bed glass panel is removed now you can replace the LED light for ember bed effect Replace flame light see STEP7...

Page 10: ...Unscrew 3 screws and unplug to take off the top mood light Step 8...

Page 11: ...Unscrew 5 screws to remove the top fending bar for the flame effect glass panel Step 9...

Page 12: ...Unscrew 4 screws to take off the flame effect glass panel Step 10...

Page 13: ...Now you can replace flame Effect LED light bars Step 11...

Page 14: ...Replace the flicker motor Please follow Step 1 to 10 in replacing LED light Replace flicker motor for ember bed effect Unscrew the screw to disconnect the flicker rod from the motor Step 1...

Page 15: ...Unscrew 2 screws and unplug to take off the motor Step 2...

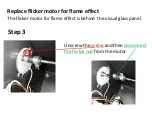
Page 16: ...The flicker motor for flame effect is behind the visual glass panel Unscrew the screw and then disconnect the flicker rod from the motor Step 3 Replace flicker motor for flame effect...

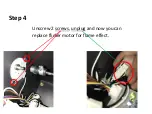
Page 17: ...Unscrew 2 screws unplug and now you can replace flicker motor for flame effect Step 4...

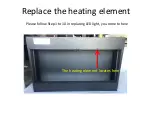
Page 18: ...Replace the heating element Please follow Step 1 to 10 in replacing LED light you come to here The heating element locates here...

Page 19: ...Step 1 Unscrew the screws to take off the holding metal bar for flame effect glass panel...

Page 20: ...Step 2 Unscrew 10 screws to remove the heating set from the unit...

Page 21: ...Step 3 After the screws are removed you can pull out the heating set from the unit...

Page 22: ...Step 4 Unplug and you can replace the heater...

Page 23: ...Step 5 Unplug to replace the heating element please note to keep the parts...

Page 24: ...Replace PCB board Please follow Step 1 to 4 in replacing LED light you come to here The PCB board locates here...

Page 25: ...Step 1 Unscrew 2 screws on left side to take off the side inner panel...

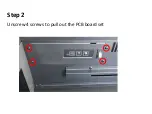
Page 26: ...Step 2 Unscrew 4 screws to pull out the PCB board set...

Page 27: ...Step 3 Turn around the PCB board set and unscrew the 5 screws to take off the PCB board from the set...

Page 28: ...Replace signal receiver Please follow Step 1 to 10 in replacing LED light you come to here The signal receiver locates here...

Page 29: ...Step 1 Unscrew 2 screws to disconnect the signal receiver from the unit...

Page 30: ...Step 2 Please follow Step 1 to 3 in replacing PCB board you come to here...

Page 31: ...Step 3 Please follow Step 1 to 3 in replacing PCB board you come to here...

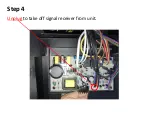
Page 32: ...Step 4 Unplug to take off signal receiver from unit...

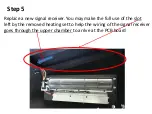
Page 33: ...p 5 Replace a new signal receiver You may make the full use of the slot left by the removed heating set to help the wiring of the signal receiver goes through the upper chamber to arrive at the PCB bo...

Page 34: ...Replace top light Remove the trim Step 1...

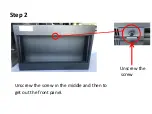
Page 35: ...Step 2 Unscrew the screw in the middle and then to get out the front panel Unscrew the screw...

Page 36: ...Use the metal piece you just removed from the fireplace to hock and pull out the front glass panel Front glass Step 3...

Page 37: ...Unscrew 3 screws and unplug to take off the top mood light Step 4...

Reviews: