INSTALLATION- BUILT-IN
NOTE: Due to the many different materials used to build walls, it is highly recommended that
you consult your local builder before you install this appliance on a wall.
Preparation
1. Select a location that is not prone to moisture and is located at least 0.91m or 3 feet away
from combustible materials such as curtains, drapes, furniture, bedding, paper, etc.
2. Mark the desired location on the floor and store the appliance in a safe, dry and dus
place.
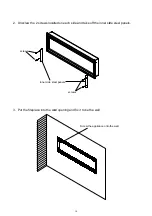
3. Prepare a wall with a framed opening to accommodate the size of your unit. Leave at
least 1/4” (6mm) around the edge of the appliance. Any new wiring must be done in
compliance with local and national codes and other applicable regulations.
Prior to installing, test the appliance to make sure the appliance is fully operational by
plugging the power supply cord into a 120 Volt grounded outlet.
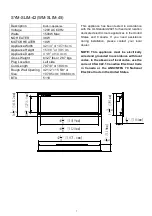
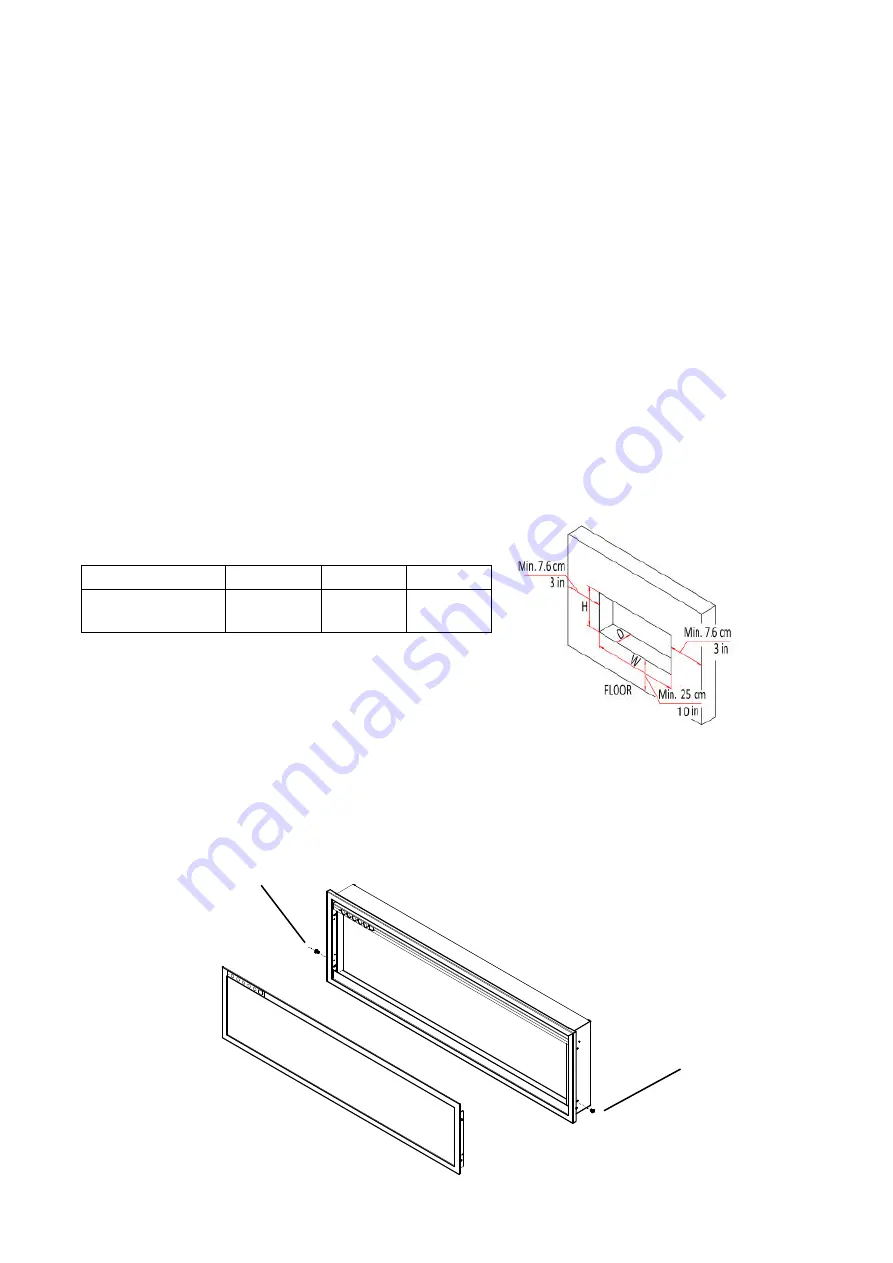
The rough wall opening size of the fireplace:
INSTALLATION
9
IN
NOTE: Due to the many different materials used to build walls, it is highly recommended that
you consult your local builder before you install this appliance on a wall.
a location that is not prone to moisture and is located at least 0.91m or 3 feet away
from combustible materials such as curtains, drapes, furniture, bedding, paper, etc.
Mark the desired location on the floor and store the appliance in a safe, dry and dus
Prepare a wall with a framed opening to accommodate the size of your unit. Leave at
least 1/4” (6mm) around the edge of the appliance. Any new wiring must be done in
compliance with local and national codes and other applicable regulations.
rior to installing, test the appliance to make sure the appliance is fully operational by
plugging the power supply cord into a 120 Volt grounded outlet.
The rough wall opening size of the fireplace:
NOTE: Due to the many different materials used to build walls, it is highly recommended that
you consult your local builder before you install this appliance on a wall.
a location that is not prone to moisture and is located at least 0.91m or 3 feet away
from combustible materials such as curtains, drapes, furniture, bedding, paper, etc.
Mark the desired location on the floor and store the appliance in a safe, dry and dust free
Prepare a wall with a framed opening to accommodate the size of your unit. Leave at
least 1/4” (6mm) around the edge of the appliance. Any new wiring must be done in
compliance with local and national codes and other applicable regulations.
rior to installing, test the appliance to make sure the appliance is fully operational by
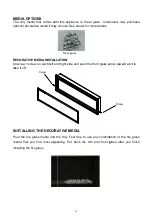
Screw
Screw
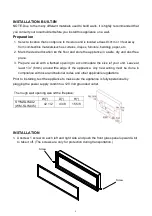
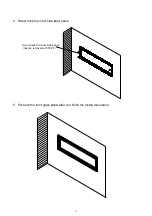
1. Unscrew 1 screw on each left and right side and push the front glass panel upward a bit
to take it off. (The screws are only for protection during transportation.)
W(“)
SYM-SLIM-42
(WM-SLIM-45)
42 1/2
D(“)
H(“)
4 3/8
15 5/8

