background image

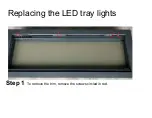
Replacing the LED tray lights

Step 1

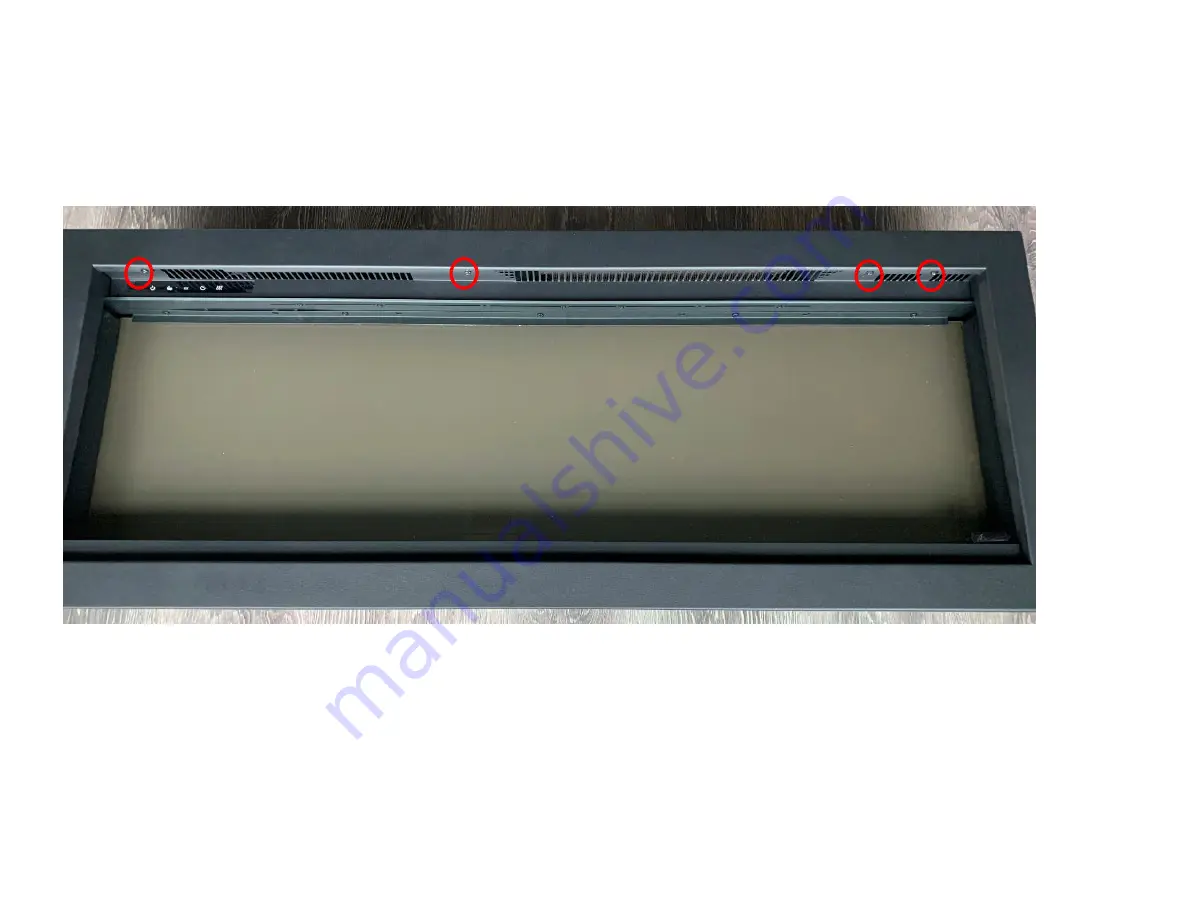
To remove the trim, remove the screws circled in red.

Summary of Contents for Symmetry 3.0 Series

Page 1: ...Repair Guide for Symmetry 3 0 Series Revision1 02 15 21AC...

Page 2: ...eplacing the LED lights Replacing the flicker motor Replacing the heater Replacing the circuit board Replacing the signal receiver Replacing the canopy light Replacing the touch panel Replacing the Wi...

Page 3: ...Replacing the LED tray lights Step 1 To remove the trim remove the screws circled in red...

Page 4: ...Magnetic stone Trim Note that there are magnetic stones securing the bottom of the trim to the fireplace...

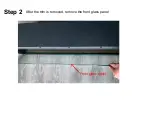
Page 5: ...Step 2 After the trim is removed remove the front glass panel Front glass panel...

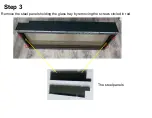
Page 6: ...Step 3 Remove the steel panels holding the glass tray by removing the screws circled in red The steel panels...

Page 7: ...Step 4 To remove the tray glass panel lift one end upwards The tray lights are below the glass panel...

Page 8: ...Step 5 Replacing the failed LED strip with a new one requires removing the screws and unplugging the buckle Unscrew Unplug...

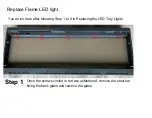
Page 9: ...lame LED light You arrive here after following Step 1 to 4 in Replacing the LED Tray Lights Step 1 Once the screws circled in red are unfastened remove the steel bar fixing the back glass and remove t...

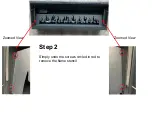
Page 10: ...Zoomed View Zoomed View Step 2 Simply undo the screws circled in red to remove the flame stencil...

Page 11: ...Horizontal view Flame LED strips are attached to the back of the flame stencil...

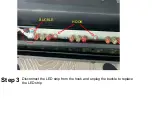
Page 12: ...HOOK BUCKLE Disconnect the LED strip from the hook and unplug the buckle to replace the LED strip Step 3...

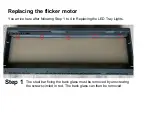
Page 13: ...er motor You arrive here after following Step 1 to 4 in Replacing the LED Tray Lights Step 1 The steel bar fixing the back glass must be removed by unscrewing the screws circled in red The back glass...

Page 14: ...Zoomed View Zoomed View Step 2 Simply undo the screws circled in red to remove the flame stencil...

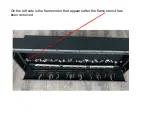
Page 15: ...On the left side is the flame motor that appears after the flame stencil has been removed...

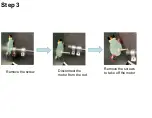
Page 16: ...Step 3 Remove the screw Disconnect the motor from the rod Remove the screws to take off the motor...

Page 17: ...Step 4 Remove the screws circled in red...

Page 18: ...Step 5 Remove the inner top panel by removing the screws circled in red...

Page 19: ...Step 6 A new flame motor can be replaced by unbuckling the flame motor from the circuit board INNER TOP PANEL...

Page 20: ...ment You arrive here after following Step 1 to 4 in Replacing the LED Tray Lights Step 1 Once the steel bar supporting the back glass has been removed remove the screws circled in red and remove the g...

Page 21: ...Remove the screws circled in red to take off the inner top panel Step 2...

Page 22: ...HEATING ELEMENT INNER TOP PANEL The inner top panel holds the heating element circuit board signal receiver and WiFi card...

Page 23: ...To disconnect the heating element from the inner top panel remove the screws circled in red Step 3...

Page 24: ...The heating element must be unplugged to be changed Step 4...

Page 25: ...PCB board You arrive here after following Step 1 to 4 in Replacing the LED Tray Lights Step 1 The steel bar fixing the back glass can be removed by unscrewing the screws circled in red and then removi...

Page 26: ...Remove the screws circled in red to take off the inner top panel Step 2...

Page 27: ...PCB board INNER TOP PANEL The inner top panel holds the heating element circuit board signal receiver and WiFi card...

Page 28: ...Replacing the failed circuit board requires unscrewing the screws circled in red Step 3...

Page 29: ...nal receiver You arrive here after following Step 1 to 4 in Replacing the LED Tray Lights Step 1 The steel bar fixing the back glass can be removed by unscrewing the screws circled in red and then rem...

Page 30: ...Remove the screws circled in red to take off the inner top panel Step 2...

Page 31: ...Remove the screws circled in red to disconnect the signal receiver from the inner top panel Step 3...

Page 32: ...Step 5 Unplug the signal receiver from the circuit board and replace it with a new one...

Page 33: ...nopy light You arrive here after following Step 1 to 4 in Replacing the LED Tray Lights Step 1 The steel bar fixing the back glass can be removed by unscrewing the screws circled in red and then remov...

Page 34: ...Remove the screws circled in red to take off the inner top panel Step 2...

Page 35: ...Unscrew the screws circled in red to disconnect the heating element from the inner top panel Step 3...

Page 36: ...The canopy light The heating element The heating element PCB board Canopy light Signal receiver and Wi Fi card are all fixed on inner top panel...

Page 37: ...Unscrew the screws circled in red to disconnect the Canopy light from the inner top panel Step 4...

Page 38: ...Unplug to change a new LED strip for Canopy light Step 5 LED strip for Canopy light...

Page 39: ...the Touch panel Follow STEP 1 to 4 in Replace tray LED light you arrive at here Step 1 The steel bar fixing the back glass can be removed by unscrewing the screws circled in red and then removing the...

Page 40: ...Remove the screws circled in red to take off the inner top panel Step 2...

Page 41: ...Touch panel INNER TOP PANEL The inner top panel holds the heating element circuit board signal receiver and WiFi card...

Page 42: ...Unscrew the screws circled in red to take off the touch panel Step 3...

Page 43: ...place the Wi Fi card Follow STEP 1 to 4 in Replace tray LED light you come to here Step 1 Unscrew the screws circled in red to remove the steel bar fixing the back glass and then take off the back gla...

Page 44: ...Unscrew the screws circled in red to take off the inner top panel Step 2...

Page 45: ...Wi Fi card INNER TOP PANEL The heating element PCB board Canopy light Signal receiver and Wi Fi card are all fixed on inner top panel...

Page 46: ...To replace a new WiFi card remove the screw circled in red and unplug the old one Step 3...

Reviews: