background image

3

4

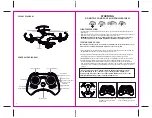
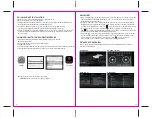
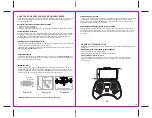
CONTROLLER DIAGRAM

Camera

Propeller

Power Button

PA-1003 DIAGRAM

F

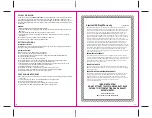
DO NOT FLY YOUR PA-1003 IN FOUL WEATHER!

WARNING

FLIGHT PREPARATION

฀฀

฀ ฀ ฀

 fully charged.

฀฀

฀ ฀ ฀ ฀ ฀

฀ ฀

฀ ฀ ฀

฀ ฀

฀ ฀ ฀

฀฀

฀ ฀

฀ ฀ ฀

IMPORTANT! Until you have experience in flying your PA-1003, it is not advised to use in any rate of  


  wind. Pick a day with zero wind or extremely light wind condition when learning how to fly.

SYNCING YOUR PA-1003

Important! When syncing your PA-1003 with the controller always make sure that the drone is on a 
flat level surface and that your digital trim settings are in the center position. 

1. Before starting, make sure that the power on your controller is off and the battery is removed from the    
    PA-1003. Make sure that there are no other 2.4G devices in the area. 

2. Insert the battery into the PA-1003 and set it down on a flat level surface. Press down the power button  


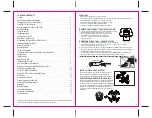
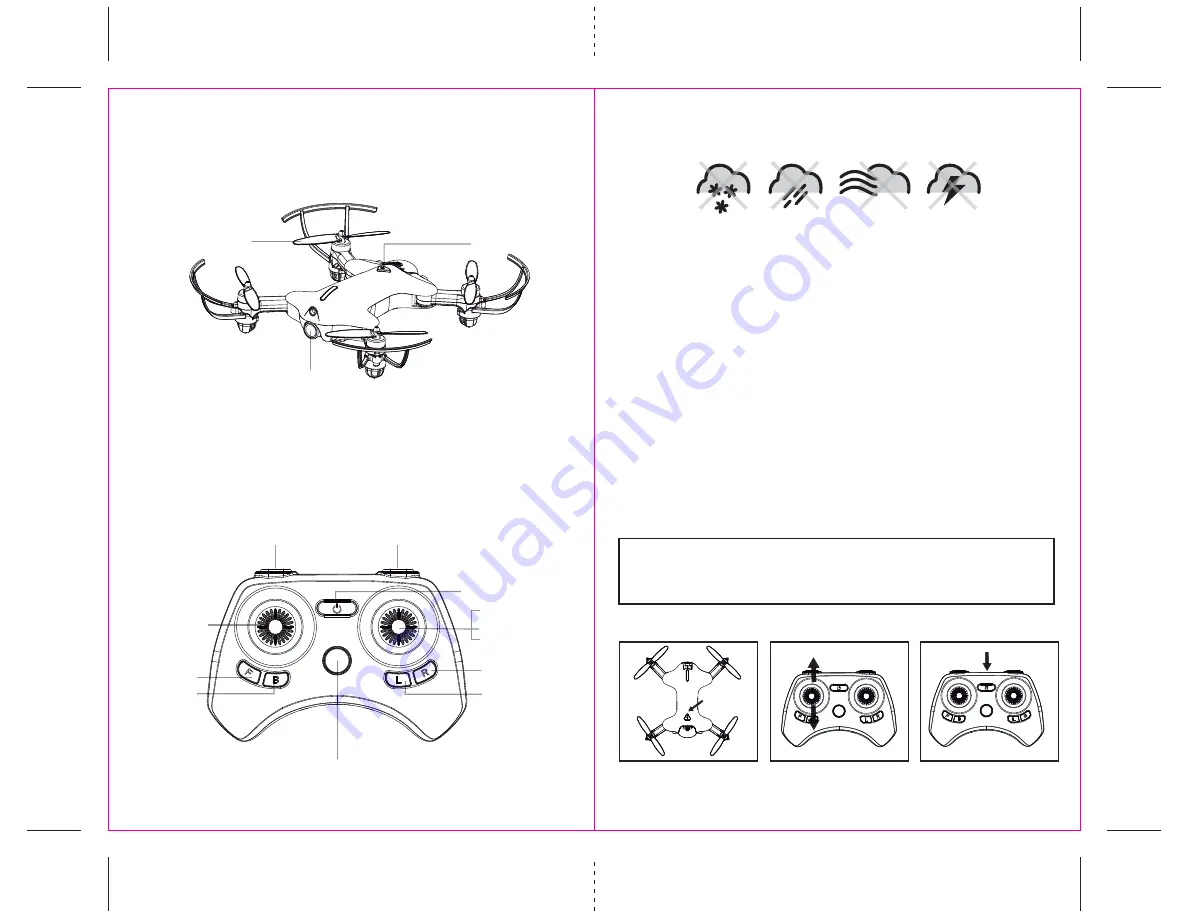
   and hold for a few seconds (see diagram F).The LED lights on  the drone should begin to flash.
3. Quickly turn ON the remote and you will notice that the top red LED light on the face of the controller

.

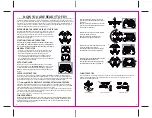
4. Push the throttle stick all the way up until it stops and then pull it back all the way down to the  


  bottom(see diagram below). When pushing the stick up or pulling the stick down you should hear a  


   high-pitched beep both ways. The indicating lights on the drone and controller will stop flashing and stay  
   solid on. You have successfully synced your PA-1003 and are ready to fly. If this doesn’t happen, repeat steps    
   1-4 again.

TIP 1: Try not to leave too much time between putting your battery into the  


  drone and turning on the controller or your syncing window will time-out. 

฀ ฀

฀ ฀ ฀

฀ ฀

฀ ฀

฀฀

฀฀฀

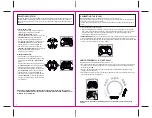
  LED light indicators on both the controller and the drone. 

Move the control stick all the way up 
and all the way down, you should 
hear two beeps.

 Speed Setting Button

360˚ Stunt Rolls Button

Direction Control

Press down to take photo

Press down & hold 

to take video

Power Indicator

The flashing red LED light will 
become solid when you are synced.

Left Bank Trim

Right Bank Trim

Forward Trim

Backward Trim

Power Button

Summary of Contents for PA-1003

Page 1: ...AMAX Industrial Group LTD AMAX Group USA Address 12645 Memorial Dr Suite F1 388 Houston TX 77024 2020 All Rights Reserved Visit us at www amaxbrands com Requires Speed Class 6 or higher microSD or mi...

Page 2: ...er the controller and press the power button If the power indicator turns on you have installed your batteries properly INSTALL THE PA 1003 BATTERY HOWTO EXPAND AND FOLDYOUR PA 1003 Before flying your...

Page 3: ...ash 3 Quickly turn ON the remote and you will notice that the top red LED light on the face of the controller 4 Push the throttle stick all the way up until it stops and then pull it back all the way...

Page 4: ...he power stays on MANUAL START STOP see diagram H1 hold until the rotors start spinning Now release both sticks to the neutral position and push the throttle up to take off the rotor you can simply wa...

Page 5: ...on down and you will enter the stunt roll mode which is indicated by rapid beeping sounds see diagram S 3 Determine which direction you want it to flip and quickly push the right control stick in the...

Page 6: ...use of OS 4 2 2 or higher HOME PAGE HELP PAGE 1 HELP PAGE 2 CONTROL STICKS QUICK START 1 After you install the App correctly and have paired to the drone successfully you can open the voyage1003 App...

Page 7: ...rds to each of landing gear see the diagramW PROBLEM POSSIBLE CAUSE POSSIBLE SOLUTION 1 Power switched off 1 No Power 2 Polarity is reversed 2 Make sure all batteries are installed correctly see diagr...

Page 8: ...unit Removal of any parts components voids all warranties This warranty does not cover cost of repairs made or attempted outside by third party individuals or companies Any applicable implied warranti...

Page 9: ...rd facing down Diagram U3 IMPORTANT NOTICE It s recommend to test your camera functions before flying REMOVINGYOUR microSD CARD To remove your microSD Card push in gently on the back of the SD card wi...

Reviews: