7
Assembly Instructions
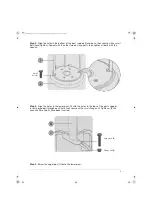
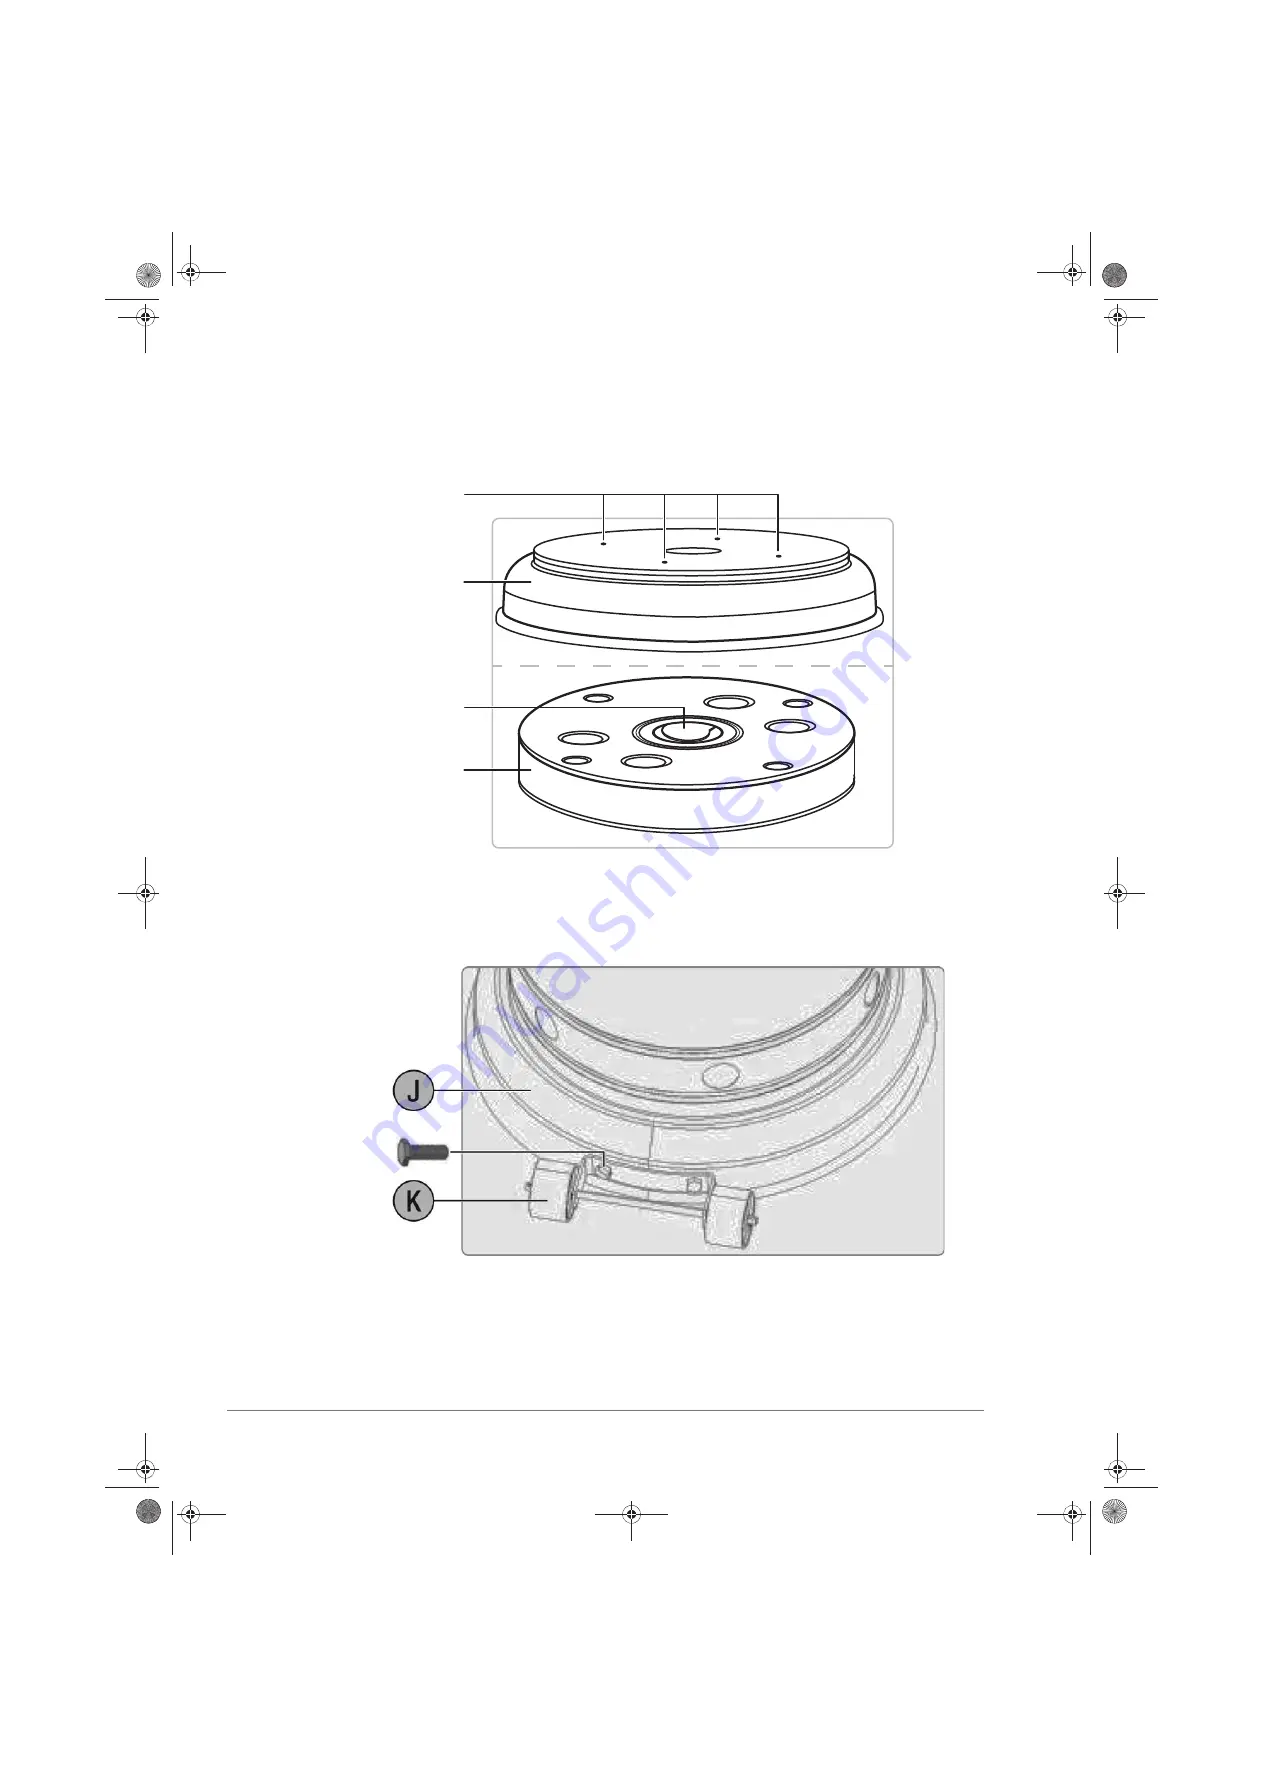
Step 1:
Remove the four large screws and large nuts that secure the base to the sandbox, then
pry open the plastic cap on the top. Fill the sandbox with water or sand, then replace the plas-
tic cap. Slide the base back on the sandbox, then reinsert the screws and secure by tightening
the nuts on the bolts.
Step 2:
Align holes in the wheel assembly with the holes in the base, then insert two small
bolts through the holes and hand tighten. Make sure that the wheel assembly is parallel to the
base, then tighten the bolts with the wrench.
Large screws
(pre-installed with
four nuts)
Base
Plastic cap
Sandbox
Small bolts (2)
Patio Heater_15-0285_V6_ENG.book Page 7 Friday, March 6, 2015 7:55 AM
Summary of Contents for B00LILH3V4
Page 2: ...2 English 5 Patio Heater_15 0285_V6_ENG book Page 2 Friday March 6 2015 7 55 AM...
Page 3: ...3 Safety and compliance Patio Heater_15 0285_V6_ENG book Page 3 Friday March 6 2015 7 55 AM...
Page 4: ...4 Patio Heater_15 0285_V6_ENG book Page 4 Friday March 6 2015 7 55 AM...
Page 18: ...18 Patio Heater_15 0285_V6_ENG book Page 18 Friday March 6 2015 7 55 AM...
Page 19: ...19 Patio Heater_15 0285_V6_ENG book Page 19 Friday March 6 2015 7 55 AM...
Page 20: ...V6 15 0285 Made in China Patio Heater_15 0285_V6_ENG book Page 33 Friday March 6 2015 7 55 AM...


