8
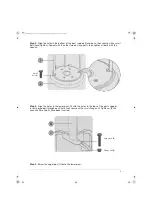
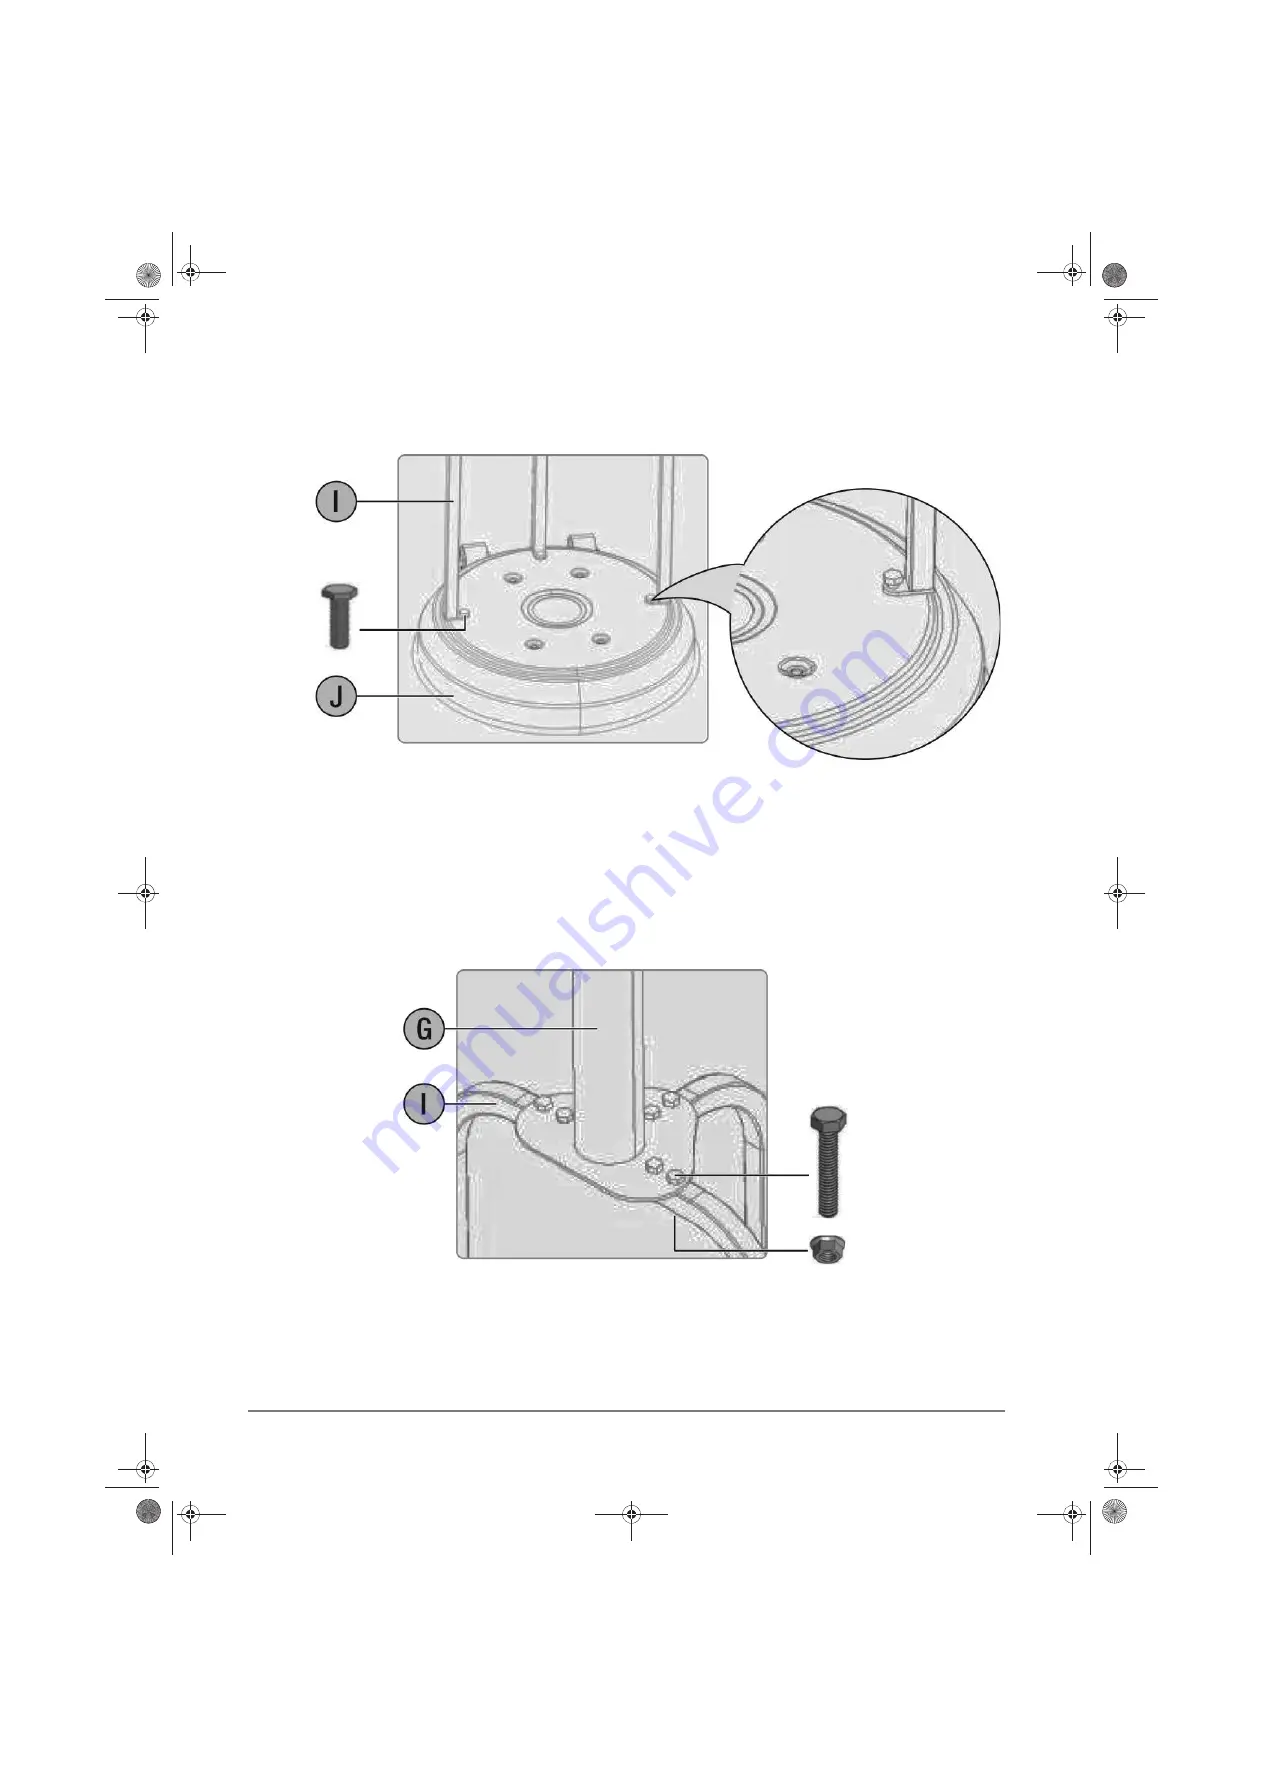
Step 3:
Align the holes in the bottom of the post support (I) and base, then secure with a small
bolt (hand tighten). Repeat with the other two post supports, then tighten all bolts with the
wrench.
Step 4:
Align the holes in the lower post (G) with the holes in the tops of the post supports.
Insert a large bolt through each hole, then secure with a small flange nut. Tighten with the
wrench after all bolts have been inserted.
Step 5
:
Screw the upper post (F) onto the lower post.
Small
bolt (3)
Large bolt (6)
Flange nut (6)
Patio Heater_15-0285_V6_ENG.book Page 8 Friday, March 6, 2015 7:55 AM
Summary of Contents for B00LILH3V4
Page 2: ...2 English 5 Patio Heater_15 0285_V6_ENG book Page 2 Friday March 6 2015 7 55 AM...
Page 3: ...3 Safety and compliance Patio Heater_15 0285_V6_ENG book Page 3 Friday March 6 2015 7 55 AM...
Page 4: ...4 Patio Heater_15 0285_V6_ENG book Page 4 Friday March 6 2015 7 55 AM...
Page 18: ...18 Patio Heater_15 0285_V6_ENG book Page 18 Friday March 6 2015 7 55 AM...
Page 19: ...19 Patio Heater_15 0285_V6_ENG book Page 19 Friday March 6 2015 7 55 AM...
Page 20: ...V6 15 0285 Made in China Patio Heater_15 0285_V6_ENG book Page 33 Friday March 6 2015 7 55 AM...


