Version 1.0
©Copyright 2013, Ambient LLC. All Rights Reserved.
Page 4
DIP SWITCH
FUNCTION
1
2
3
4
DOWN
DOWN
DOWN
---
Channel 1
DOWN
DOWN
UP
---
Channel 2
DOWN
UP
DOWN
---
Channel 3
DOWN
UP
UP
---
Channel 4
UP
DOWN
DOWN
---
Channel 5
UP
DOWN
UP
---
Channel 6
UP
UP
DOWN
---
Channel 7
UP
UP
UP
---
Channel 8
---
---
---
DOWN
°F
---
---
---
UP
°C
Table 1
5.
Insert two AAA batteries.
6.
After inserting the batteries, the remote sensor LED indicator will light for 4 seconds, and
then flash once per 60 seconds thereafter. Each time it flashes, the sensor is transmitting data.
7.
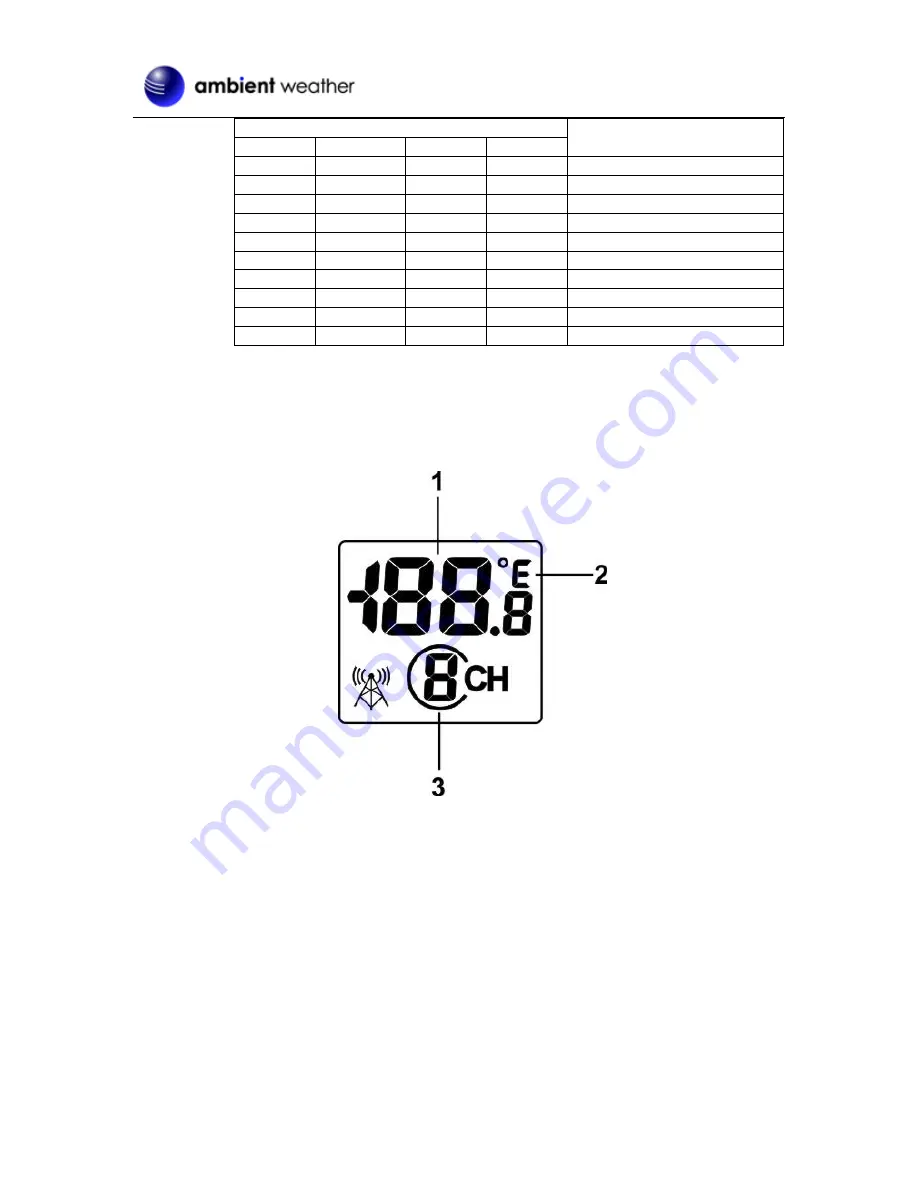
Verify the correct channel number (CH) and temperature units of measure (°F vs. °C) are on
the display, as shown in Figure 3.
Figure 3
(1)
temperature
(2) temperature units (
°F vs. °C)
(3) channel number
8.
Close the battery door. Make sure the gasket (around the battery compartment) is properly
seated in its trace prior to closing the door. Tighten the set screw.
3
Remote Sensor Installation
The remote probe sensors have many applications, including measuring inside/outside air temperature,
water temperature, soil or ground temperature and refrigerator / freezer temperatures.


