


Version 1.0
©Copyright 2018, Ambient LLC. All Rights Reserved.
Page 3
No
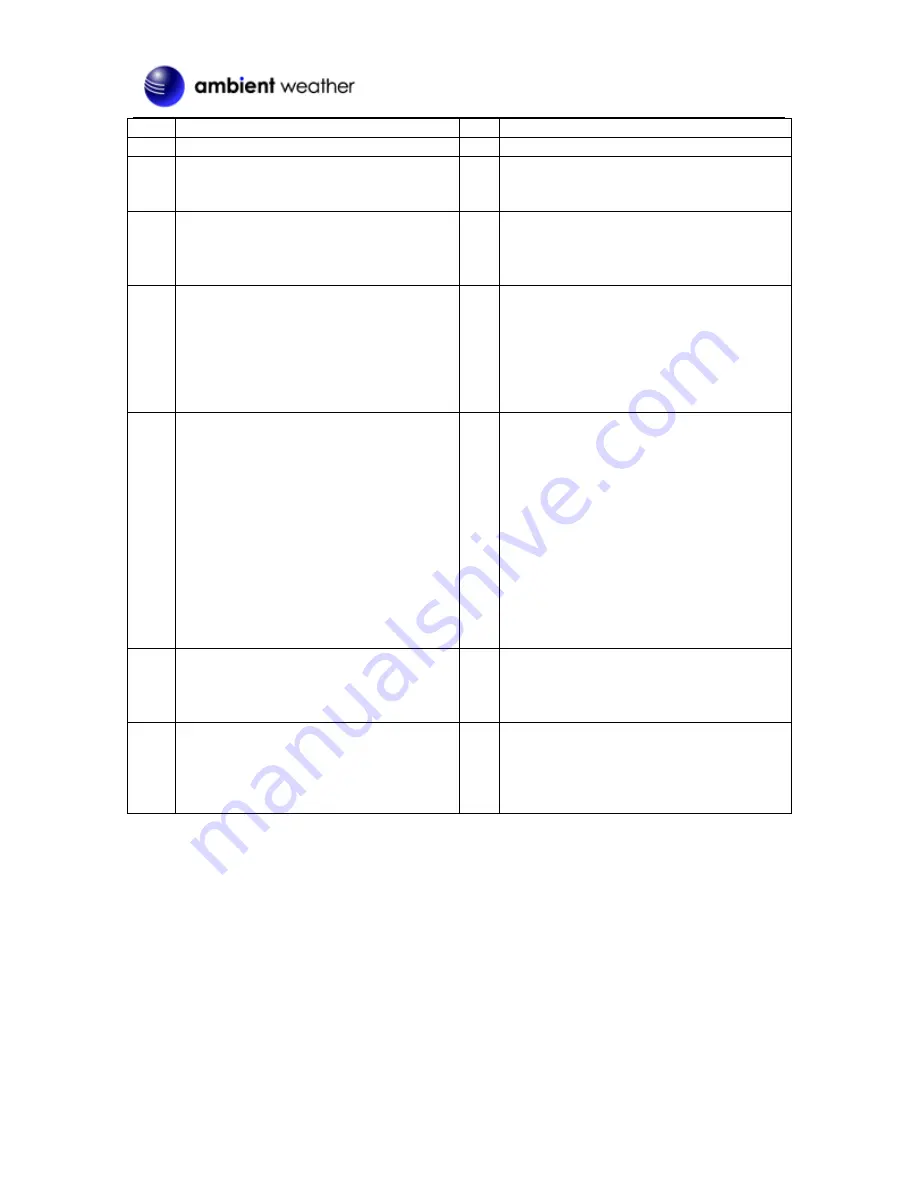
Description
No
Description
is less inteference).
4
TIME WINDOW
- Displays time and day of the week.
- Displays time zone
13
°F/°C Button
- Press to switch between °F and °C units
of measure.
5
DATE AND TEMPERATURE
WINDOW
- Displays indoor/outdoor temperature,
alarm time and the date
14
FOCUS Knob
- Adjust the focus of the projected time and
temperature.
6
TIME Button
- Press to switch between Month/Date and
alarm time mode.
- Press and hold for 2 seconds to enter
time set mode.
- In time set mode, press to step through
the different time and date settings.
15
DC POWER JACK
7
ALARM button
- In normal time display mode, press to
turn on/off ALM1 & ALM2.
- In ALM1 / ALM2 mode, press to turn
on/off alarm and pre-alarm function.
- Press to stop the current alarm when the
alarm is ringing and turn off the alarm
and snooze function.
- In alarm time mode, press and hold for 2
seconds to enter alarm time setting mode.
- In alarm time setting mode, press to step
through the different time and date
settings.
16
BACKLIGHT [AUTO / OFF / ON] slide
switch
- Slide to “AUTO” to activate auto
night-light function.
- Slide to “OFF” to turn off auto night-light
function.
- Slide to “ON” to continuously display the
backlight (only if connected with the AC
adaptor).
8
UP Button
- In set mode, press to increase the values.
- In normal time display mode, press to
switch between Channels 1, 2 and 3.
17
RESET Button
- Press to reset all values to default values.
- In case of malfunction, the unit can be
reset.
9
DOWN Button
- In set mode, press to decrease the
values.
- In normal time mode, press to switch
between 12/24 hour format.
18
BATTERY COMPARTMENT
- Accommodates 3 x AA batteries (alkaline
recommended).


