Version 1.0
©Copyright 2017, Ambient LLC. All Rights Reserved.
Page 3
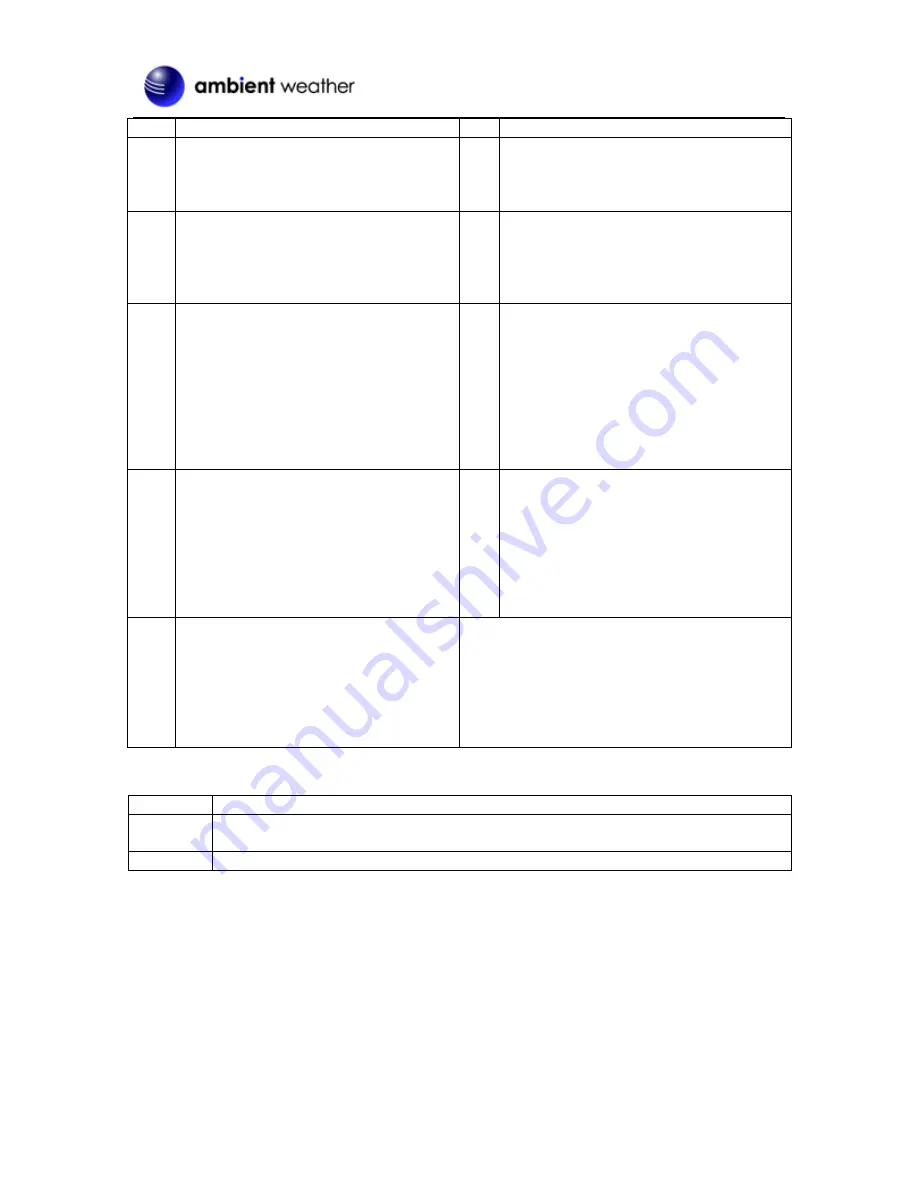
No
Description
No
Description
seconds.
When the alarm sounding, press to
stop the current alarm and enter
snooze mode.
3 LCD Display
9 RCC button
Press to switch between Celsius and
Fahrenheit.
Press and hold for 3 seconds to force the
Radio Controlled Clock search.
4
DOWN
button
In Set mode, press to decrease a
value.
Press and hold to decrease a value
rapidly.
10 Auto Night-Light Slide Switch
Slide to
ON
position to activate
night-light function. The backlight
will automatically turn on or off based
on light sensor. The brightness of
night-light is weaker than normal
backlight.
Slide to
OFF
position to turn off the
night-light feature.
5
CLOCK SET
button
In normal time mode, press and hold
for two seconds to enter Time set
mode.
In Time set mode, press to step to the
next setting, or press and hold for
two seconds to save the settings and
return to normal time mode.
11 Battery compartment. Accommodates 2 x
AA batteries.
6
ALARM
button
In normal time mode, press and hold
for two seconds to enter alarm time
setting mode.
In Set mode, press to save exit Set
mode.
2.2
Parts List
QTY
Item
1
Clock
Frame Dimensions (LxWxH): 3.8" L x 3.5"H x 1.3"D
1
User Manual
2.3
Powering Up
1.
Remove the battery door on the back of the clock and insert 2 new AA batteries, according to
the polarity information marked on the battery compartment, and replace the battery door.
2.
Once the batteries are inserted, all of the LCD segments will light up briefly before entering
the radio controlled clock (RCC) reception mode.
3.
The radio controlled clock (RCC) will initially power up with time showing 2:00 am. For the
next six (6) minutes it will attempt to synchronize time with the short wave transmitter in Fort
Collins, CO., USA. If unsuccessful, the RCC will search for the short wave signal at 2 am, 8
am, 2 pm and 8 pm.


