14
Loops, Brackets, & Hand Rails
Installing Hand Rail Brackets
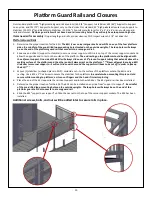
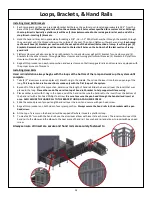
1. Each ramp guard rail has one pre-drilled bracket bolt hole on the vertical post, located approximately 28.5” from the
base of the post.
Platform guard rails will not have bracket bolt holes unless specified for a custom order. Although
the stop & rest is basically a platform, it will have (2) brackets mounted to the inside guard rail at each end of the
stop & rest—totaling (4) brackets.
2. Hold the hand rail bracket in place while threading a 3/8” - 16—2.5” SS bolt with washer through the bracket, through
the guard post until the threads show on the outside of the post. Then hand tighten with washer and nut.
Each ramp
section will have (4) brackets per section with the exception of the bottom/last section of ramp. It will only get (2)
brackets. Remember the loops will be mounted to the last bolt holes on the bottom half the last section of ramp
guard rails.
3. Platform closures will also receive hand rail brackets. Turn back closures will get (1) bracket for one closure and (2)
brackets for the other closure. Through platform closures and turning platforms will receive (2) brackets. 90° platform
closures will receive (3) brackets.
4. Repeat this procedure on each ramp section and every closure until all ramp guard rails and closures are equipped with
the proper amount of brackets.
Installing Hand Rails
Hand rail installation always begins with the loops at the bottom of the ramp and works up the system until
complete.
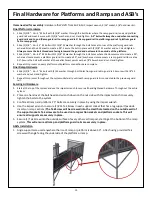
1. Take (1) 5” aluminum insert and place (1) black O-ring in the middle. Then slide the insert into the top opening of the
loop.
This loop to hand rail connection is made only with the first loops of the system.
2. Based off of the length of ramp section, determine the length of handrail. Slide the hand rail over the insert that was
placed in the loop.
Place other end of hand rail on top of hand rail bracket to help support while securing.
3. Place another insert with O-ring in the open end of the hand rail. Secure the handrail to the insert from the bottom of
the hand rail with a Pan head Phillips Tek screw.
Be sure to secure the pan head through the handrail and insert at
once. ALSO SECURE THE HAND RAIL TO THE BRACKET USING A PAN HEAD SCREW.
4. Slide the second piece of proper length hand rail over the insert and secure with pan head screw.
5. Repeat this procedure on both sides of every ramp section.
Always secure the hand rails to the brackets with a pan
head screw.
6.
At the top of a ramp run the hand rail will be capped off where it meets a platform loop.
7.
To create a 90° turn with the hand rail, use the aluminum elbow with insert at each corner. The insert will connect the
hand rail to the elbow and the elbow to the next piece of hand rail. Secure hand rail and elbow to insert with pan head
screw.
Always ensure all insert are secure and hand rails are securely fastened to


