1. Checking the Contents
Be sure your MCD-810™ was shipped with the following:
1) MCD-810™ Transportation Unit
2) MCD-810™ Controller Unit
3) Operating Instructions (This Booklet)
4) Two (2) Control Cables
5) Two (2) "Q-Start" 1/8” mini plug.
6) Two (2) Sets of Stereo RCA Cables
7) Warranty card.
2. Installing the Units
1) Place your unit on a flat surface or mount it in a secure rack mount case.
2) Be sure the player is mounted in a well ventilated area where it will not be exposed to direct
sunlight, high temperatures, or high humidity.
3) Try to place the unit as far as possible from TVs and tuners, as the unit may cause undesir-
able interference.
3. Connections
1) Be sure main power is connected last to prevent any electrical damage.
2)
AUDIO CONNECTIONS:
Use the included RCA cable to connect the MCD-810™ outputs
to the line inputs of a mixer. Never connect a CD player's output to a mixers "phono"
inputs.
3)
CONTROL JACK CONNECTIONS:
Use the supplied 1/8” mono mini plug cable to connect
your MCD-810™ to a mini jack connection (A or B) on a compatible American Audio
®
or
American DJ
®
“Fader Q Start” mixer. (This will enable the Fader “Q” Start function - See
“Q” start control page 7).
4) Connect the supplied D-Plug control cables from the transport unit to the controlling unit. Be
sure to transport drive one is connected to controlling unit one and transport drive two is
connected to controlling drive two.
CAUTION:
• Be sure to use the supplied mono 1/8" control cables. Using other types of cable may result
in unit damage
• To avoid sever damage to the unit, be sure the power is off when making connections to
the unit.
SET-UP
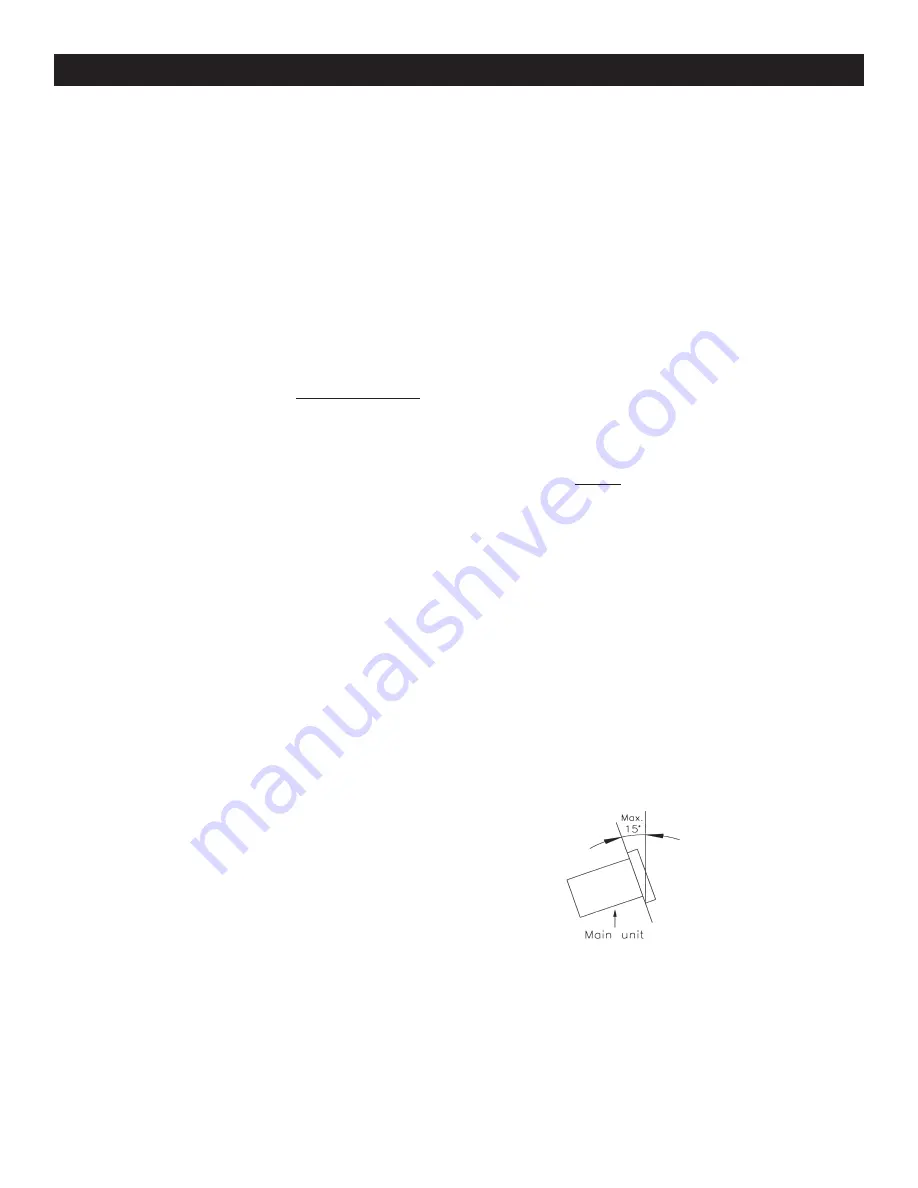
Installation Note:
The player will work normally when the
main unit is mounted with the front panel
within 15 degrees of the vertical plane If
the unit is tilted excessively, discs may
not be loaded or unloaded
properly.
(Figure 1)
©
American Audio
®
- www.americanaudio.us - MCD-810™ Instruction Manual Page 8
Figure 1


