Intellex
®
Digital Video Management System Installation and Operating Instructions
59
Schedule Setup
MORE>>>
Working with Schedule
Segments
Schedule segments define how the unit processes images from
any camera at any time. The unit can record at all times or only
during alarms or filter events. Recording can even be disabled
during certain hours.
Defining a New Segment
1.
Select the appropriate screen:
Weekday
,
Weekend
or
Holiday
.
2.
Select the segment type:
Active
,
Alarmed
or
Disabled
.
3.
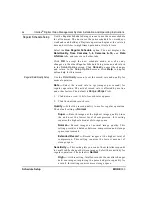
Move the mouse pointer to the schedule line for the camera.
An indicator appears next to the camera name to help keep
track of the pointer’s position.
4.
Move the mouse pointer to the segment start time. An
indicator appears next to the matching 30-minute mark to
help keep track of the pointer’s position.
5.
Click and hold the mouse button. The mouse pointer changes
to
.
6.
Drag the mouse pointer to the right or left. A box displays the
segment’s new start and end times (24-hour format).
7.
When the desired times appear, release the mouse button.
8.
To change either the start or end time, click and hold the time
mark. Then drag it until the desired start and end times
appear in the box. (See
for more
information.)
9.
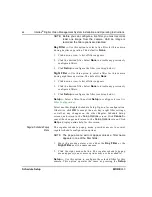
After defining an active or alarmed segment, configure its
live filter and other settings (see
and
Configuring an Alarmed Segment
Changing a Segment
NOTE: To change a start time of 00:00 or an end time of 24:00,
define a new segment which starts at 00:00 or ends at
24:00, respectively (see
).
1.
Select the appropriate screen:
Weekday
,
Weekend
or
Holiday
.
2.
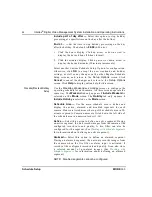
Move the mouse pointer over the start or end time for the
segment to change. The mouse pointer changes to
.
3.
Click and hold the mouse button.
4.
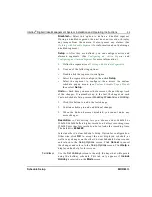
Drag the mouse pointer to the right or left. A box displays the
segment’s new start and end times (24-hour format).


