Chapter 2 - Installation
32
Step 8 Connect Cables,
Continued
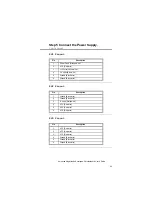
Floppy Pinout
Pin
Use
Pin
Use
1
GND
2
RPM/LC
3
GND
4
N/C
5
GND
6
N/C
7
GND
8
-INDEX
9
GND
10
-MOTOR0
11
GND
12
-FDSEL1
13
GND
14
-FDSEL0
15
GND
16
-MOTOR1
17
GND
18
DIR
19
GND
20
-STEP
21
GND
22
-WDATA
23
GND
24
-WGATE
25
GND
26
-TRK0
27
GND
28
-WRPROT
29
GND
30
-RDATA
31
GND
32
HDSEL
33
GND
34
DSKCHNG
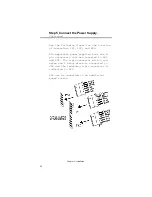
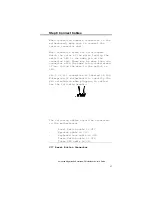
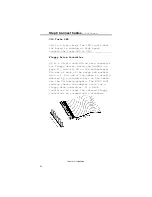
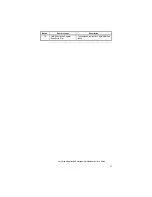
Twist in Floppy Cable
Floppy B to Floppy A
Floppy B to Floppy
A
Floppy B to Floppy
A
Floppy B to Floppy A
10 to 16
12 to 14
14 to 12
16 to 10
11 to 15
13 to 13
15 to 11
Summary of Contents for 16 Series
Page 8: ......
Page 18: ...Chapter 2 Installation 10 ...
Page 28: ...Chapter 2 Installation 20 properly installed call Technical Support ...
Page 50: ...Chapter 2 Installation 42 floppy disk with Enterprise II motherboard ...
Page 51: ...American Megatrends Enterprise II Motherboard User s Guide 43 ...
Page 63: ...American Megatrends Enterprise II Motherboard User s Guide 55 Press Del to run AMIBIOS Setup ...
Page 66: ...Chapter 4 BIOS Setup 58 Default values loaded Press any key to continue ...
Page 100: ...Appendix B EISA Configuration Worksheets 92 check the options installed ...
Page 106: ...Appendix B EISA Configuration Worksheets 98 Share ___ Yes ___ No ...
Page 109: ...American Megatrends Enterprise II Motherboard User s Guide 101 Share ___ Yes ___ No ...
Page 114: ...Appendix B EISA Configuration Worksheets 106 Share ___ Yes ___ No ...
Page 117: ...American Megatrends Enterprise II Motherboard User s Guide 109 Share ___ Yes ___ No ...
Page 121: ...American Megatrends Enterprise II Motherboard User s Guide 113 ...

