Chapter 1 Hardware Installation
5
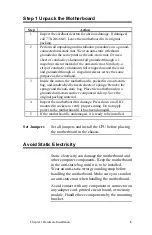
Step 1 Unpack the Motherboard
Step
Action
1
Inspect the cardboard carton for obvious damage. If damaged,
call 770-246-8645. Leave the motherboard in its original
packing.
2
Perform all unpacking and installation procedures on a ground-
connected anti-static mat. Wear an anti-static wristband
grounded at the same point as the anti-static mat. Or use a
sheet of conductive aluminum foil grounded through a 1
megohm resistor instead of the anti-static mat. Similarly, a
strip of conductive aluminum foil wrapped around the wrist
and grounded through a 1 megohm resistor serves the same
purpose as the wristband.
3
Inside the carton, the motherboard is packed in an anti-static
bag, and sandwiched between sheets of sponge. Remove the
sponge and the anti-static bag. Place the motherboard on a
grounded anti-static surface component side up. Save the
original packing material.
4
Inspect the motherboard for damage. Press down on all ICs
mounted in sockets to verify proper seating. Do not apply
power to the motherboard if it has been damaged.
5
If the motherboard is undamaged, it is ready to be installed.
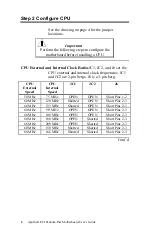
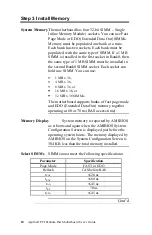
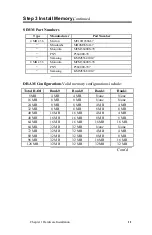
Set Jumpers
Set all jumpers and install the CPU before placing
the motherboard in the chassis.
Avoid Static Electricity
Static electricity can damage the motherboard and
other computer components. Keep the motherboard
in the anti-static bag until it is to be installed.
Wear an anti-static wrist grounding strap before
handling the motherboard. Make sure you stand on
an anti-static mat when handling the motherboard.
Avoid contact with any component or connector on
any adapter card, printed circuit board, or memory
module. Handle these components by the mounting
bracket.


