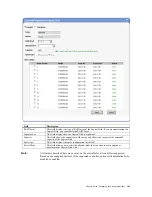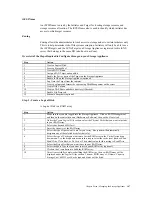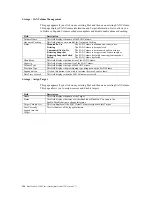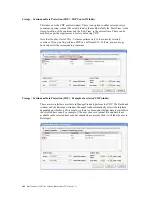
Chapter Seven : Managing the Storage Appliance
155
Step 10 : Create a NAS Share
This section allows you to enable CIFS Shares for Microsoft® Windows® Clients, NFS
Shares for UNIX® or Linux® Clients and AFP Shares for Apple® Clients, as well as
HTTP/HTTPS or FTP Shares.
Step Action
1
Make sure that you are logged into the Storage Appliance and have already created a
NAS
Volume
. Expand the
NAS Volume
node located in the storage tree menu under the
Pool
node.
2
Click on the
NAS Volume
node that you want to assign a
Share to
.
3 The
NAS Volume Management
page will open. Click the
Create Share
link and the
Create
Share
page opens.
4 In
the
Share Name
field, enter a unique name for your
NAS Share
. The
NAS Share
Name
must be alphanumeric, can have spaces and be between one and 63 characters in length.
5
Type a description of the
NAS Share
in the
Description
field. This step is optional.
6 In
the
Folder Path
field, type in the path you want to share. You can also
Browse
to the
desired
Volume
or
Folder
.
7
Simply check the box next to
Enable Sharing
and then select the types of protocols that
you want the
NAS Share
to support. Check the box next to configure your
NAS Share
for
CIFS Shares for Microsoft® Windows® Clients, NFS Shares for UNIX® or Linux®
Clients and AFP Shares for Apple® Clients.
Note
:
You must enable the protocol for the client that you want
Share
support for. To
do so, go to File Protocols in the
Control Panel display
under the
Network Node
.
8
Click on the
Apply
button to create the
NAS Share
.
9
Upon successful creation, the
NAS Share
will become listed in the left frame under the
Share Node
in the tree menu. You can click on an existing
Share
to manage it.
You can enter the File protocols section to Enable/Disable various protocols, configure
Security Settings and configure user storage quotas.
Summary of Contents for ManageTrends 2.7
Page 18: ...StorTrends 1300 User s Guide StorTrends iTX version 2 7 xviii...
Page 24: ...StorTrends 1300 User s Guide StorTrends iTX version 2 7 6...
Page 33: ...Chapter Two Chassis Set Up 15 Accessing the Inside of the System...
Page 60: ...StorTrends 1300 User s Guide StorTrends iTX version 2 7 42...
Page 64: ...StorTrends 1300 User s Guide StorTrends iTX version 2 7 46...
Page 70: ...StorTrends 1300 User s Guide StorTrends iTX version 2 7 52...
Page 100: ...StorTrends 1300 User s Guide StorTrends iTX version 2 7 82...
Page 106: ...StorTrends 1300 User s Guide StorTrends iTX version 2 7 88 Control Panel...
Page 236: ...StorTrends 1300 User s Guide StorTrends iTX version 2 7 218...
Page 256: ...StorTrends 1300 User s Guide StorTrends iTX version 2 7 238...
Page 277: ...Appendix E Replication Overview 259 Snap Assisted Replication Navigating with ManageTrends...
Page 281: ...Appendix E Replication Overview 263 Replication SAR view Primary Box SAR view Secondary Box...
Page 285: ...Appendix E Replication Overview 267 After Failover Operation in Secondary Box...
Page 300: ...StorTrends 1300 User s Guide StorTrends iTX version 2 7 282...
Page 308: ...StorTrends 1300 User s Guide StorTrends iTX version 2 7 290...
Page 330: ...StorTrends 1300 User s Guide StorTrends iTX version 2 7 312...
Page 356: ...StorTrends 1300 User s Guide StorTrends iTX version 2 7 338...


