7
Installing the new element:
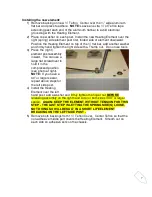
1) Remove backing on new ½” Teflon. Center over the ½” wide aluminum
flat bar and press to adhere.
NOTE:
Leave an extra ½” of Teflon tape
extending past each end of the aluminum flat bar to avoid electrical
grounding with the Heating Element.
2) Place one washer on each post. Install the new Heating Element over the
right (spring) side element post first, folded side of element downward.
Position the Heating Element on top of the ½” flat bar, add another washer
and firmly hand tighten the right side with a Thumb nut. Do not use tools.
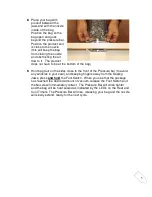
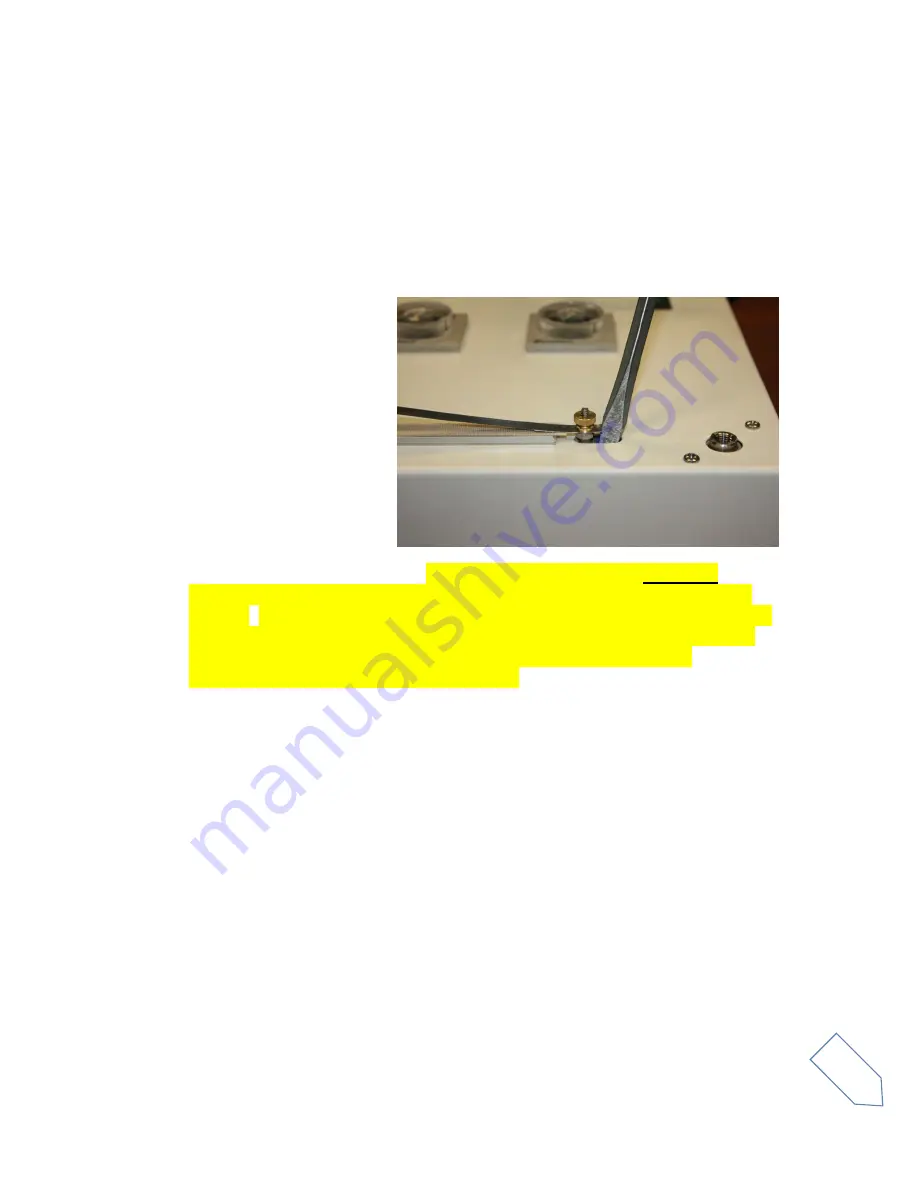
3) Press the (right)
element post assembly
inward. You can use a
large flat screwdriver to
hold it in the
compressed position
(see photo at right).
NOTE:
If you have a
30” or larger sealer,
repeat above steps for
the left side post.
4) Install the Heating
Element over the left
hand post, add a washer and firmly tighten the finger nut
BEFORE
releasing assembly on the right hand side (or both sides if 30” or larger
sealer).
AGAIN: KEEP THE ELEMENT WITHOUT TENSION FOR THIS
STEP - THE LAST STEP IS LETTING THE SPRING SIDE(S) LOOSE.
NOT DOING SO WILL RESULT IN A SHORT LIFE ELEMENT
BREAKING ON THE LEFT SIDE POST .
5) Remove both backings from 1½” Teflon Cover. Center Teflon so that the
non-adhesive middle part covers the Heating Element. Smooth out on
each side so adhesive sets on the chassis.


