12
B349111083ST
14
16 /24
??www.ameriwood.com??
J
19a
19d
20
1st
2nd
3rd
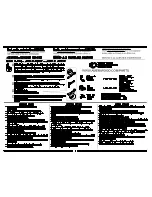
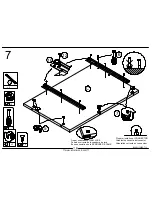
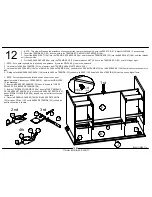
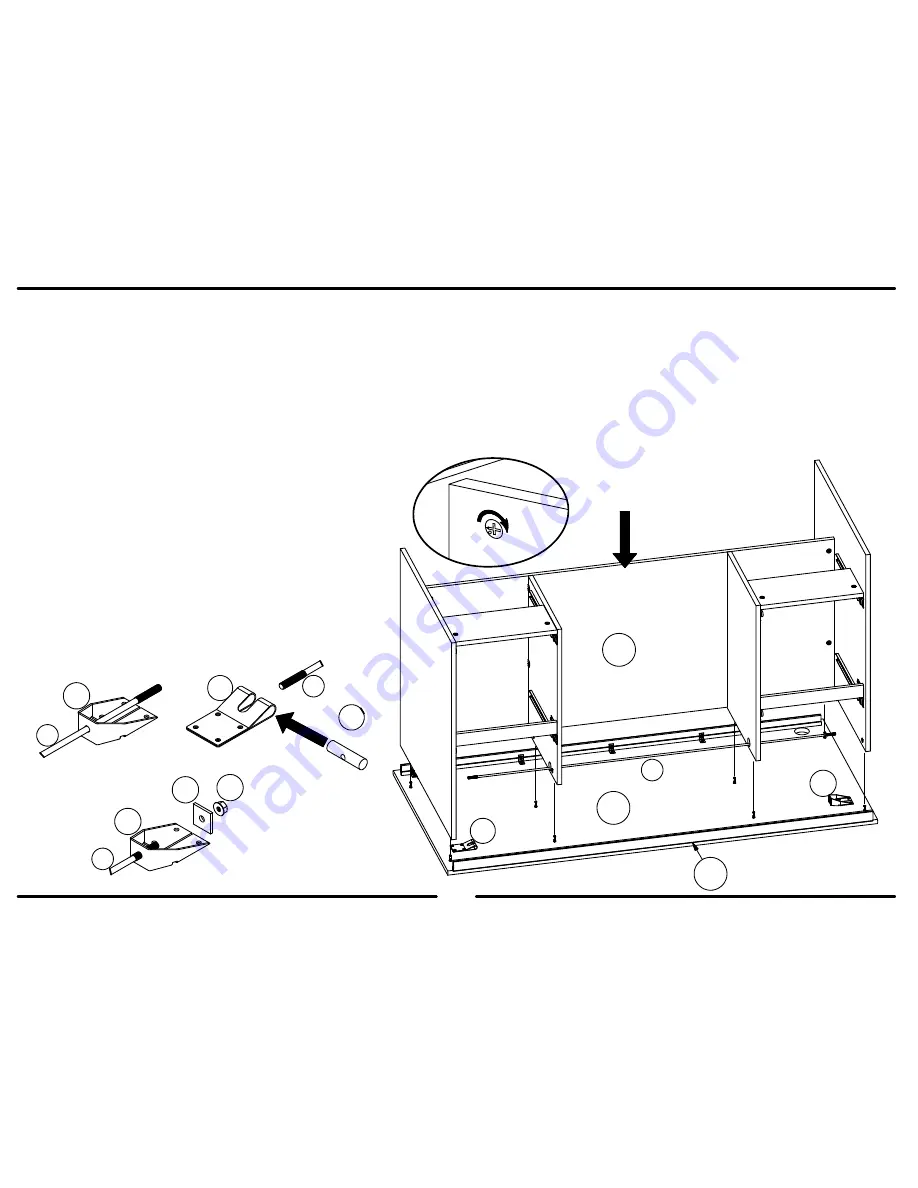
1 - NOTE: This step will require the assistance of another person to place the assembly onto the DESK TOP (E). Adjust MOLDINGS (J) as necessary.
2 - Insert the TENSION ROD (20) into the hole in the TENSION ROD ADJUSTMENT ANCHOR (19b).
3 - Insert the BARREL NUT (19d) into the TENSION ROD ANCHOR (19a) and thread the TENSION ROD (20) into the BARREL NUT (19d) until the threads
exit the other side.
4 - Fit the SQUARE WASHER (19e) onto the TENSION ROD (20) and thread the NUT (19f) onto the TENSION ROD (20) until it is finger tight.
19b
20
4th
19f
19e
19b
20
20
19b
19a
F
1 - NOTE: Cette étape nécessite l'aide d'une autre personne pour
placer le meuble à l'envers sur LE DESSUS (E). Ajustez les MOULURES
(J) si nécessaire.
2 - Insérez la BARRE DE THENSION (20) dans le trou de la TIGE DE
RÉGLADE DE LA BARRE DE TENSION 19b).
3 - Insérez L'ÉCCROU CYLINDRIQUE (19d) dans la TIGE D'ANCRAGE
DE LA BARRE DE TENSION (19a) et vissez la BARRE DE TENSION (20)
dans L'ÉCROU CYLINDRIQUE (19d) jusqu'à ce que les filets sortent de
l'autre côté.
4 - Placez la RONDELLE CARRÉE (19d) SUR la BARRE DE TENSION
(20) et vissez L'Écrou (19f) sur la BARRE DE TENSION (20) jusqu'à de
qu'elle soit serrée à la main.
1 - NOTA: Este paso requerirá de la ayuda de otra persona. Ajuste las MOLDURA (j) como sea necesario.
2 - La inserción la VARA de TENSIÓN (20) en el agujero en el TENSIÓN VARA AJUSTE ANCLA (19b).
3 - La inserción la NUEZ BARRIL (19d) en el ANCLA de VARA de TENSIÓN (19a) y enhebra la VARA de TENSIÓN (20) en la NUEZ BARRIL (19d) hasta los hilos termine el otro
lado.
4 - El ataque la LAVANDERA CUADRADA (19d) hacia la VARA de TENSIÓN (20) y enhebra la NUEZ (19f) hacia la VARA de TENSIÓN (20) hasta que sea digital firme.
E
UNLOCK
LOCK
APRETAR
DESAPRETAR
OUVRIR
SERRER
T
itu
s

