B345932012COM
0
12 /12
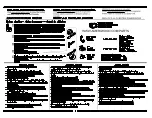
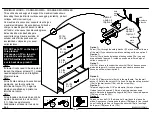
This unit has been designed to support the maximum loads shown.
Exceeding these load limits could cause sagging, instability, product
collapse, and/or serious injury.
40 lbs.
18.2 kg
20 lbs
9.1 kg
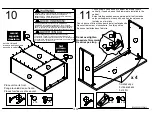
Note:
If drawer fronts need to be adjusted,
loosen the drawer screws (11), make
needed adjustments and retighten
drawer screws.
Nota:
Si los frentes del cajon necesitan ser
ajustados, por favor suelte los
tornillos del cajon (11), haga los
ajustes necesitados y apriete los
tornillos del cajon.
Note:
Si les façades de tiroirs doivent être
ajustés, desserrez les vis du tiroir
(11), faire les ajustements
nécessaires et resserrer les vis du
tiroir.
20 lbs
9.1 kg
20 lbs
9.1 kg
20 lbs
9.1 kg
15d
15c
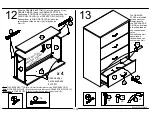
x 1
x 1
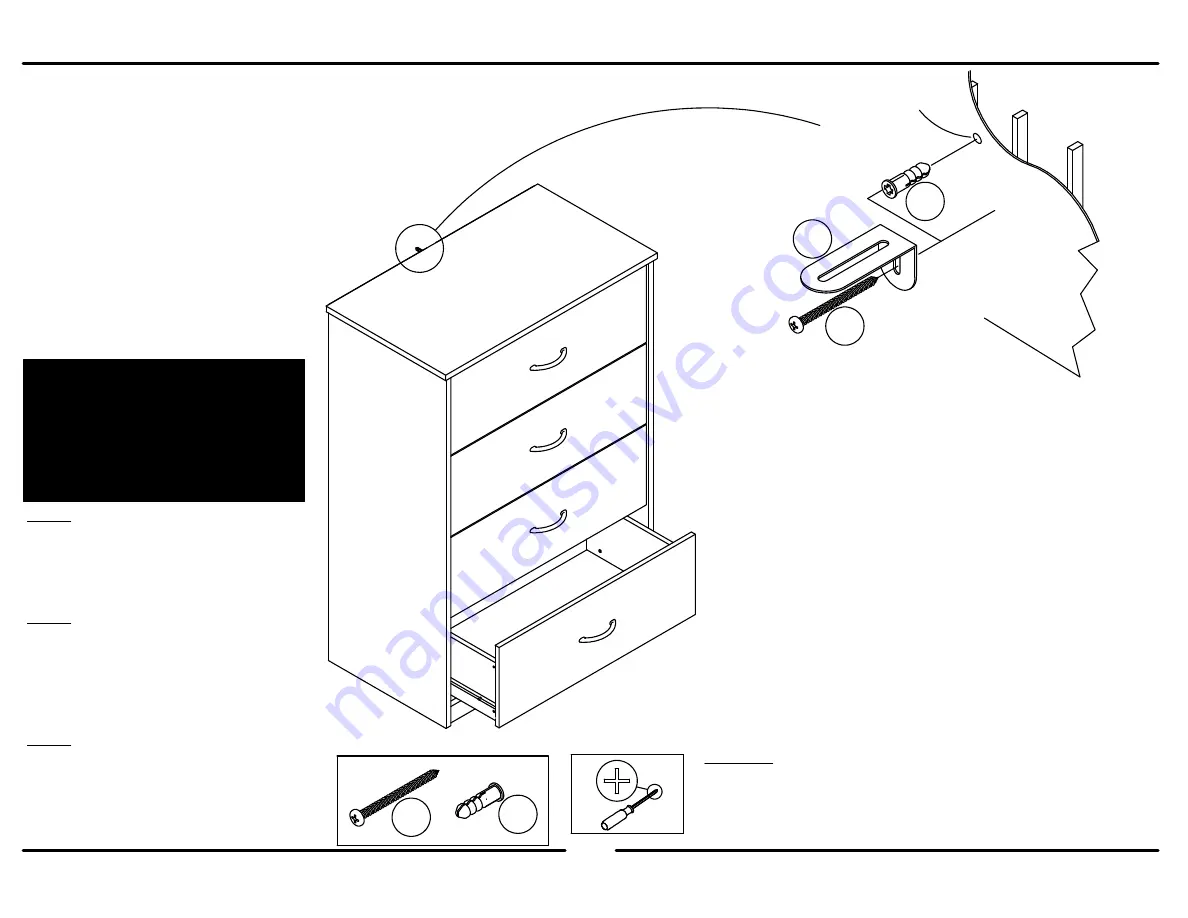
Option 1:
Screw (15c) through the safety bracket (15a) and into a solid area
of the wall. If you cannot screw into something solid, use option 2.
Opción 1:
Tornillo (15c) a través del anaquel de seguridad (15a) y en una
área sólida de la pared. Si usted no puede atornillar en algo el
sólido, use opción 2.
Option 1:
Vis (15c) à travers le support de sécurité (15a) et dans une zone
pleine de la paroi. Si vous ne pouvez pas visser dans quelque
chose de solide, utiliser l'option 2.
Option 2:
Drill a 3/16" diameter hole (5mm) in the wallboard. Tap the wall
anchor (15d) into the hole until it is flush. Fasten the safety bracket
(15a) to the wall anchor (15d) with the screw (15c).
Opción 2:
Taladre un agujero de 3/16" de diámetro (5mm) en la pared.
Golpea la ancla de pared (15d) en el agujero hasta que sea
parejo. Abroche la anaquel de seguridad (15a) a la ancla de pared
(15d) con el tornillo (15c).
Option 2:
Percez un trou de 3/16 "de diamètre (5 mm) dans la plaque de
plâtre. Appuyez sur l'ancrage de la paroi (15d) dans le trou jusqu'à
ce qu'il soit aligné. Fixer le support de sécurité (15a) à l'ancrage
de la paroi (15d) avec la vis (15c)
.
15c
15d
option 1
opción 1
l'option 1
15a
DO NOT set a TV on the top of
this product
NO ponga un TV en la parte
superior de este producto
NE PAS mettre une télévision
sur le haut de ce produit
MAXIMUM LOADS – CARGA MAXIMA - CHARGES MAXIMALES
Esta unidad ha sido diseñada para
soportar la carga máxima anotada. El
exceder estos límites puede causar
inestabilidad, colapsarse y/o causar
serias lesiones.
Ce meuble a été conçu pour supporter les charges
maximales indiquées. En excédant ces limites de
charge, le meuble pourrait devenir instable,
s’effondrer, et/ou causer des blessures graves.
stud
montante
planche
wallboard
muro
mur
hole
agujero
trou
option 2
opción 2
l'option 2
Summary of Contents for Altra 5932012COM
Page 2: ......

