background image


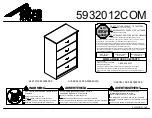
B345932012COM

0

5 /12 

1

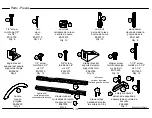
x 2

x 4

x 16

x 4

finished edge

borde acabado

bord fini

14a

9

9

STOP

 - do not discard drawer stops, they will be used 

later in the assembly.

ALTO

 - no descartar las 

paradas del cajón, porque serán

utilizados mas tarde en el montaje.

ARRÉT - ne pas jeter les butées de tiroir, ils seront utilisés
plus tard dans l'assemblage.

14c

3

5

                                                        Certificate of Conformity

 
1. This certificate applies to the Ameriwoood Industries Inc. product identified by this 
instruction manual.
 
2. This certificate applies to compliance of this product with the CPSC Ban on 
Lead-Containing Paint (16 CFR 1303).
 
3. This product is distributed by: Ameriwood Industries Inc.
                                                     410 East First Street South
                                                     Wright City, MO 63390
                                                     1-800-489-3351
 
4. Site of Manufacture:

   Tiffin OH

 
5. See front page of instruction manual for date of manufacture.
 

3

6

x 1

5

6

14a

A

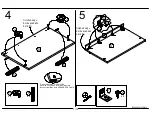
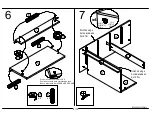
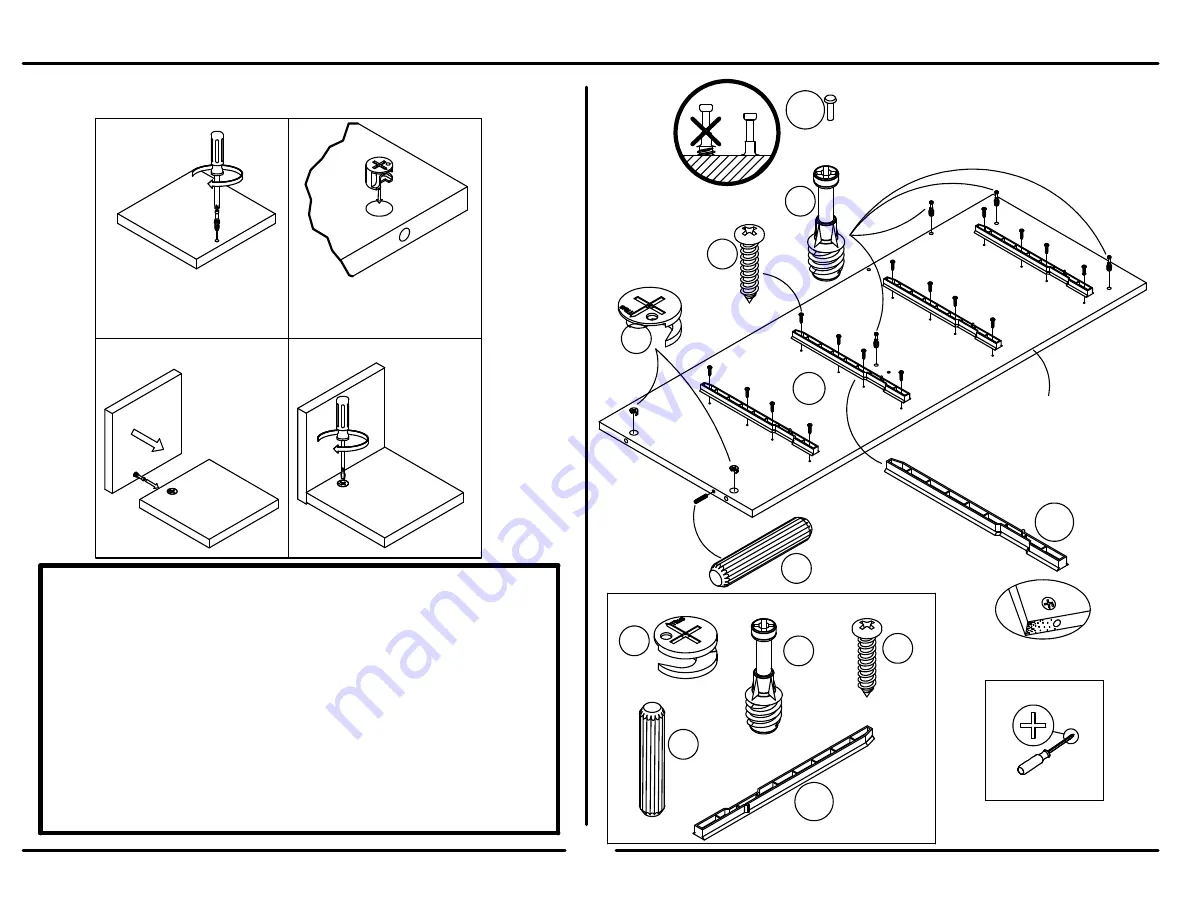
Proper orientation of CAM LOCK
Posición correcta de la cerradura de leva.
Bonne orientation de la SERRURE DE CAME

2

3

½ turn to fully 

lock. 

½ se vuelven a 

totalmente 

cerradura.  

½ tour pour 

verrouiller 

complètement.

4

Tighten to fully seat. Do not over 

tighten.

Apriétese a totalmente asiento. No 

haga encima de apriétese.

Serrez pour mettre le siège bien en

place. Ne pas trop serrer.

Proper orientation of cam. 

La orientación apropiada de leva.  

Bonne orientation de la came.

1

This illustration shows how the CAM fastening system works.
Esta ilustración muestra el sistema de fijación de leva y como funciona.
Cette illustration montre le système de fixation CAME et son fonctionnement.

Lock
Apretar

Serrer

Tit

us

Tit

us

Titu

s

Summary of Contents for Altra 5932012COM

Page 1: ...no tiene partes Les magasins individuels ne gardent pas de pi ces If a part is missing or damaged please visit our website or call our toll free customer service line We will gladly ship your replacem...

Page 2: ......

Page 3: ...r sides 8 lados del caj n 8 c t s du tiroir 35932302090 4 drawer backs 4 traseros del caj n 4 dos du tiroir 35932302070 4 drawer bottoms 4 fondos del caj n 4 fond de tiroir 35932302080 I J K A B C D E...

Page 4: ...lisse droite du tiroir drawer stops paradas del caj n les arr ts du tiroir wood dowel clavija de madera goujon de bois A21660 Qty 8 angle bracket anaquel del angulo support de l angle A53600 Qty 4 dra...

Page 5: ...t South Wright City MO 63390 1 800 489 3351 4 Site of Manufacture Tiffin OH 5 See front page of instruction manual for date of manufacture 3 6 x 1 5 6 14a A Proper orientation of CAM LOCK Posici n cor...

Page 6: ...de leva Bonne orientation de la SERRURE DE CAME STOP do not discard drawer stops they will be used later in the assembly ALTO no descartar las paradas del caj n porque ser n utilizados mas tarde en e...

Page 7: ...7 8 x 8 x 4 D 3 3 3 6 x 2 6 6 Proper orientation of CAM LOCK Posici n correcta de la cerradura de leva Bonne orientation de la SERRURE DE CAME D E 7 8 8 finished edge borde acabado bord fini finished...

Page 8: ...6 x 4 6 6 6 UNLOCK LOCK APRETAR DESAPRETAR OUVRIR SERRER Proper orientation of CAM LOCK Posici n correcta de la cerradura de leva Bonne orientation de la SERRURE DE CAME E finished edge borde acabado...

Page 9: ...932012COM0 9 12 9 A B D A B C E J x4 x4 UNLOCK LOCK APRETAR DESAPRETAR OUVRIR SERRER UNLOCK LOCK APRETAR DESAPRETAR OUVRIR SERRER finished edge borde acabado bord fini finished edge borde acabado bord...

Page 10: ...atr s se atan firmemente Todos los clavos deben manejarse en las partes recto y deben apretarse firmemente El fracaso para hacer para que podr a causar inestabilidad derrumbamiento del producto y o l...

Page 11: ...DRAWER SIDES I and the DRAWER FRONT F Deslicese el FONDO DEL CAJON H en la ranura de los LADOS DEL CAJON I y el FRENTE DEL CAJON F Note The DRAWER BOTTOM H must insert into the groove in the DRAWER BA...

Page 12: ...chose de solide utiliser l option 2 Option 2 Drill a 3 16 diameter hole 5mm in the wallboard Tap the wall anchor 15d into the hole until it is flush Fasten the safety bracket 15a to the wall anchor 15...

Reviews: