User Manual
40
i Series / iX Series
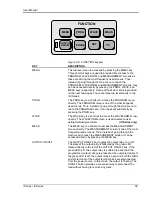
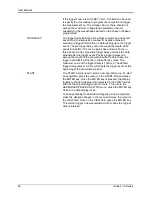
PHASE
The PHASE key is used to select the phase on a three-phase
9003iX or 15003iX unit. Pressing the PHASE key will toggle
phase A, B, C or ABC. Some screens may not support the ABC
or show all phase information in which case this mode is
skipped.
(iX Series with three phase controller only)
SET
The SET key is used to select the mode of operation of the
shuttle. Refer to section 4.1.1 for details on its operation and the
use of the SET key.
+/-
The +/- key can be used to toggle the sign for those parameters
for which it is relevant. This is typically the output voltage when
in DC mode of operation. For fields that have only two possible
values such as the voltage range field, the +/- key can be used
to toggle between these two values.
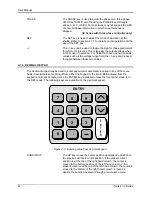
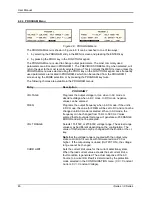
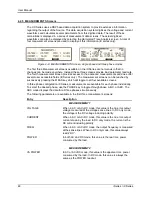
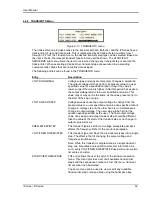
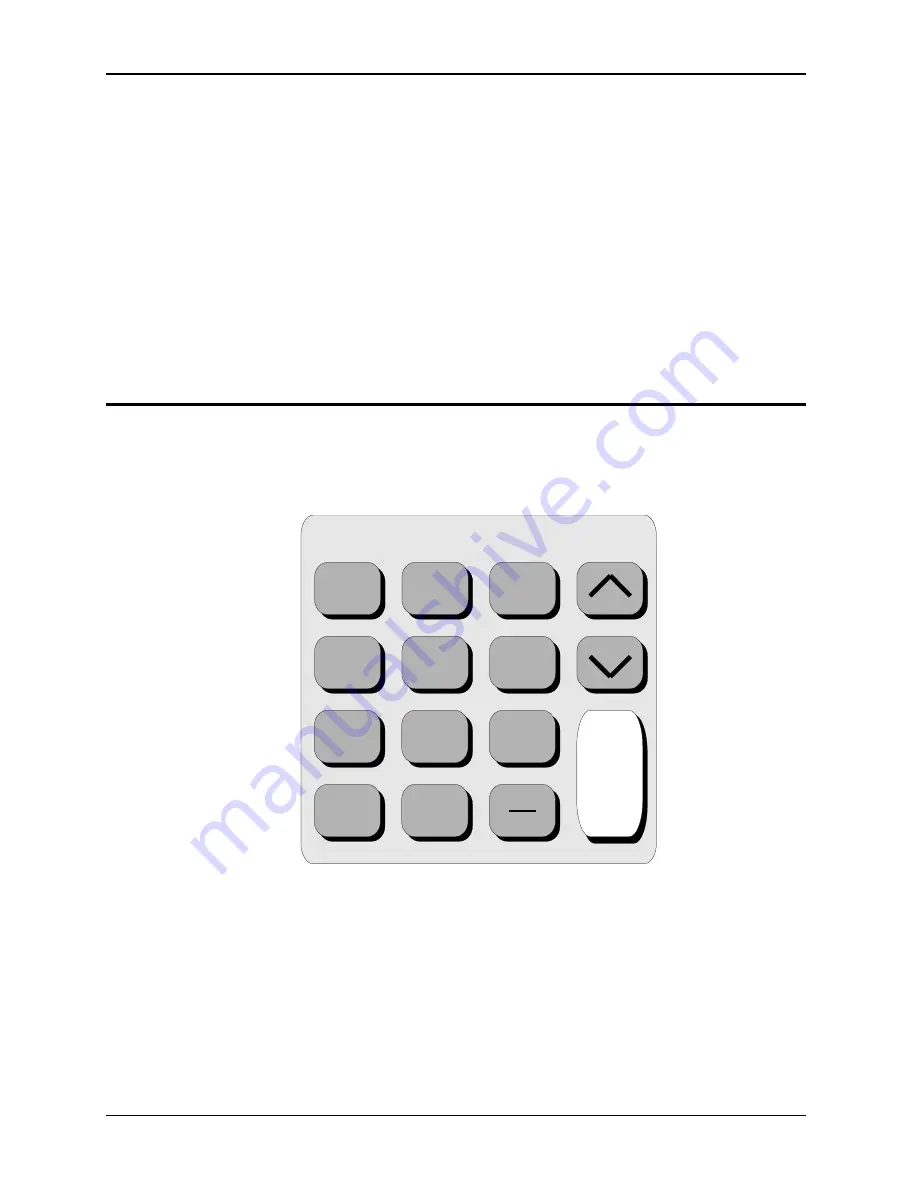
4.1.6 DECIMAL KEYPAD
The decimal keypad may be used to enter any numeric parameter required in any of the menu
fields. Several fields accept input from either the keypad or the knob. Data entered from the
keypad is normally accepted once the ENTER key is pressed unless the front panel mode is in
the SET mode. The following keys are available on the decimal keypad:
7
ENTRY
E
N
T
E
R
8
9
4
5
6
1
2
3
.
0
Figure 4-3: Entering value from decimal keypad
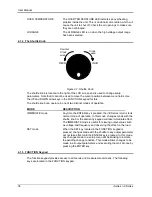
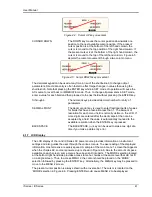
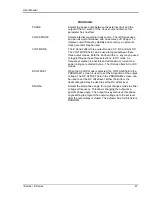
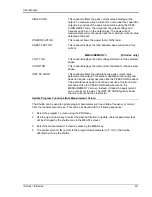
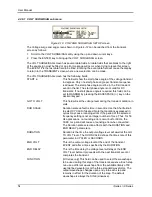
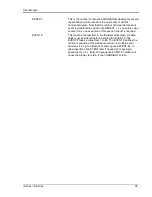
CURSOR UP
The UP key moves the cursor position upwards one position to
the previous available cursor position. If the present cursor
position is at the top of the right hand column, the cursor is
moved to the bottom position of the left hand column. If the
present cursor is at the top of the left hand column, the cursor is
moved to the bottom of the right hand column. Figure 4-4
depicts the cursor movement through a two-column menu.
Summary of Contents for 10001i
Page 2: ......
Page 3: ......
Page 6: ...ii This page intentionally left blank...
Page 38: ...User Manual 24 i Series iX Series Figure 3 5 Rear Panel View for the 3001i 3001iX...
Page 39: ...User Manual i Series iX Series 25 Figure 3 6 Rear Panel View for the 5001i 5001iX...
Page 43: ...User Manual i Series iX Series 29 Figure 3 8 Functional Test Setup...
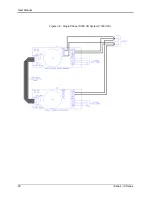
Page 44: ...User Manual 30 i Series iX Series Figure 3 9 Single Phase 10000 VA System 10001iX i...
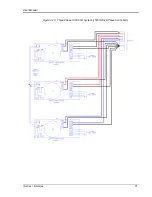
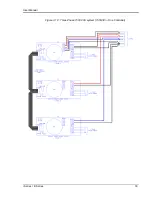
Page 46: ...User Manual 32 i Series iX Series Figure 3 11 Single Phase 15000 VA System 15001iX i...
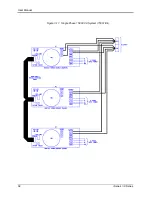
Page 48: ...User Manual 34 i Series iX Series Figure 3 13 Connection With MODE Option...
Page 118: ...User Manual 104 i Series iX Series Figure 5 2 Power Source Module Block Diagram...
Page 121: ...User Manual i Series iX Series 107 Figure 5 3 5001i Internal Layout...
Page 122: ...User Manual 108 i Series iX Series Figure 5 4 Logic Board LED s...
Page 124: ...User Manual 110 i Series iX Series Figure 5 5 AC Power Stage Layout...
Page 125: ...User Manual i Series iX Series 111 Figure 5 6 AC Control Logic Block Diagram...
Page 138: ...User Manual 124 i Series iX Series Figure 6 3 Adjustment Location...
Page 152: ...User Manual 138 i Series iX Series Figure 9 4 Voltage Modulation...
Page 219: ...User Manual i Series iX Series 205 Figure 9 36 Example Connection With 5001iX and EOS 1...
Page 221: ...User Manual i Series iX Series 207 Figure 9 38 15003iX CTS EOS3 LR3...
Page 222: ...User Manual 208 i Series iX Series Figure 9 39 15003iX 3 EOS3...
Page 233: ...User Manual i Series iX Series 219 Figure 9 41 Example Connection With MODE iX...
Page 240: ...User Manual 226 i Series iX Series Figure 9 42 Example Connections With OMNI 1 18i...
Page 241: ...User Manual i Series iX Series 227 Figure 9 43 Example Connections With OMNI 3 18i...

