L-Series and FCS-18 Graphical User Interface User Manual
10.3.2 PT controller
PT controller equipped L-Series power source require some internal
adjustments in order to perform an output calibration. The location of these
adjustment points differs depending on the model number used. The on line
Help system shows the location of the adjustment points referenced in the
calibration procedure.
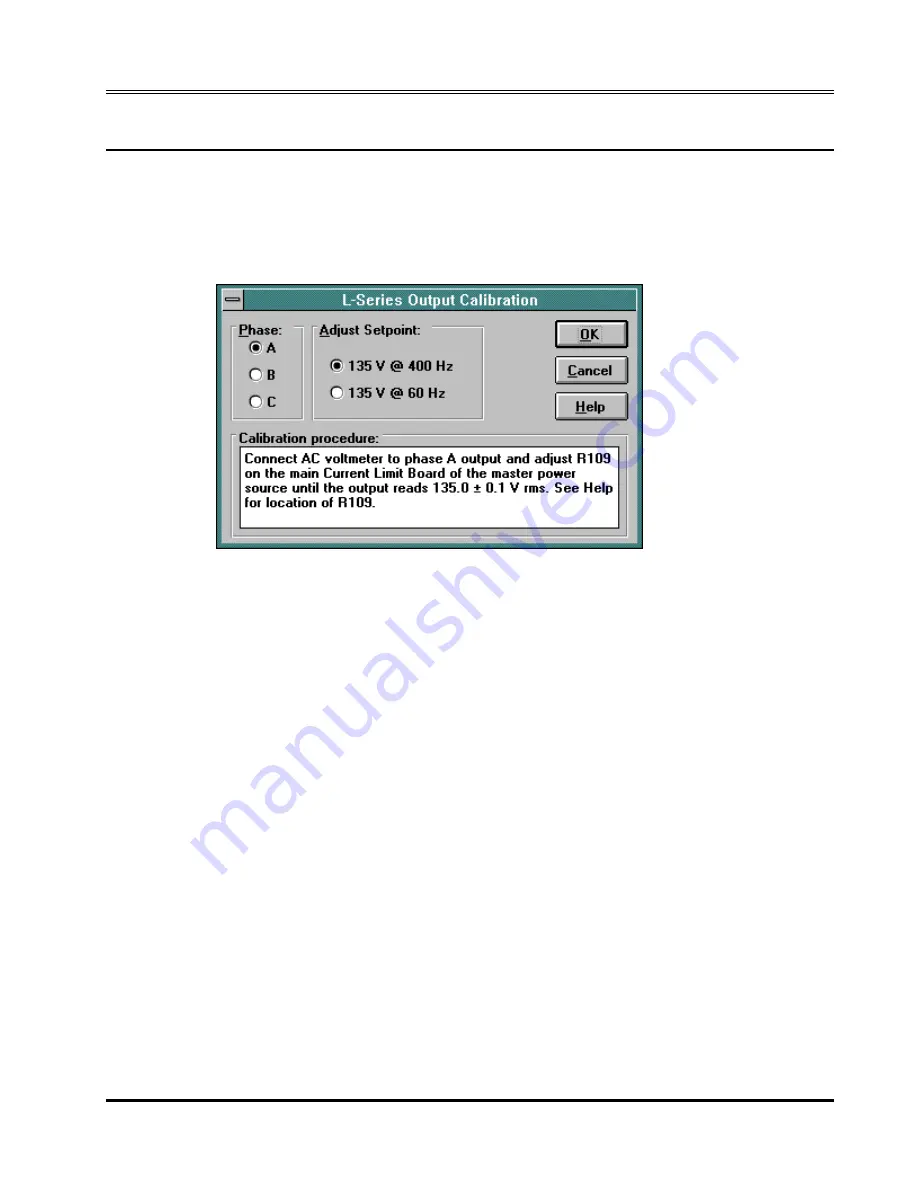
Follow the instructions that appear in the Calibration procedure window to
make the necessary adjustments using the DMM as feedback. Make sure to
calibrate both set points for all phases available. Calibrating the output of a
PT controller equipped unit requires access to the internal calibration
adjustment points. For 2750L, 4500L, 6000L and higher model numbers, this
means the top cover needs to be removed. The location of the adjustment
points in shown in the diagram below. For 751L, 1501L, 1503L and 2000L,
the current limit board adjustments can be reached by removing the top
cover also. To adjust the controller points however, the front-panel controller
cover needs to be removed. Once the controller has been removed, detach
the face plate which contains the LCD and keyboard by removing the stand-
off screws. This provides access to R39 (and R47 and R48 for a 1503L). The
controller needs to be re-installed with the front panel bend away so the
adjustments can be made with the controller plugged in.
See next page for a drawing showing the location of the adjustment
points referenced in the calibration procedure.
Rev D – March 2011
California Instruments
81


