26
Amico Accessories Inc.
Section 4: Adjustments
Counterbalance: Fail Safe Mode
(Recommended for Applications Where No Possibility of Kick Back is Desired)
WARNING:
PLEASE WATCH OUT FOR KICK BACK MOTION OF THE AHM ARM WHEN RELEASING THE LOCKING
LEVER.
NOTE:
Fail safe mode is set by counter balancing the arm without the weight of the monitor. In fail safe mode it
will be harder to adjust the AHM arm vertically with the load.
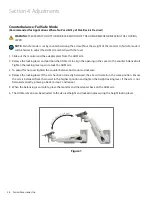
1. Slide out the monitor and the adapter plate from the AHM arm.
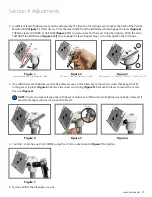
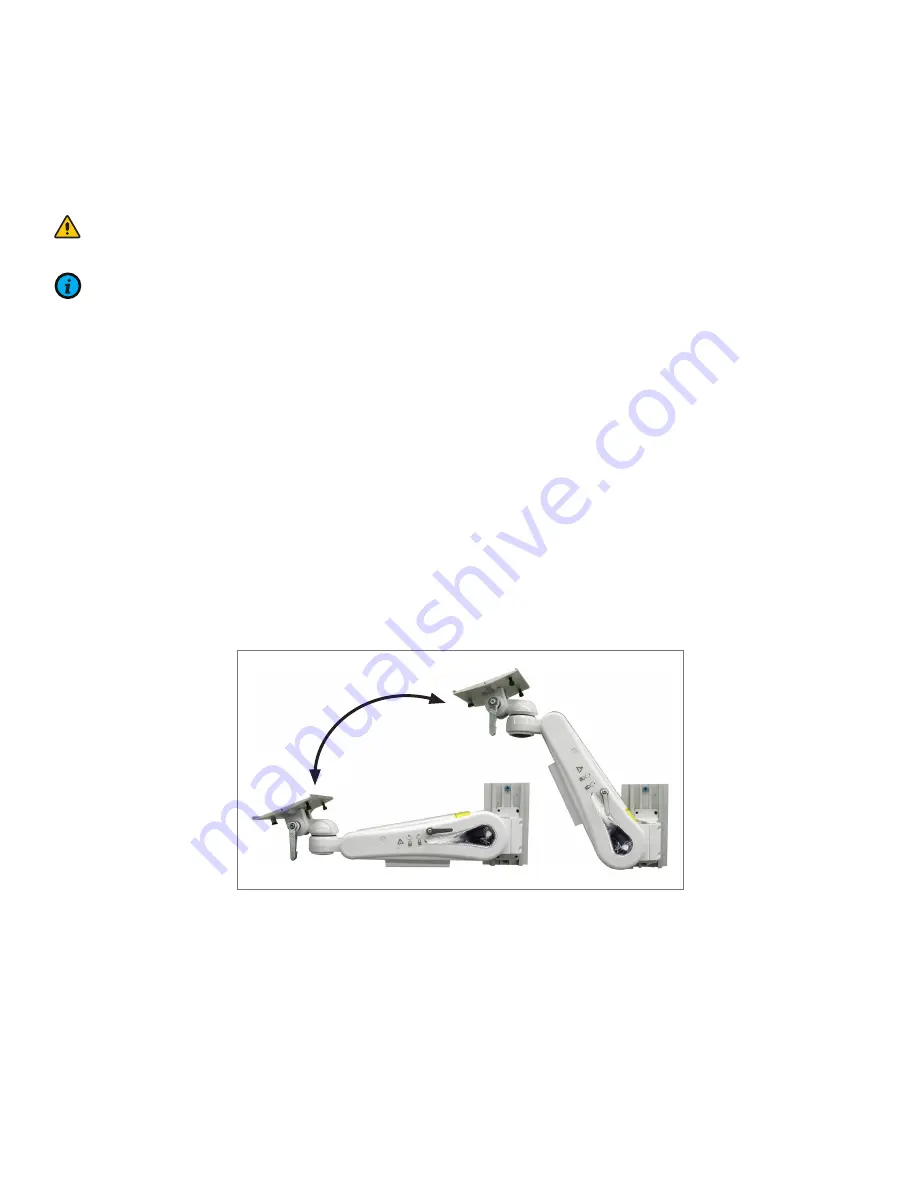
2. Release the locking lever and position the AHM arm to align the opening in the cover to the counter balance bolt.
Tighten the locking lever again to lock the AHM arm.
3. To adjust for no load, tighten the counter balance bolt counter-clockwise.
4. Release the locking lever. If the arm has been correctly balanced, the arm will remain in the same position. Ensure
the arm is balanced from the lowest to the highest position and tighten the height locking lever. If the arm is not
balanced correctly, please go back to step 2 and repeat.
5. When the balancing is complete, place the monitor and the adapter back on the AHM arm.
6. The AHM arm can now be adjusted to the desired height and locked in place using the height locking lever.
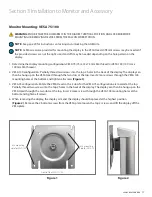
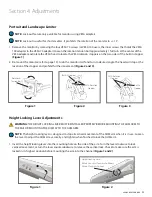
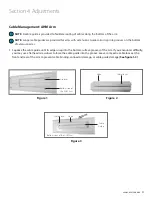
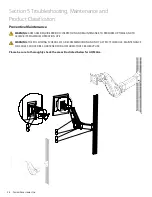
Figure 1
Ra
pi
d
Lif
tin
g (K
ick back)

