TROUBLE SHOOTING
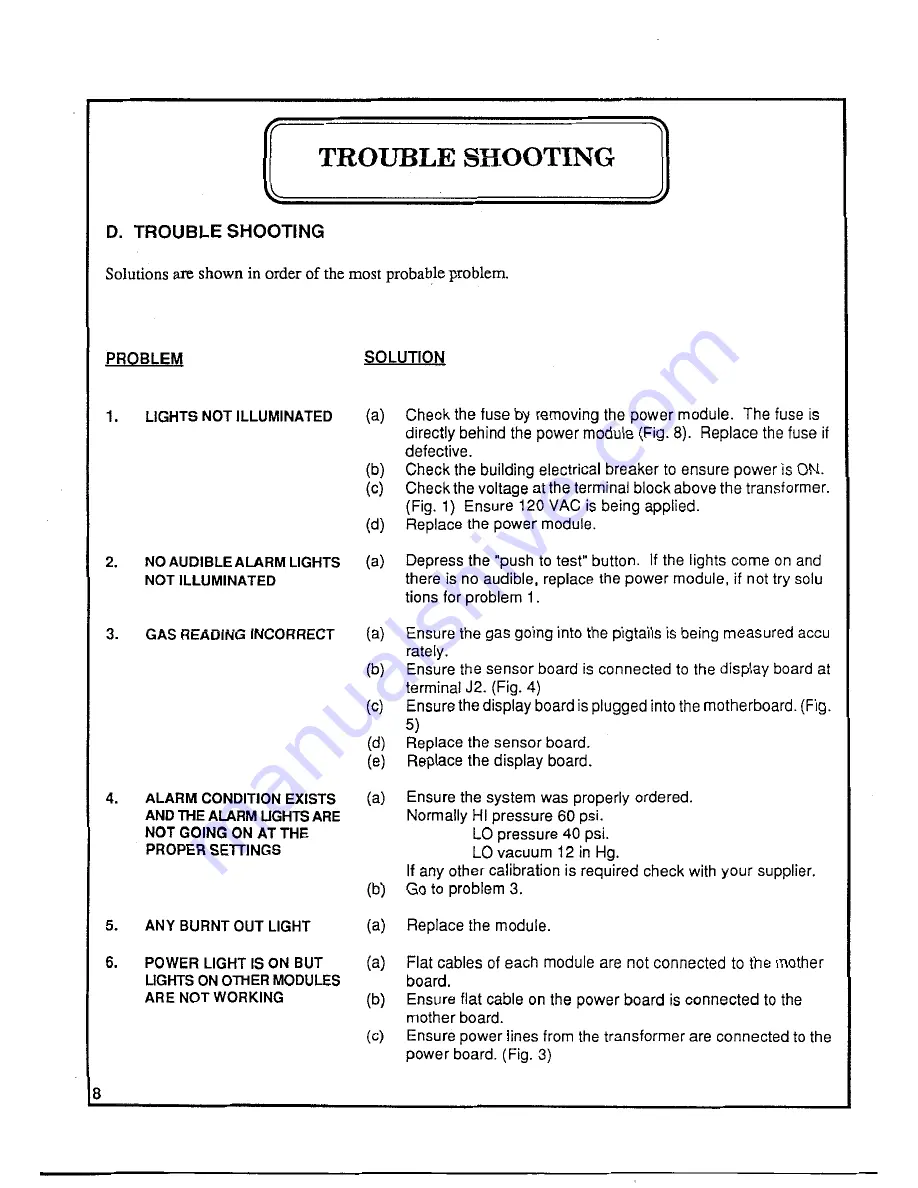
D. TROUBLE SHOOTING
Solutions are shown in order of the most probable problem.
PROBLEM
SOLUTION
1. L I G H T S NOT ILLUMINATED
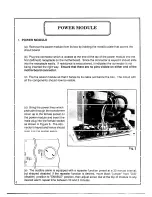
( a ) C h e c k the fuse by removing the power module. The fuse is
directly behind the power module (Fig. 8). Replace the fuse if
defective.
(b) C h e c k the building electrical breaker to ensure power is ON.
(c) C h e c k the voltage at the terminal block above the transformer.
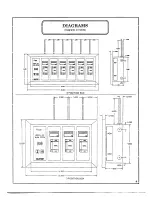
(Fig. 1) Ensure 120 VAC is being applied.
(d) Replace the power module.
2. N O AUDIBLE ALARM LIGHTS
( a ) Depress the "push to test" button. i f the lights come on and
NOT ILLUMINATED
t
h
e
r
e
is no audible, replace the power module, if not try solu
tions for problem 1.
3.
G A S READING INCORRECT
( a ) Ensure the gas going into the pigtails is being measured accu
rately.
(b) Ensure the sensor board is connected to the display board at
terminal J2. (Fig. 4)
(c) E n s u r e the display board is plugged into the motherboard. (Fig.
5)
(d) Replace the sensor board.
(e) Replace the display board.
4. A L A R M CONDITION EXISTS
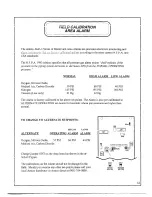
( a ) Ensure the system was properly ordered.
AND THE ALARM UGHTS ARE
N o r m a l l y HI pressure 60 psi.
NOT GOING ON AT THE
L
O
pressure 40 psi.
PROPER SETTINGS
L
O
vacuum 12 in Hg.
If any other calibration is required check with your supplier.
(b) G o to problem 3.
5. A N Y BURNT OUT LIGHT
( a ) Replace the module.
6. P O W E R LIGHT IS ON BUT ( a )
LIGHTS ON OTHER MODULES
ARE NOT WORKING
(
b
)
(c)
8
Flat cables of each module are not connected to the mother
board.
Ensure flat cable on the power board is connected to the
mother board.
Ensure power lines from the transformer are connected to the
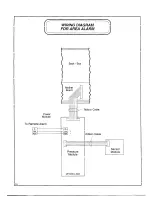
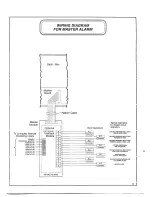
power board. (Fig. 3)

