INSTALLATION
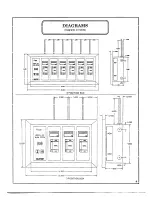
A. B O X IN THE WALL
(MASTER STATUS & AREA ALARMS)
1. Remove the alarm box from the
shipping carton and install the box
securely in the roughed-in wall at the
appropriate place. The mounting brack-
ets are adjustable to suit the thickness
of the wall. Do not remove the
Window
Frame or any Modules from the ship-
ping carton until the box is mounted in
the wall and all the plastering, external
wiring, and brazing of the copper pig-
tails is complete.
(AREA ALARMS ONLY)
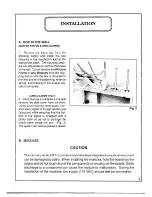
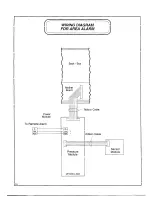
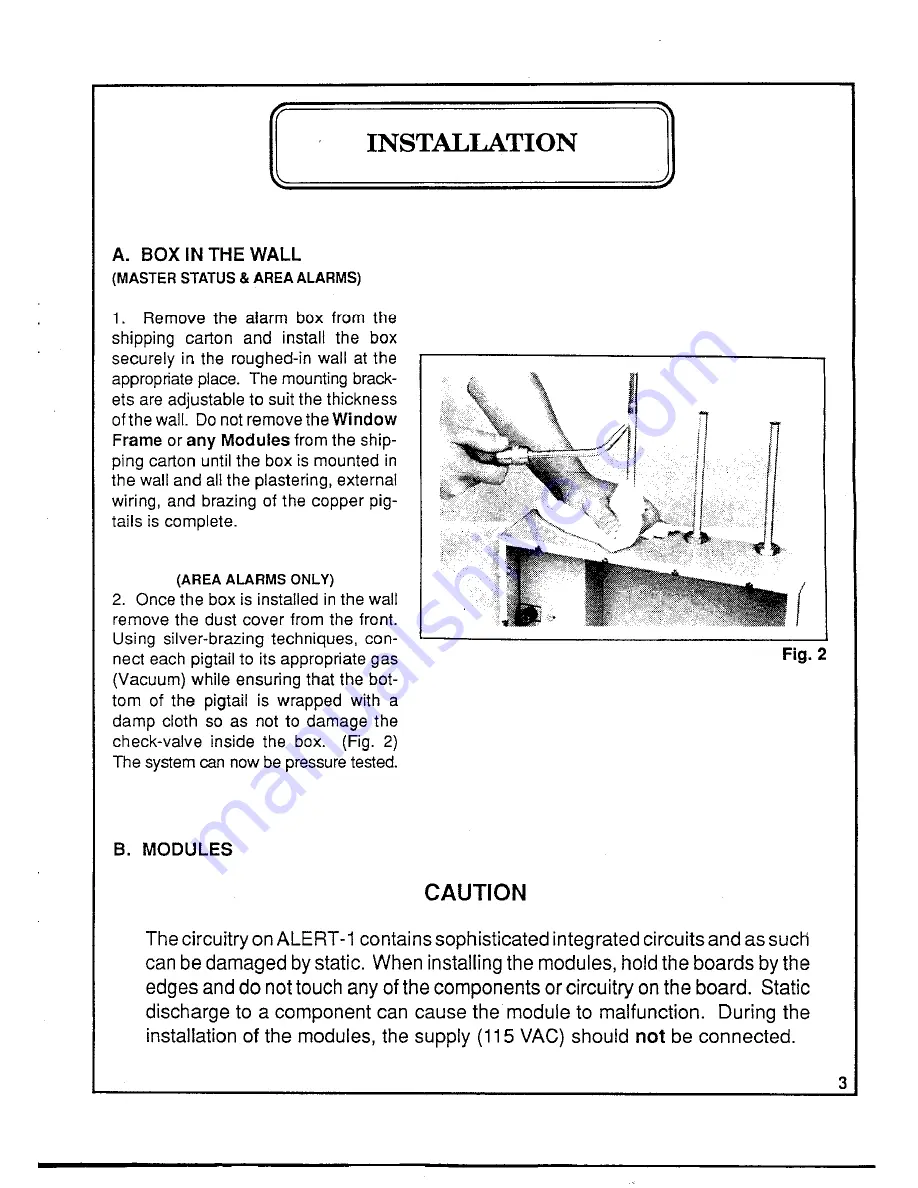
2. Once the box is installed in the wall
remove the dust cover from the front.
Using silver-brazing techniques, con-
nect each pigtail to its appropriate gas
(Vacuum) while ensuring that the bot-
tom of the pigtail is wrapped with a
damp cloth so as not to damage the
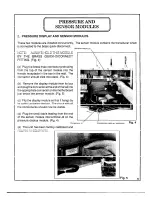
check-valve inside the box. (Fig. 2)
The system can now be pressure tested.
B. MODULES
CAUTION
Fig. 2
The circuitry on ALERT-1 contains sophisticated integrated circuits and as such
can be damaged by static. When installing the modules, hold the boards by the
edges and do not touch any of the components or circuitry on the board. Static
discharge to a component can cause the module to malfunction. During the
installation of the modules, the supply (115 VAC) should
not
be connected.
3

