11
www.amico.com
STEP 8: LCD DISPLAY MODULE
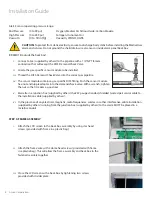
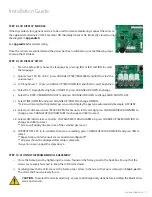
If the dry contacts for a generic alarm is to be used for remote monitoring, connect the wires to
the appropriate terminals: COM (Common), NO (Normally Open) or NC (Normally Closed), using
the diagram in
Appendix A
.
See
Appendix G
for contact rating.
Once the sensors are connected and the power has been switched on, use the following steps
to setup the LCD Alarm.
STEP 9: LCD DISPLAY SETUP
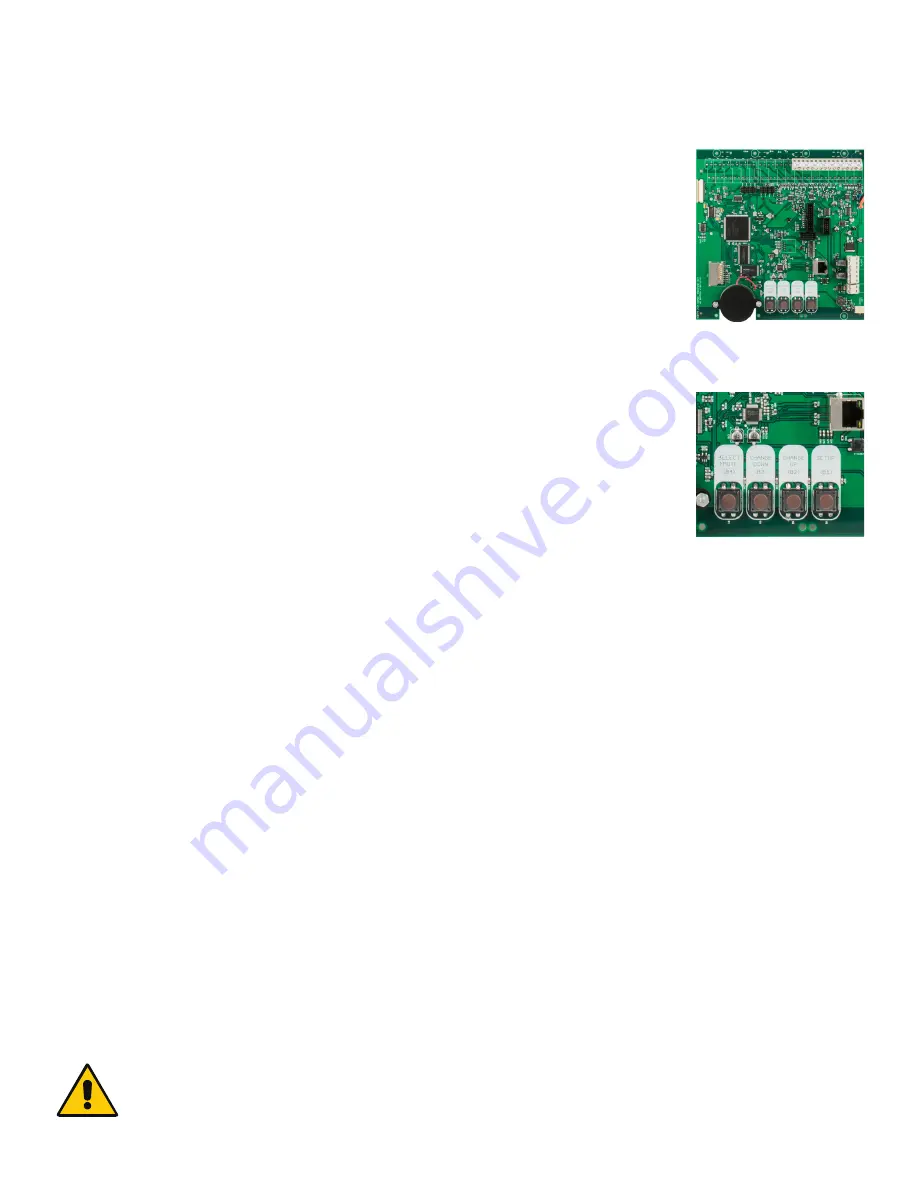
i. Press the Setup (B1), choose the language by pressing (B2) or (B3) and (B4) to select
the language.
ii. Volume level: 90, 80, 70, 60 - press CHANGE UP (B2)/DOWN(B3) and (B4) to select the
volume level.
iii. LCD brightness: 1-19 press CHANGE UP (B2)/DOWN (B3) and (B4) to select brightness.
iv. Select DST ( Daylight Saving Time) (ON/OFF)- press CHANGE UP/DOWN to change.
v. Select the DATE (YEAR/MONTH/DAY) and press CHANGE UP/DOWN to change YEAR, MONTH, DAY.
vi. Select TIME (HR/MIN) and press CHANGE UP/DOWN to change HR/MIN.
*Screen will prompt with detected gas sensor and display the gas type automatically (Example: OXYGEN).
vii. Select unit of measure: Gas (PSl, BAR, KPA) for Vacuum ( in HG, mmHg) press CHANGE UP(B2)/DOWN(B3) to
change, press CHANGE UP (B2)/DOWN (B3) to change and (B4) to select.
viii. Select LOW/HIGH alarm set points: LOW ALARM 40/ HIGH ALARM 60, press CHANGE UP (B2)/DOWN (B3) to
change and (B4) to select.
** Screen will display line pressure of the selected gas sensor
ix. CURRENT OFF SET: to re-calibrate the pressure reading, press CHANGE UP (B2)/DOWN (B3) and press (B4) to
select.
** Repeat steps until all sensors are scanned and configured**
** All gases should be displayed after setup is complete.
If any errors occur, repeat the steps above.
STEP 10: CLOSING THE FRAME/MODULE ASSEMBLY
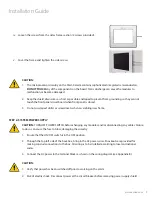
i. Close the frame panel by tightening the screws found on the frame panel to the back box. Ensure that the
screws are securely fastened to keep the LCD Alarm closed.
ii. Carefully place the front frame over the frame panel. Screw in the screws that were removed in
Step 5, part ii.
The alarm shall now be ready for use.
CAUTION:
To protect from static electricity, ensure to discharge body static before installing the Medical Gas
alarm and sensors.
Installation Guide


