LoRa Node
16
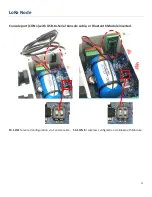
Screw back the External Parts of M16 Connector:
When you complete all the required hardware and software installation, and make sure it can work as what
you planned. You are ready to lock the cables and external parts of the M16 connectors.
Note:
1. Up to
two cables can be run through the M16 connector. And to keep the IP65 water/dust-proof
performance, all the cable gland parts and also the stopper are required to be installed properly.
2. However, if you intend to run more than two cables through the M16 connector, or IP65 is not so critical for
the installation, you can decide not to put the cable glands, and skip step 1b) ~1d) for more IO flexibility
.
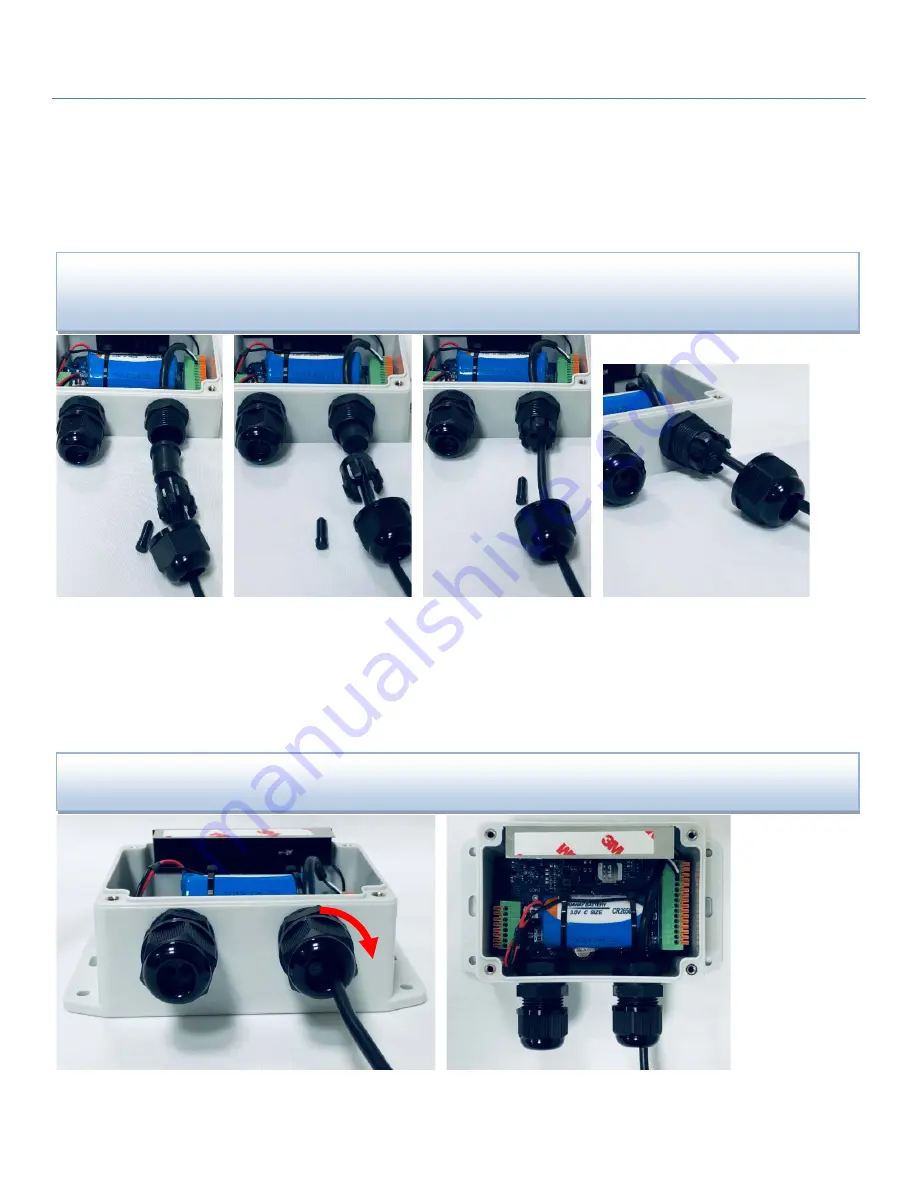
Step 1: a)
Just keep required length of cable inside the enclosure;
b)
Insert the first cable gland part;
c)
Insert the second cable gland part;
d)
Insert the stopper if there is spare wire hole.
Verify all the insert parts are in positions.
Step 2:
Place the last insert part of the M16 connector in position and fasten it clockwise direction.
You have to hold the wire to prevent it twisted while fastening the M16 external part.


