LoRa Node
25
1.6.6 Setup with Windows-based Configuration Tool
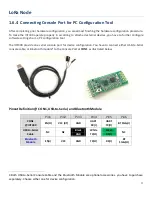
The IOT400 series product has to be configured with a Windows configuration tool. Just find out a PC/NB with
an available USB port, and plug in the USB-to-Serial console cable into it; or use a Bluetooth enable NB to
configure the IOT400 wirelessly.
For the first time to setup the IOT400 with his Configuration Tools, you have to download it from the vendor
provided URLs or QR-code, and install it to the PC/NB for further device configuration.
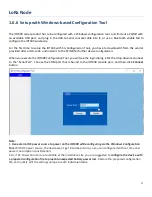
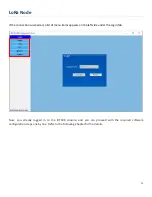
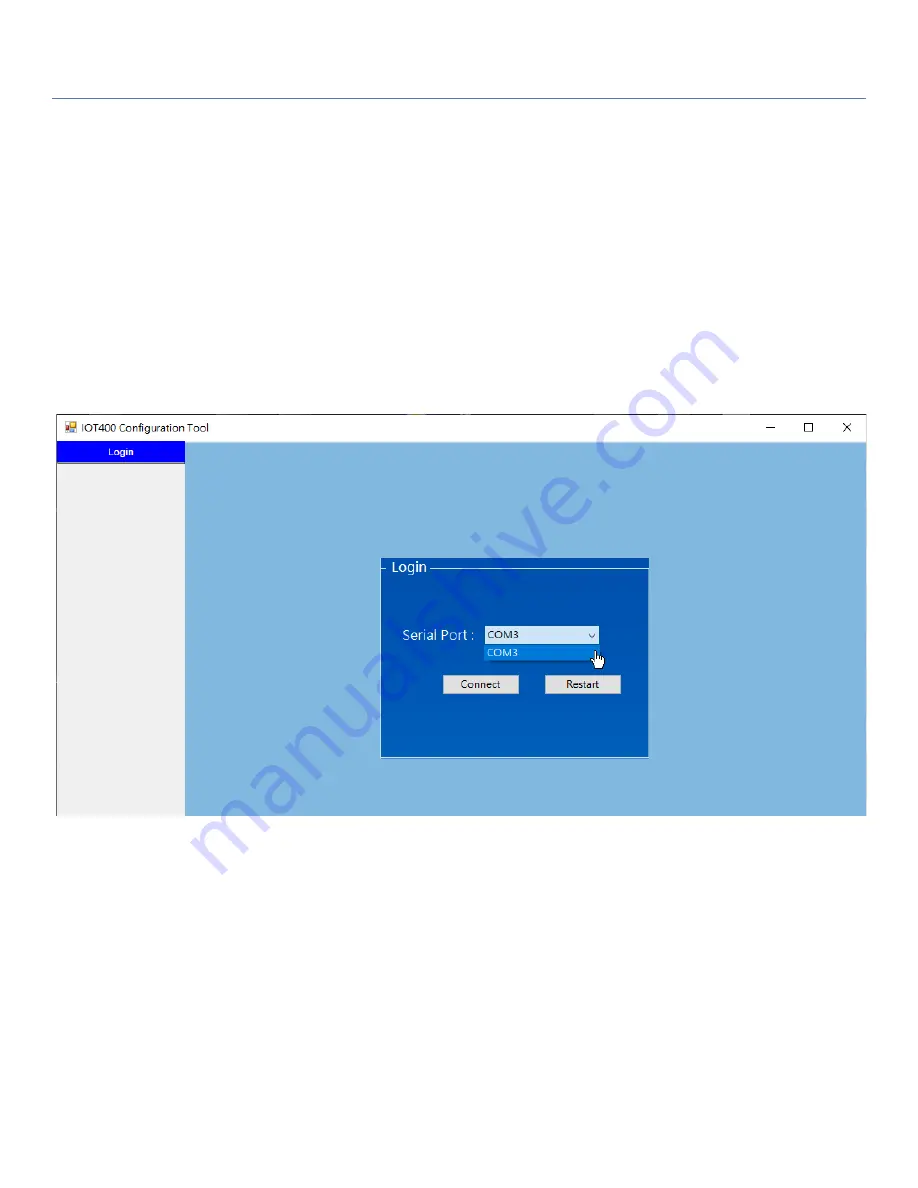
When you execute the IOT400 Configuration Tool, you will see the login dialog. Click the drop-down menu next
to the “Serial Port”. Choose the COM port that is bound to the IOT400 console port, and then click
Connect
button.
Note:
1.
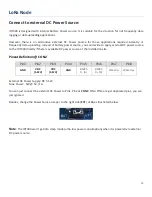
Use external DC power source to power on the IOT400 while configuring via the Windows Configuration
Tool.
With DC power source, the device won’t get into sleep mode, so you can configure it without time and
power consumption consideration.
2.Or, if DC Power Source is not available at the installation site, you are suggested to
configure the device with
a prepared configuration file to prevent unexpected battery power loss
. Restore the prepared configuration
file, and quickly edit the settings unique to each individual device.


