- 21 -
Using the Device
3.3 Using Cellular Network
After you insert the SIM card(s) to the G47 for the first time and power on the G47,
depending on your mobile network carrier you might be guided to activate the account
and connect to your mobile network. If you are asked for a PIN to unlock the SIM card
when powering on the G47, contact your cellular network carrier for the default PIN.
When a new SIM card is detected by the G47, you will be prompted to configure its usage,
including voice call, messaging and data connection. You can configure it now or change
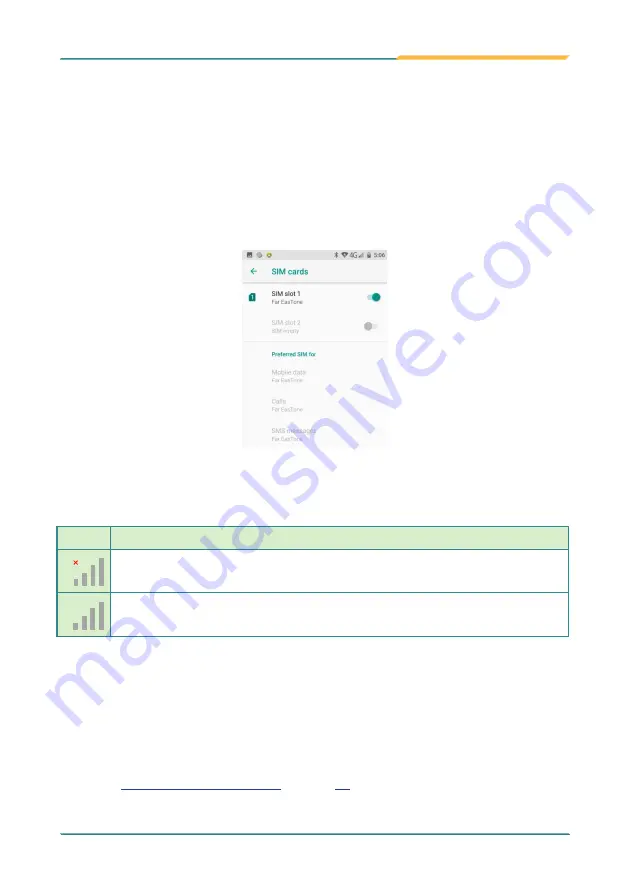
the settings later by accessing setting-> Network & Internet->SIM Cards.
Featuring dual-SIM card slots, the G47 supports dual-SIM mobile connection, allowing
you to enjoy constant and seamless Internet connection. Two cellular network icons will
be displayed in the
Status Bar
to indicate the connectivity and signal strength.
Icon
Descriptions
No signal or no SIM card inserted.
Connected to a cellular network.
(The more bars are lit, the stronger the wireless signal is)
Different locations may have different mobile networks available. The G47 adopts the
fastest mobile network available for data. However, in order to extend the battery life, you
can configure the G47 to use only a slower 2G network for data. You can also configure
the G47 to access a different set of networks entirely, or to behave in special ways when
roaming.
If there is no SIM card, the G47 isn't capable of 3G voice and data services; however it is
still able to connect to a Wi-Fi network to log into a wireless local area network. To learn
Summary of Contents for G47
Page 1: ...I 2015 11 G47 Mobile Computing Device User s Manual Version 1 0...
Page 2: ...II This page is intentionally left blank...
Page 3: ...i Revision History Version Release Time Description 1 0 2020 12 Initial release...
Page 22: ...xx This page is intentionally left blank...
Page 23: ...1 NCC NCC NCC 30 10 2 2 1 SAR 2 0W Kg 0 521 W Kg 2G 106 6 2G...
Page 24: ...2 1 G60 G67 2 3 4 5 6 G60 G67 7...
Page 25: ...3 1 Chapter 1 Introduction Chapter 1 Introduction...
Page 29: ...7 Introduction 22mm 160 mm 76mm 1 4 Dimensions...
Page 32: ...10 This page is intentionally left blank...
Page 33: ...11 Getting Started 2 Chapter 2 Getting Started Chapter 2 Installation...


