Ampcontrol Pty Ltd
– ABN 28 000 915 542
PF1 USER MANUAL
MAG-165 Version 6
– March/2020
Uncontrolled Copy - Refer to Ampcontrol Website for Latest Version
Page 45 of 71
A
P
P
R
OV
E
D
FOR
E
X
T
E
R
N
A
L
D
IS
TR
IB
U
T
ION
–
P
R
OP
E
R
T
Y
OF
A
M
P
C
ON
TR
OL
P
T
Y
LTD
–
N
O
T
T
O
B
E
R
E
P
R
OD
U
C
E
D
I
N
P
A
R
T
10.3 Connecting the PF1 to Your PC
In order to communicate with the PF1 it is first necessary to install the Smart Tools software package.
For information on this process, please refer to the Installation Guide in APPENDIX A:
To connect (USB communications) to the PF1:
1. Launch Smart Tools.
2. Connect the supplied USB Type A to USB Mini cable between your PC and the PF1.
3. The software should automatically detect the port that the PF1 has been plugged into and
communication should now be established.
4. If communication is not established, it may be necessary to manually enter the USB port number
into the Smart Tools
software from within the “Smart Tools Settings” page. For further information
and help on troubleshooting, refer to the in program help tool (
).
NOTE
The PF1 does not require an external power source to communicate
with Smart Tools. The PF1 will run on USB power; however,
the
output
relays will not close if no external power source is connected
.
10.4 Navigating the User Interface
The Smart Tools software has been presented in a manner that allows operation with minimal training.
The menu bar on the left side of the interface allows the user to switch between the different screens of
the program.
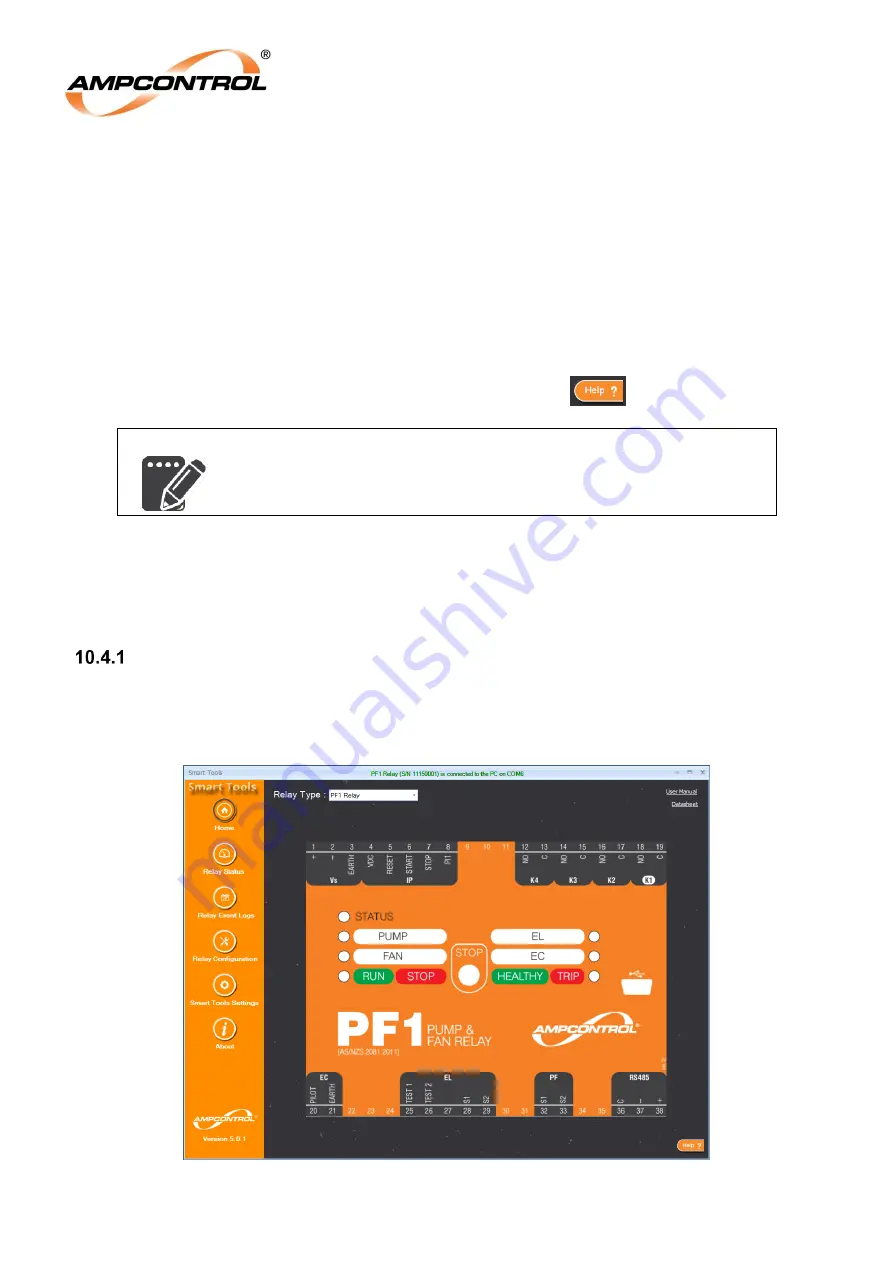
Home Page
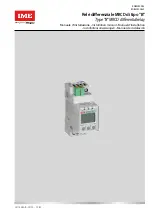
The home page exists primarily to allow the user to select the Relay Type being used. Once the Relay
Type has been selected, an image of the Relays front panel will be displayed, allowing the user to
validate their choice. At present, only the PF1 is supported in Smart Tools.
Figure 10.1: Smart Tools Software - Home Page


