Setting Up ( Con’t )
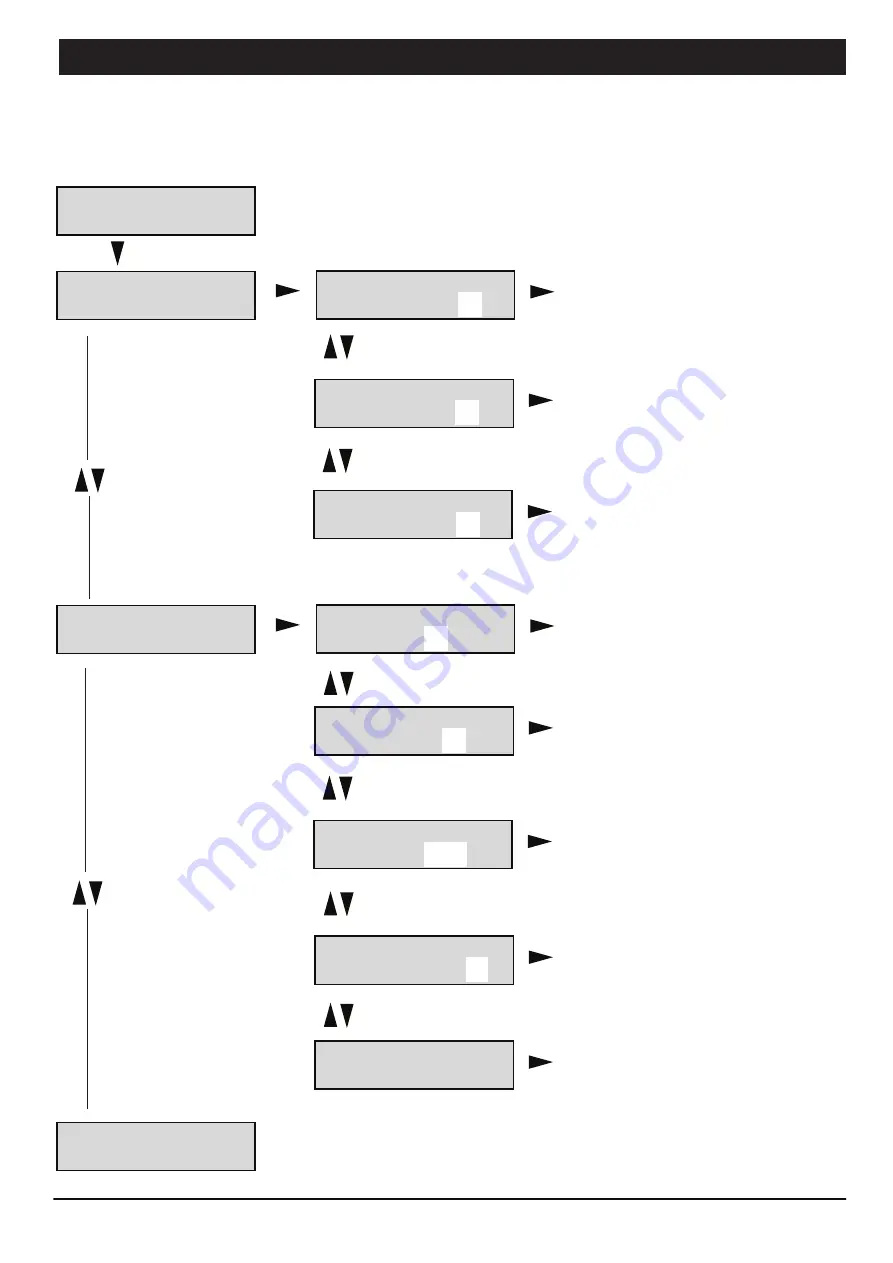
For first time installation, the time, date and day of the week in the unit’s system has to be set. To select, press ENTER
/ MENU at this menu, and the following sub menus shall appear .
1.0 TIME / DATE
SETTING
1.0 TIME AND DATE SETTING
1.1 Time Setting
1.11 Time Set
24 Hours = 14
enter
enter
- Use NEXT/PREV button to adjust the
the current hour
- Press ENTER to confirm and return to
Sub Menu 1.11
1.12 Time Set
Minutes = 20
enter
- Use NEXT/PREV button to adjust the
the current minute
- Press ENTER to confirm and return to
Sub Menu 1.12
next or
prev button
1.13 Time Set
Seconds = 30
enter
- Use NEXT/PREV button to adjust the
the current seconds
- Press ENTER to confirm and return to
Sub Menu 1.13
- Press ENTER again to return to Menu
1.1
next or
prev button
Enter
1.2 Date
Setting
1.21 Date Set
Day = 15
enter
enter
- Use NEXT/PREV button to adjust the
the current day
- Press ENTER to confirm and return to
Sub Menu 1.21
1.22 Date Set
Month = 6
enter
- Use NEXT/PREV button to adjust the
the current month
- Press ENTER to confirm and return to
Sub Menu 1.22
next or
prev button
1.23 Date Set
Year = 2014
enter
- Use NEXT/PREV button to adjust the
the current year
- Press ENTER to confirm and return to
Sub Menu 1.23
next or
prev button
1.24 Date Set
Day/Week = 3
enter
- Use NEXT/PREV button to adjust the
the current day of the week
- Press ENTER to confirm and return to
Sub Menu 1.24
next or
prev button
1.25 Date Set
Exit
enter
- Press ENTER to exit calender date
setting
and return to Sub Menu 1.2
next or
prev button
1.3 Time / Date
Exit
- Press ENTER to exit time setup and return to Main Menu 1.0
next or
prev button
next or
prev button
PAGE 7
PT1801 | MULTICHANNEL PROGRAMMABLE TIMER


