19
Assembly
Ampler – Curt
5 Assembly
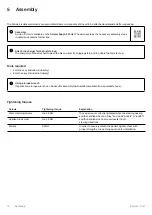
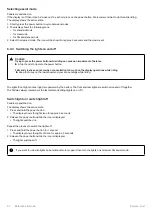
The Pedelec is delivered mostly pre-assembled. Some components still need to be attached and adjusted after unpacking.
Assembly
A video for this is available on the
Ampler Support Portal
. The video explains the necessary assembly steps
in detail and contains further tips.
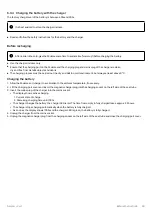
Attach the charger for the first start-up
The charger must be attached to wake the bike up from its shipping state and to enable the first start-up.
Tools required
y
4 mm hex key (included in delivery)
y
6 mm hex key (included in delivery)
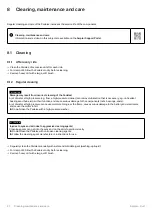
Using a torque wrench
If applicable, a torque wrench can be used for assembly (
not
included; available from specialist shops).
Tightening torques
Screws
Tightening torque
Explanation
Stem clamping screws
max. 6 Nm
The cap screw is correctly tightened when the steering bearing
and the handlebar have no "play" (i.e. do
not
"wobble" or "judder")
and the handlebar can be moved easily in both
steering directions.
Headset cap screw
max. 2 Nm
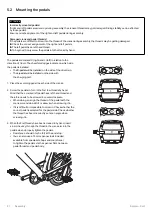
Pedals
35 Nm
In order to securely attach the pedals, tighten them with
proper strength or use a torque wrench for installation.
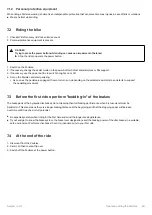
ATTENTION
Fasteners can be damaged by over-tightening!
Overtightening fasteners can overload them, damage the thread, leading to a loss of locking force and breakage of fasteners.
Do
not
exceed the tightening torque of the fasteners.
If necessary, use a suitable torque wrench.

